The Summary screen appears.
17. Review the settings.
18. Click Apply.
A conrmation message appears.
Warning
Clicking Conrm deletes all data on the drive before installing QTS.
19. Click Conrm.
QTS is installed.
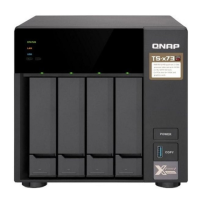
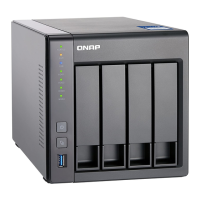
Installing QTS Using an HDMI Connection
Warning
Installing QTS deletes all data on the drives. Back up your data before proceeding.
Important
To protect your NAS from brute force attacks, create a new system administrator account
during QTS installation to disable the default "admin" account.
1. Connect an HDMI display to the NAS.
2. Connect a USB keyboard to the NAS or prepare the QNAP IR remote control (not available on all
models).
3. Power on the NAS.
The Welcome screen of the Smart Installation Guide appears.
4. Select Start Smart Installation Guide.
The Enter the NAS name and administrator’s password screen appears.
5. Specify the following information:
• NAS name: Specify a name with 1 to 14 characters. The name supports letters (A to Z, a to z),
numbers (0 to 9), and hyphens (-), but cannot end with a hyphen.
• Username: Specify an administrator username that contains 1 to 32 characters. The name
supports letters (A to Z, a to z), numbers (0 to 9), and hyphens (-), multi-byte Chinese, Japanese,
Korean, and Russian characters.
The username cannot contain the following special characters: grave accent (`), asterisk (*), equal
sign (=), plus sign (+), square brackets ([ ]), backslash (\), vertical bar (|), semicolon (;), colon (:),
apostrophe ('), quotation mark ("), comma (,), less than sign (< ), greater than sign (>), slash (/),
question mark (?), percent sign (%)
• Password: Specify an administrator password with 1 to 64 characters. The password supports all
ASCII characters.
• Conrm Password: Enter the new administrator password again.
6. Click Next.
The Thunderbolt Connection page appears.
Note
This page only appears if your device supports Thunderbolt. You will need to connect your
device to a computer using a Thunderbolt cable.
TS-x62, TS-x64 User Guide
Installation and Conguration 53
 Loading...