21
1001108-01-F
Patch Matrix (TouchMix-30 Pro only)
The Patch Matrix is a powerful tool but it is also one that can create problems. Make sure you clearly understand this function before attempting to
useit.
The TouchMix-30 Pro has audio inputs plus a set of graphical controls and processing for each audio channel. Let’s call these “Inputs” and
“Channels”. By default, the audio for Input 1 is controlled and processed by Channel 1, Input 2 is controlled and processed by Channel 2 and…,
well you get theidea.
There are occasions when it is useful to route an Input to an alternate Channel. Before you do, there are a few things to understand.
• The Patch Matrix only effects the digital audio signal. So rerouting Input 1 to Channel 6 does not change the fact that input gain trim still has to
be set using the Trim 1 control.
• Unless you keep track of the changes you’ve made, altering the default patching can make signal tracing confusing. You know the microphone is
connected to Input 1 but why isn’t there any signal showing up on Channel 1?
That said, there are some reasons to use the Patch Matrix. The first is simply to rearrange the order in which inputs appear on the controls. Before
making a change on the Patch Matrix, ask yourself if it wouldn’t be easier and potentially less confusing to physically re-patch the input. If the
answer is no, here’s how to proceed.
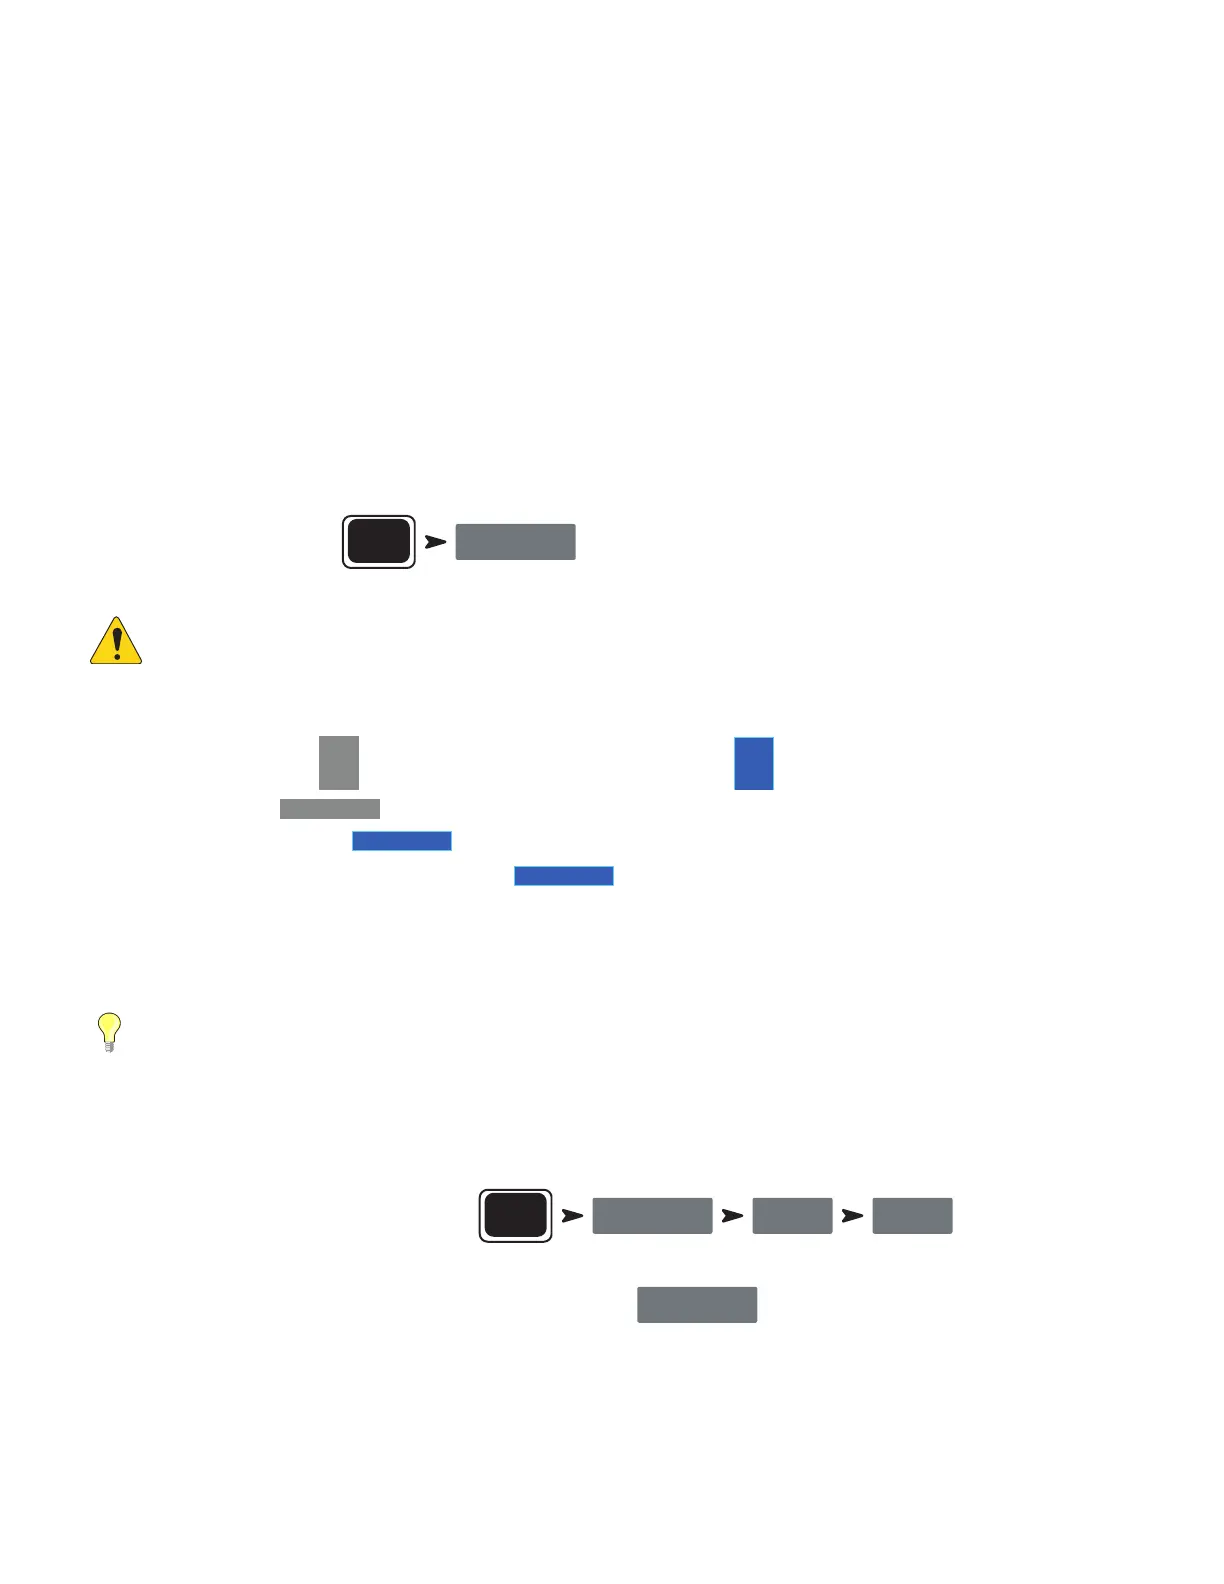
To access the Patch Matrix:
Menu
Patch Matrix
NOTE:
When the Patch Matrix is loaded for the first time after the mixer was powered on, it may take a few moments to display. The
Patch Matrix displays the Analog Inputs across the top of the screen and the Destination Channels down the right side. Connection is
indicated with lines and a blue circle.
To change a connection:
•
Touch the button of the
Input
5
you want to re-patch. The button changes
Input
5
.
•
Touch the Channel
8 In 8
where you want to route the input.
» The Channel changes to
8 In 5
, the lines and blue circle move to indicate the new routing.
•
To route the input to a second Channel, touch
11 In 5
of the second Channel to which you want to route the
input.
•
If you make a mistake in selecting a Channel, simply touch it again to restore the previous routing.
•
Touch the input button to complete the re-patch.
TIP:
Why would one want to route the same input to two Channels? This is known as “Multing”. The term comes from old-school
analog patch bays that had some jacks wired so that a single signal could be patched to multiple destinations. Here’s an example
of how it’s used. Let’s say you’ve got an acoustic guitar on stage and you’ve dialed it in for the main speaker system. But no matter
what you do, you can’t get it to sound right in the monitors without compromising the sound the audience hears. You could use an XLR
Y-Cable to patch the guitar into two mixer channels, or you could use the Patch Matrix to mult the guitar to a second Channel. Send
that channel only to the performer’s stage monitor and adjust as needed to make our demanding guitarist happy.
To reset the Patch Matrix to default routing:
Menu
Patch Matrix Reset Reset
Patch Matrix settings may also be saved and recalled using the
Save / Recall
button.