Step 5: Save
Press “Confirm” back to “Recording” menu. Press “Confirm” again to
save the parameters and return main menu.
None all day recording setup
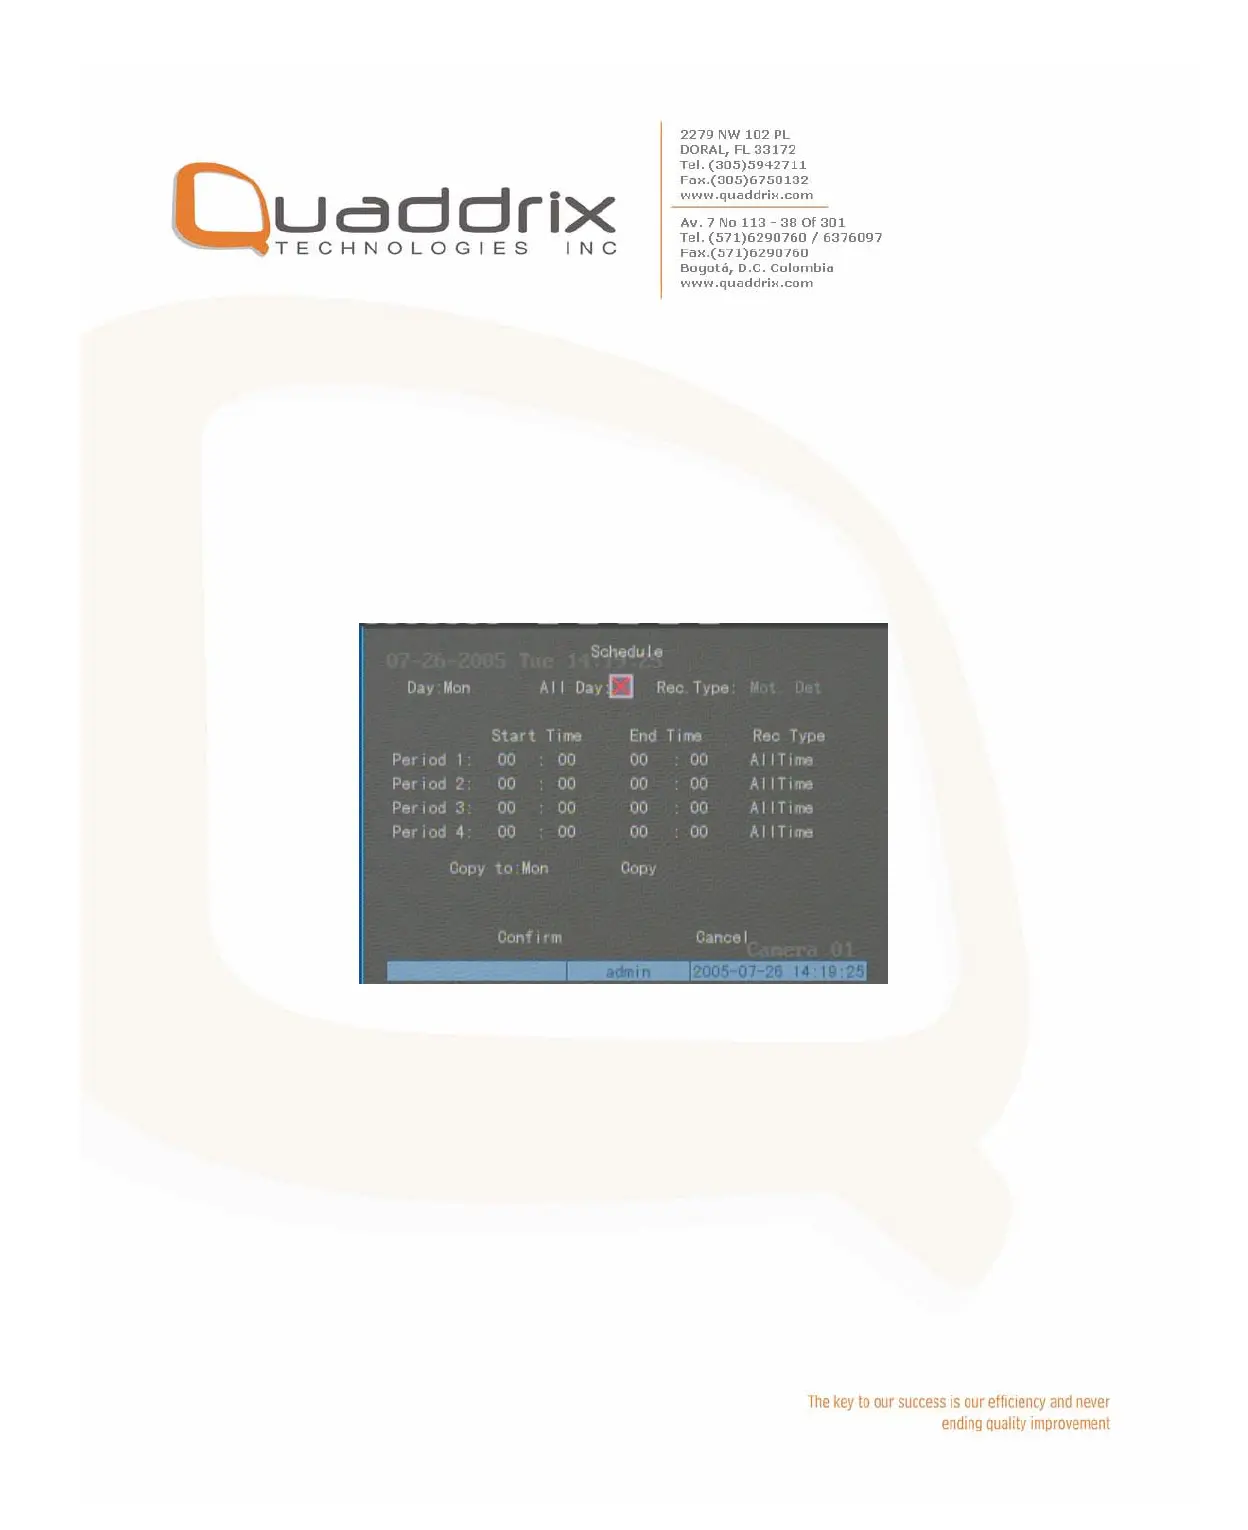
Step 1: Enter into recording schedule menu
In recording menu, use [ENTER] or [EDIT] key to enable record
function (“9” flag), press “Schedule” button to enter into recording
schedule menu.
Step 2: Select one day and disable all day recording option
For “Day” item, there are options: Monday, Tuesday, Wednesday,
Thursday, Friday, Saturday and Sunday. Use [Ç] [È] keys to select
one day. Move “Active Frame” to the check box on the right side of
“All Day” item, press [ENTER] or [EDIT] key to disable “All Day”
option. “×” means disable and “9” means enable.
Step 3: Setup time period and record type
There are 4 time periods for one day, and each time period can select
different record type. Input start time and stop time for each time
period, and select record type for each period. The record type options
 Loading...