4.
5.
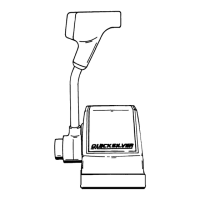
Route control cables and wiring harnesses thru
mounting base, then place remote control into posi-
tion on mounting base.
I
50128
Secure remote control to mounting surface with
four
1-1/2”
(38mm) long screws, tighten securely.
50129
10
-
6. Install cover on remote control by snapping into
place.
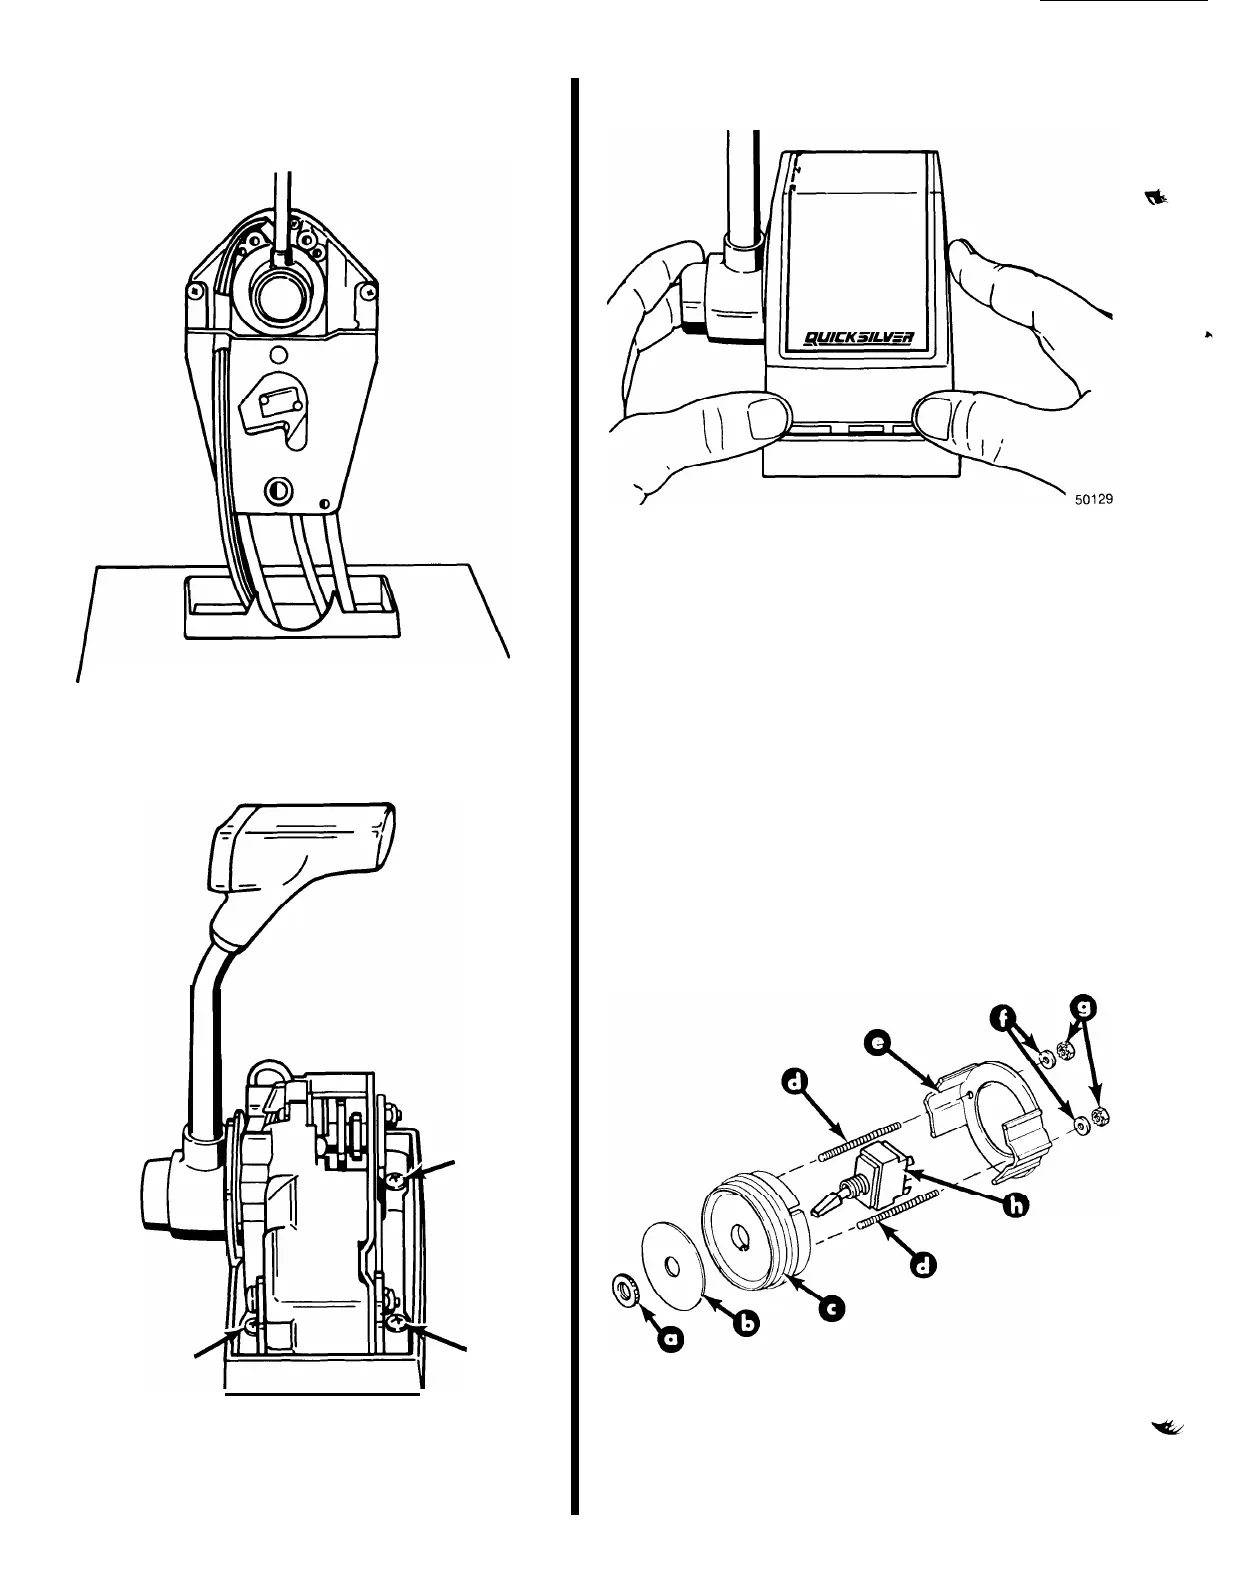
Trailer Switch Installation
IMPORTANT:
Route switch to desired location to
ensure adequate wire length and clearance behind
mounting area.
1.
2.
3.
4.
5.
Cut a
2-1/8
in. (54mm) diameter hole at desired
location.
Thread studs into bezel, tighten securely, but do not
overtighten.
Place switch thru mounting clamp opening and thru
mounting area (from back).
Install switch (lever pointing downward) thru
mounting bezel and faceplate and secure with spe-
cial nut. Tighten securely.
Insert mounting bezel into mounting opening and
install mounting clamp, secure with washers and
nuts. Tighten securely but do not overtighten.
24981
a
-
Special Nut
b
-
Face Plate
c
-
Mounting Bezel
d
-
Studs
e
-
Mounting Clamp
f
-
Washers
g
-
Nuts
h
-
Trailer Switch