INSTRUCTIONS
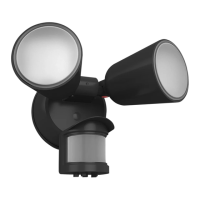
LU160™ INSTALLATION
RAB Lighting is committed to creating high-quality, aordable, well-designed and energy-ecient LED lighting and controls that make it easy for electricians to install
and end users to save energy. We’d love to hear your comments. Please call the Marketing Department at 888-RAB-1000 or email: marketing@rablighting.com
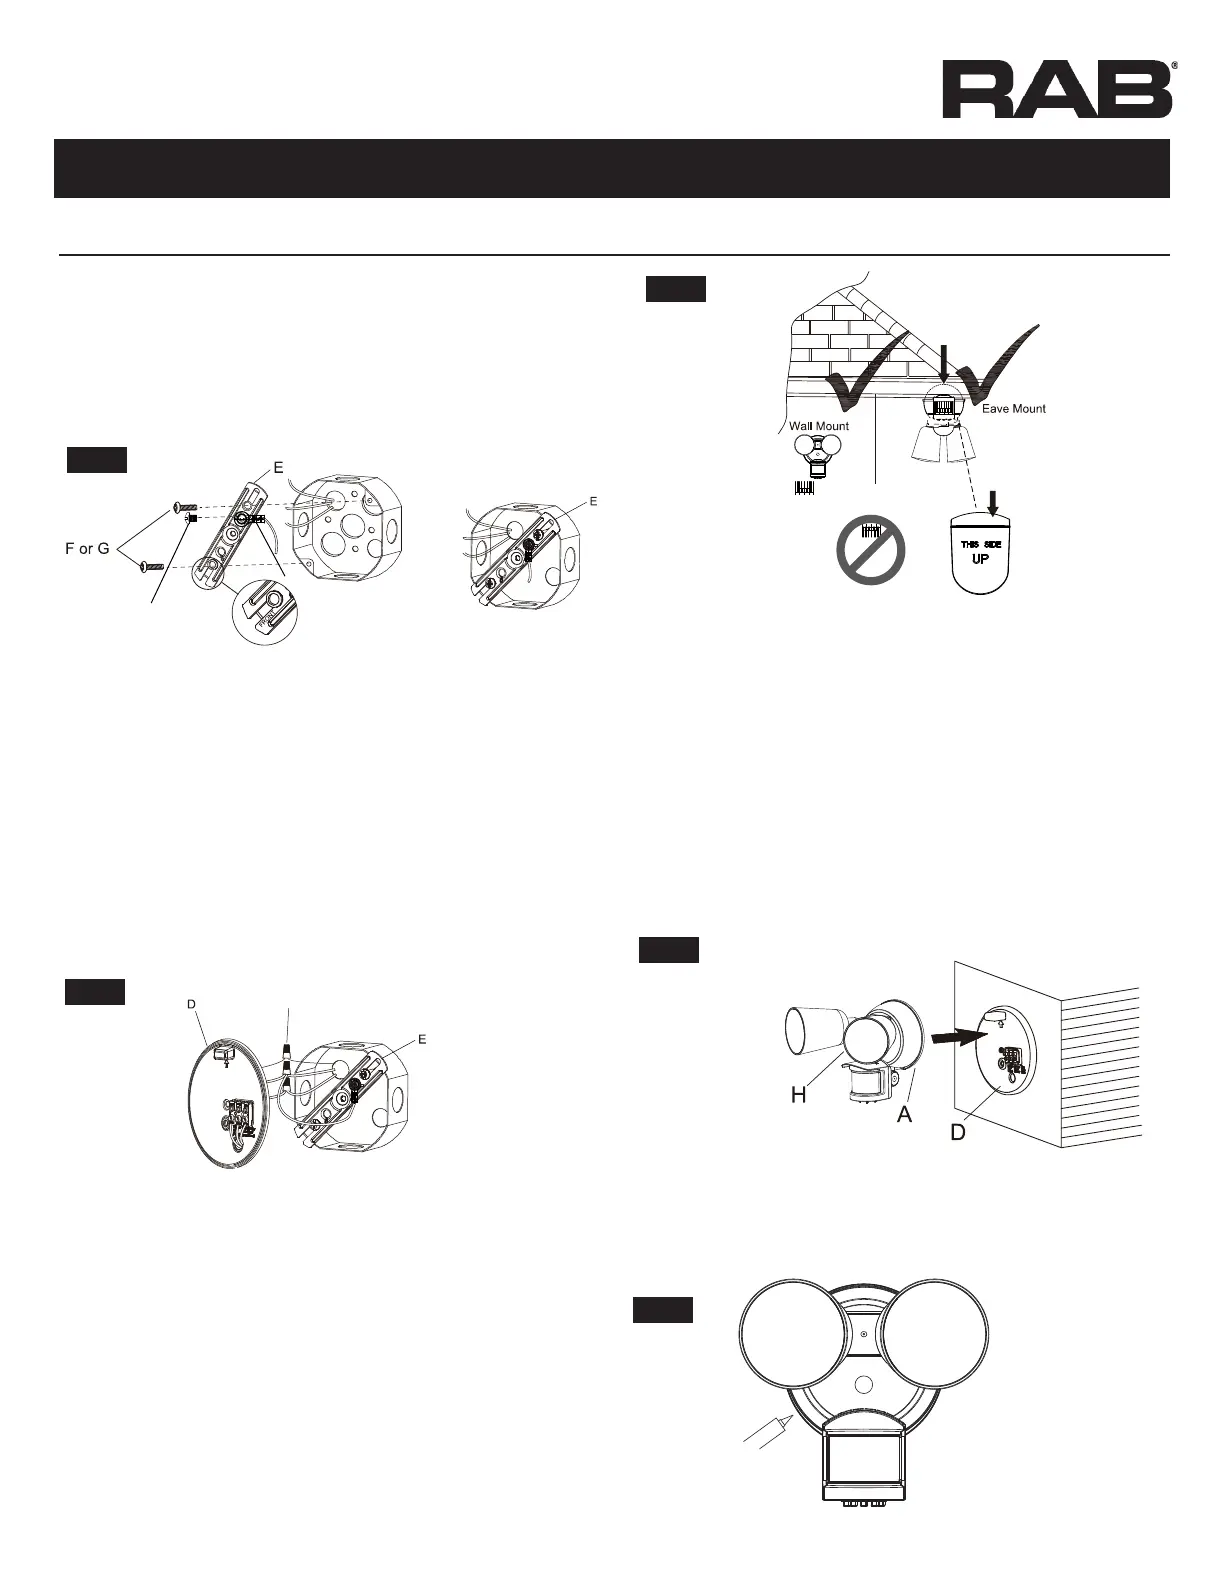
Step 1: Installing the Mounting Bracket (see parts list on last page)
Line up the holes on the Mounting Bracket with the holes on
your Junction BoxMounting Screws (F or G).
Ground Screw (K).
Step 2: Making the Electrical Connections.
Caution: Do not cut any wires with factory installed wire
connectors or remove the wire connectors
White to Neutral
Black to Line
Green ground wire to House ground
Note: Make sure the polarity is correct.
INSTALLATION
K
J
I
Fig: 3
Fig: 4
Fig: 5
Step 4: Mounting the Light Fixture.
edge of the Mounting Plate
the Mounting Plate
centered on the Mounting Plate
Tighten the large pre-installed Mounting Bolt
through the center of the Mounting Plate
Push the Decorative Cap Mounting
Bolt Hole
Fig: 6
Step 3: Installing the Mounting Plate.
Place the Mounting Plate (D) against the Junction Box
When mounting to a wall, the “UP” arrow
When mounting to an eave, the “UP” arrow must point toward
Insert the small mounting bolt (B) through the Mounting
Plate (D) hole and Mounting Bracket
Firmly pull on the Mounting Plate (D) to verify it is securely
attached to the Mounting Bracket
Step 5: Caulking Around the Light Fixture.
sealant (not included)
Fig: 7
 Loading...