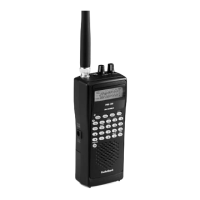
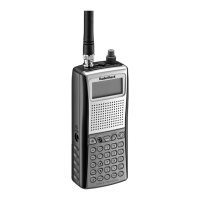
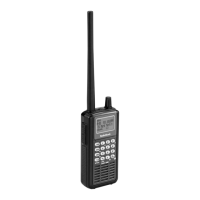
Connecting the Antenna
Attach the supplied antenna
to the scanner by screwing it
tightly onto the anchor post at
the top of the scanner.
When using an external
antenna, always use 50-ohm,
RG-58, or RG-8, coaxial
cable to connect to it. If the
antenna is over 50 feet from
the scanner, use RG-8 low-loss
dielectric coaxial cable. If your
antenna’s cable does not have
an SMA connector, your local
RadioShack store carries a
variety of SMA adapters.
Attaching the Belt Clip
1. Align the belt clip so that
the finger indentation is
towards the top of the
scanner.
2. Align the center of the clip with the anchor
post.
3. Place the clip on the post and slide the clip
upwards until it clicks into place.
To remove the belt clip:
1. Rotate the clip so that the finger indentation
is towards the bottom of the scanner.
2. Slide the clip up until it comes free of the
anchor post.
Powering Your Scanner
You can power your scanner with three AA
batteries (not supplied) or an external power
source (not supplied).
Batteries
For the longest operation and best performance,
use alkaline batteries, available at your local
RadioShack store, or use RadioShack nickel-
metal hydride (Ni-MH) rechargeable batteries.
To install batteries:
1. Slide open the battery compartment cover on
the back of the scanner.
2. Set the switch according to the type of
batteries you are installing: ALKALINE
or Ni-MH.
3. Place 3AA batteries into
the battery comparment.
4. Replace the cover.
To charge batteries:
1. Set the switch to Ni-MH.
2. Install rechargeable batteries.
3. Connect an external power source to the
6V 800mA jack.
The scanner stops charging automatically after a
maximum of 14 hours.
Warning: Only set the switch inside the
battery compartment to Ni-MH for use with
Ni-MH rechargeable batteries. Never use non-
rechargeable batteries when the switch is set to
Ni-MH.
Alkaline / Ni-MH
Switch
 Loading...