6 7
Setup
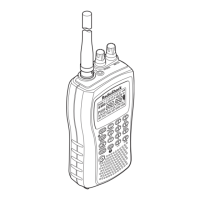
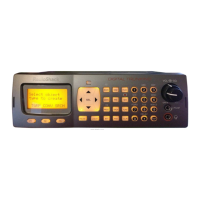
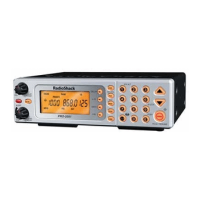
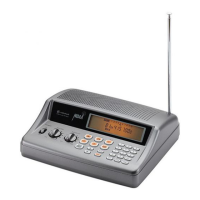
Connecting the Antenna
Toattachthesuppliedtelescopicantenna,insertthe
antenna in the hole on the top of the scanner and turn
the antenna clockwise to tighten.
Connecting an Outdoor Antenna
To connect an externalantenna,followtheinstallation
instructionssuppliedwiththeantenna.Use50Ohm
coaxialcable,suchasRG-58orRG-8.Forlengthsover
50feet,useRG-8low-lossdielectriccoaxialcable.If
theantennacable’sconnectordoesnothaveaBNC
connector,youwillalsoneedaBNCadapter(availableat
your local RadioShackstore).
w Warning: Use extreme caution when installing or removing
an outdoor antenna. If the antenna starts to fall, let it go! It could
contact overhead power lines. If the antenna touches a power
line, touching the antenna, mast, cable, or guy wires can cause
electrocution and death. Call the power company to remove the
antenna. DO NOT attempt to do so yourself.
Connecting a Speaker or Headphones
Youcanpluganampliedspeakerorheadphones
(notsupplied)withÇinch(3.5mm)mini-plugintothe
HEADPHONEjackonthebackofthescanner.This
automatically disconnects the internal speaker.
Note:Useanampliedspeakerwiththisscanner.Non-
ampliedspeakersdonotprovidesucientvolumefor
comfortable listening.
Listening Safely
Toprotectyourhearing,followtheseguidelines:
• Donotlistenathighvolumelevels.Extendedhigh-
volume listening can lead to permanent hearing loss.
• Setthevolumetothelowestsetting.Thenturn
onyouraudiodeviceandadjustthevolumetoa
comfortable level.
• Avoidincreasingthevolume.Yourearswilladapt
tothevolumelevel,soalevelthatdoesnotcause
discomfort could still damage your hearing.
Powering Your Scanner
1. Connectthesuppliedadaptertothescanner’sDC
9Vjackandastandardpoweroutlet.
2. Todisconnect,unplugtheadapterfromthepower
sourcerst.
Caution: YoumustuseaClass2powersourcethat
supplies9VDCanddeliversatleast400mA.Itscentertip
mustbesettopositiveanditsplugmusttthescanner’s
DC 9Vjack.Usinganadapterthatdoesnotmeetthese
specicationscoulddamagethescannerortheadapter.
Turning on the Scanner
1. Turn the SQUELCH all the way down before you turn
on the scanner.
2. Slide POWER to ON.Awelcomemessageappears.
Afterabout3seconds,adjustVOLUME to a
comfortable level.
3. Turn SQUELCHclockwise,justuntilthehissing
soundstops.Ifyoualwayshearahissingsound,the
scanner will not scan or search properly.
• Tolistentoaweakordistantstation,turnSQUELCH
counterclockwise.
• Ifreceptionispoor,turnSQUELCH clockwise to cut
out weak transmissions.
Turning O the Key Tone
The scanner is preset to sound a tone each time you
press one of its keys.
To turn the key tone on and o:
1. Turn on the scanner. WELCOME SCAnnInG rECEIVEr
appears.
2. Whilethewelcomemessageisonthescreen,press1
to turn on the key tone or press 2 toturnito.
 Loading...

