- 12 -
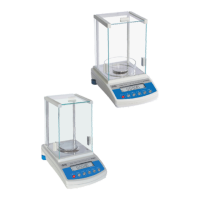
PS balance, d=0.001g PS balance, d=0.01g
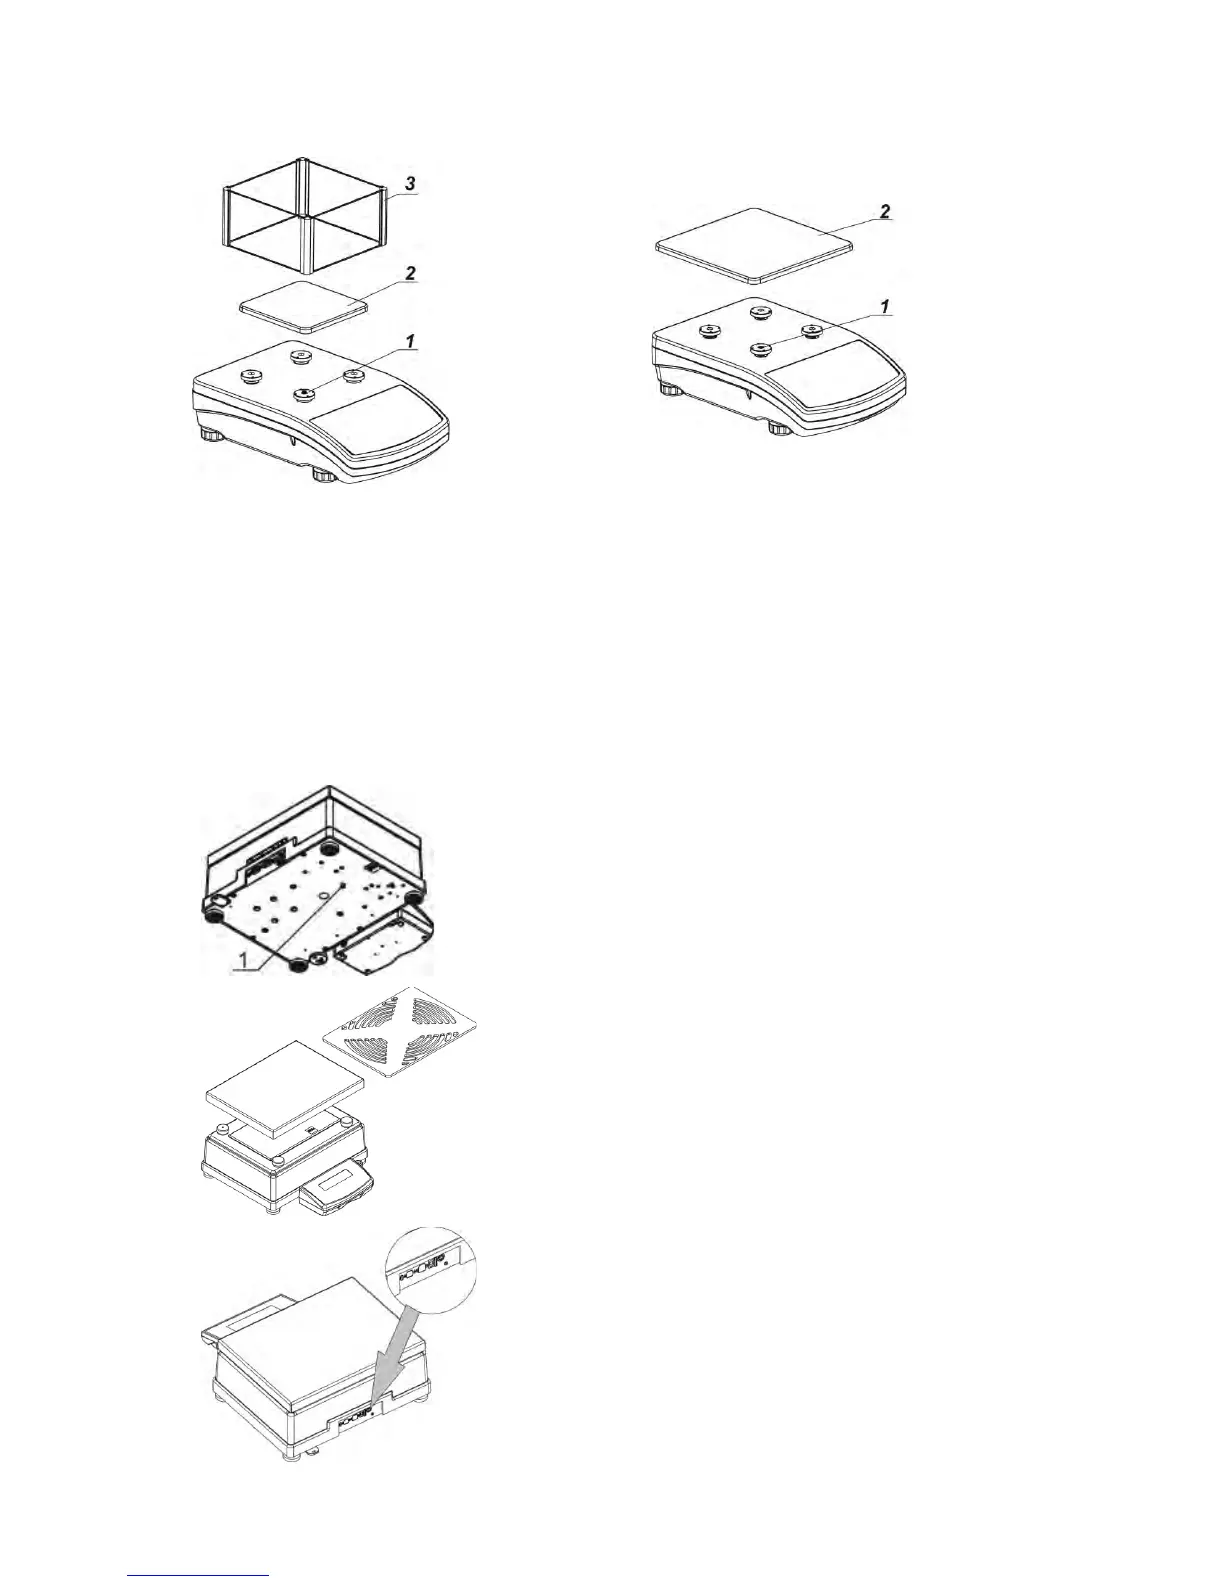
•
remove tape protecting the grounding spring, located on one of the rubber mandrels (1)
• install components following the above diagram:
• weighing pan (2),
• glass draft shield (3).
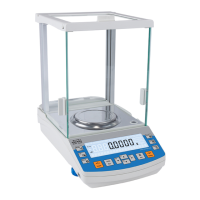
APP balance
APP 10.R1 and APP 10.R2 balances are equipped with 2 weighing pans which can be used in turns.
It must be remembered that balance activation is only possible with one weighing pan assembled at
a time. Attempt of activating the balance with two weighing pans assembled simultaneously will result
in display of „– LH –„ error. In such case one of the pans needs to be removed.
Remove the weighing pan, next remove a transport lock (if
installed).
For APP.R2 series undo bolt (1) installed to block adjustment
mechanism.
Install a weighing pan (for APP 10.R install one of the pans).
Make sure the weighing pan is placed properly on shock
absorbers: the weighing pan cannot touch the housing and
Connect an indicator using port located at the back, next
connect supplementary equipment.
Now, connect the device to the mains (power supply socket is
located at the back).
 Loading...