STEP 4: Reinstall Z-Endstop Limit Switch Board
⚫ Fix new Z-Endstop Board to original position with two fixing screws removed before.
⚫ Plug the cable back onto the Board.
STEP 5: Bed positioning
⚫ As replacing Endstop Board may affect Z home height, it is better to apply a height calibration
before printing. For the other two directions, calibration is not a necessary step.
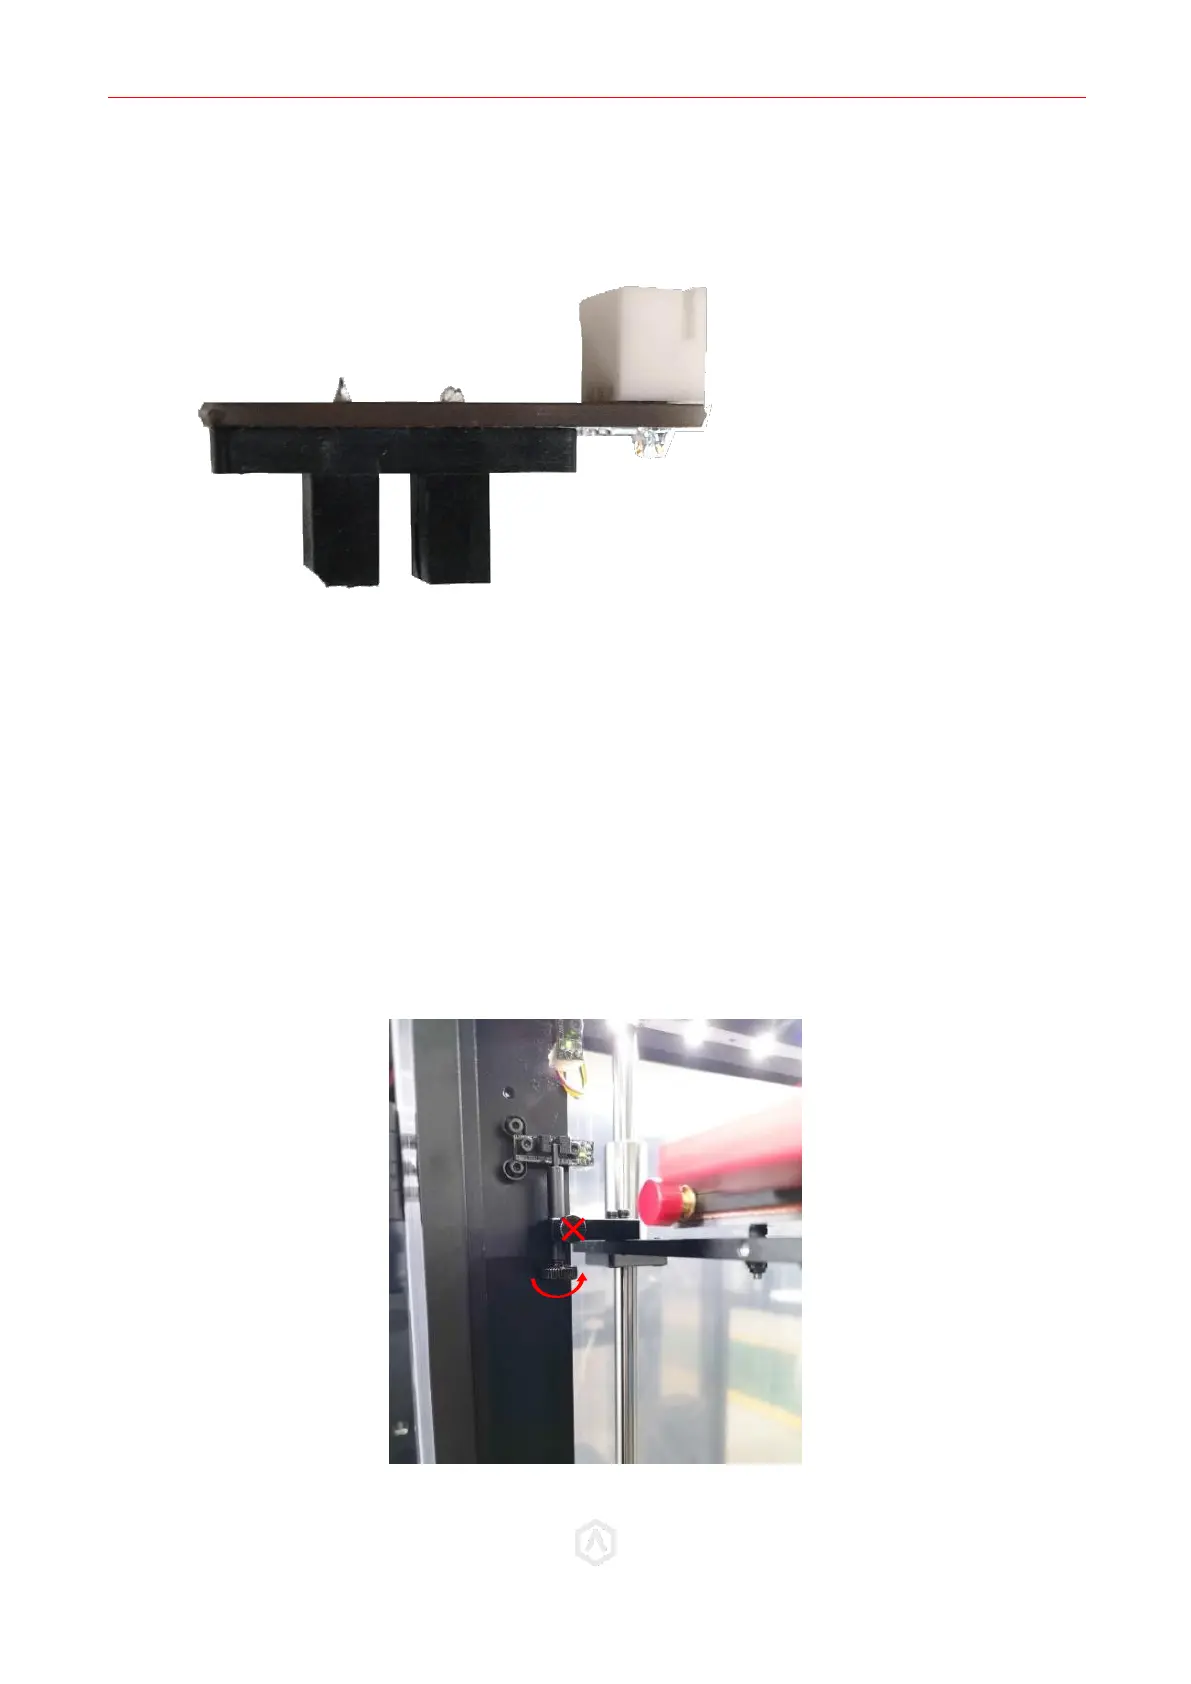
⚫ Loosen the Z thumbscrew by rotating it counter clockwise 1 full rotation.
⚫ Power on your unit.
Cooling fans will not be attached by this stage. Exercise caution when operating around
spinning parts.