12 TerraGator B Raven RS1™ ISO Guidance and Steering Installation Guide
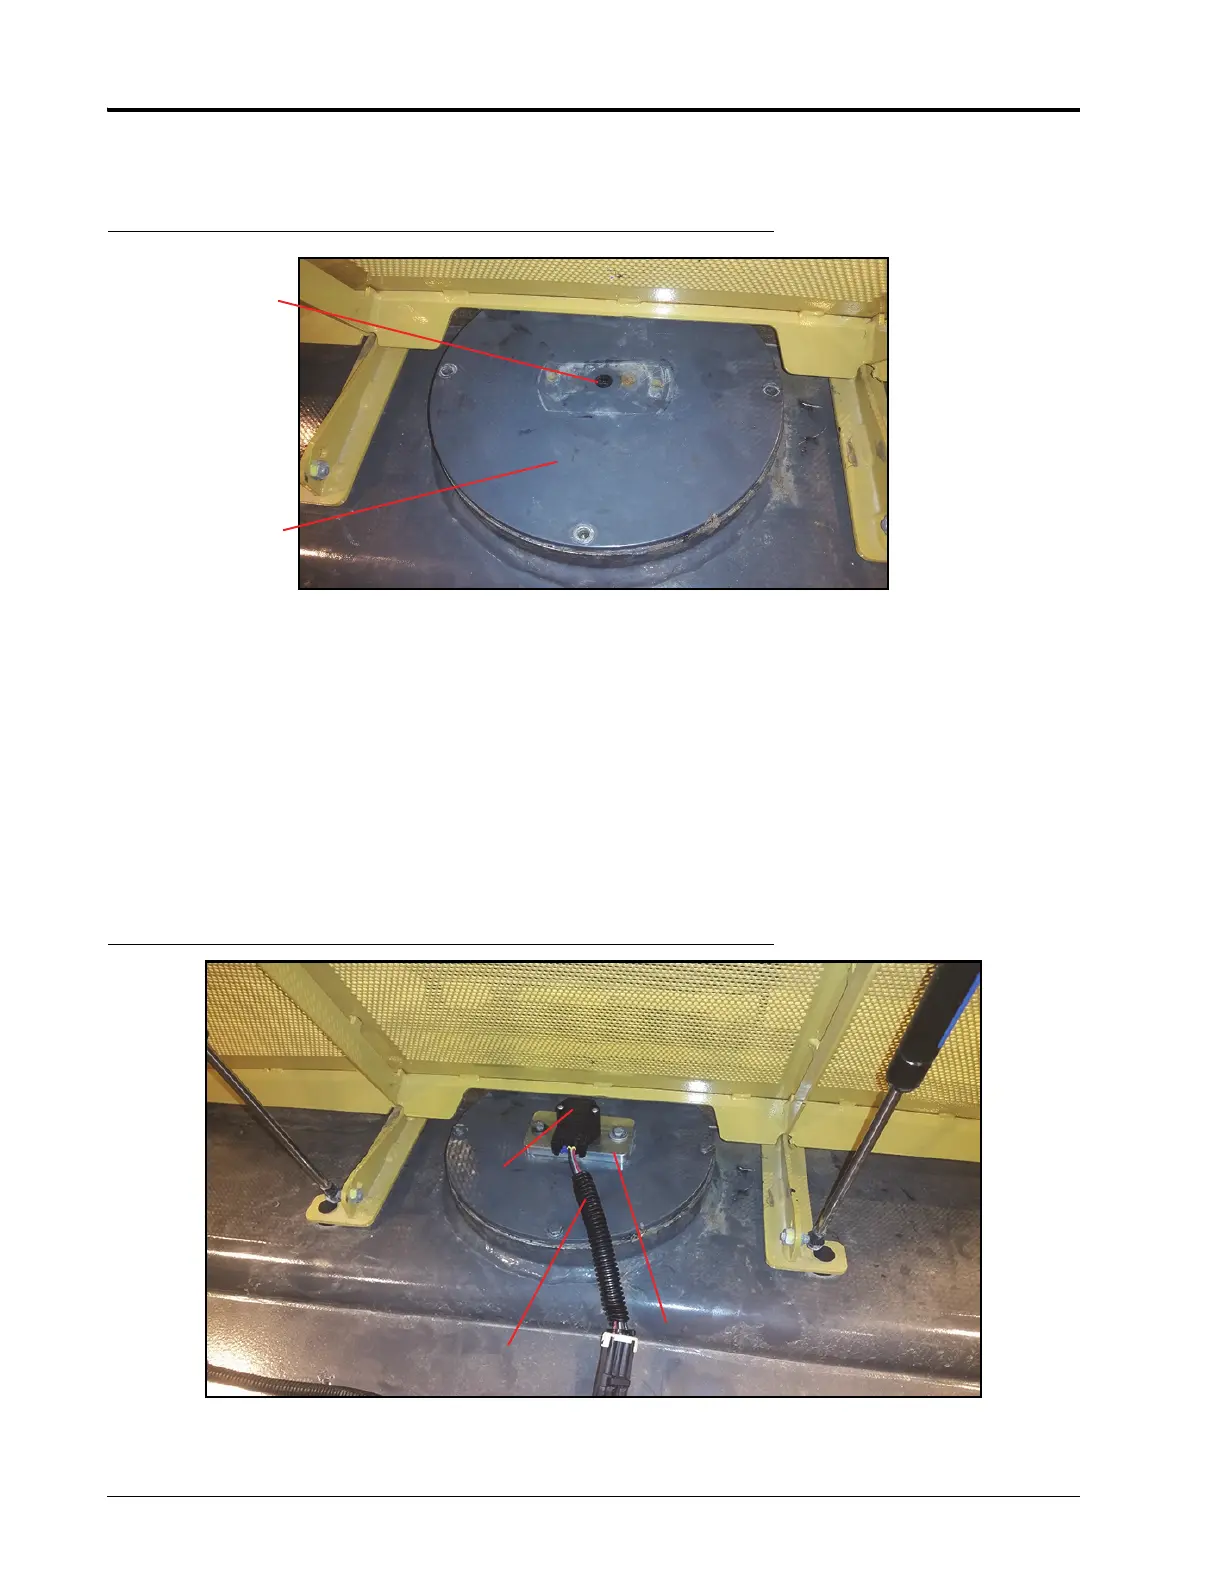
6. Temporarily reinstall the WAS mounting plate. The top of the plastic coupler should be flush, or slightly above,
the round plate.
FIGURE 22. Plastic Coupler on WAS Mounting Plate
7. If necessary, adjust the WAS shaft to obtain the correct plastic coupler height. After the plastic coupler is the
right height, tighten the jam nut.
NOTE: Ensure the flat on the D-shaft is still facing the cab, after height adjustment.
8. Reinstall and tighten the four bolts securing the large round plate.
9. Install the new WAS with the mounting block onto the machine. Verify that the flat on the D-shaft of the sensor
is pointed towards the electrical connector and towards the rear of the machine.
10. Use the provided #6 - 32 x 1.25” machine screws to attach the WAS to the mounting block. Reuse the OEM
fasteners to attach the mounting block to the WAS mounting plate.
FIGURE 23. Completed WAS Installation
11. Tighten all mounting hardware.
Plastic Coupler
WAS Mounting
Plate
WAS Sensor
WAS Adapter
Cable
WAS Mounting
Block
 Loading...