6 TerraGator B Raven RS1™ ISO Guidance and Steering Installation Guide
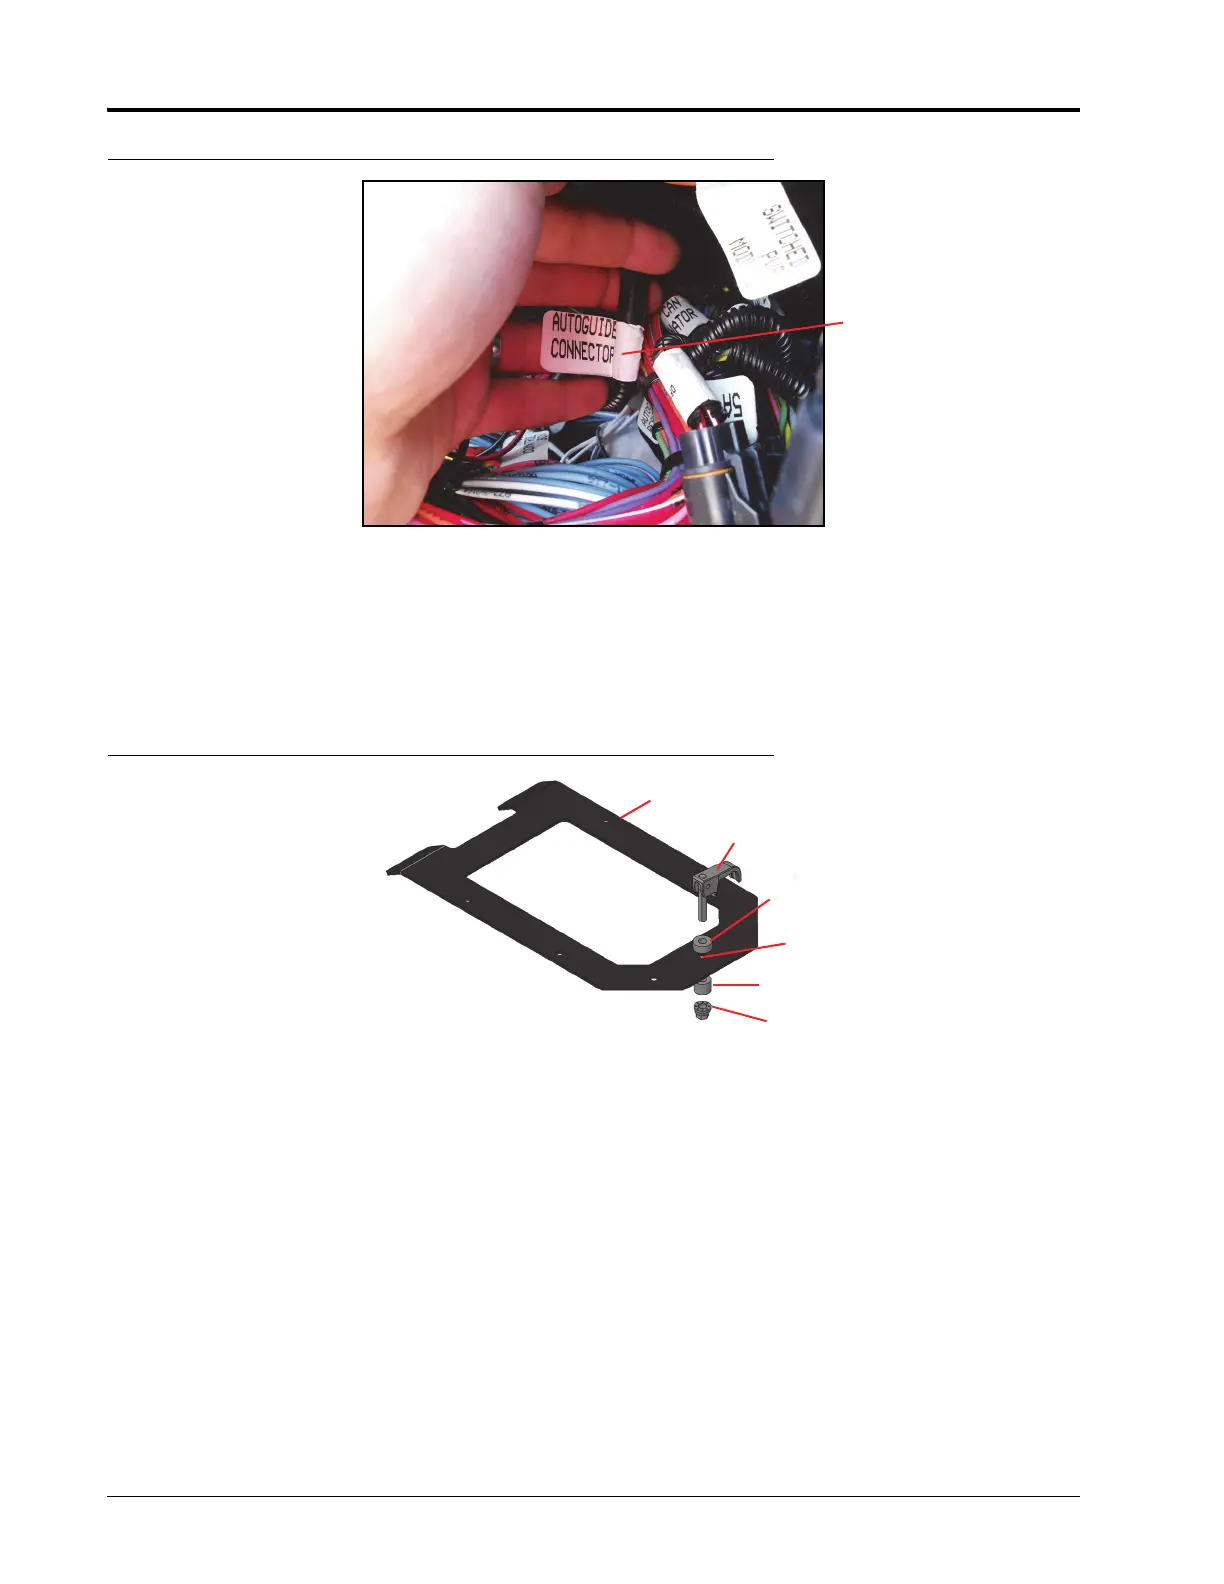
FIGURE 9. Autoguidance Connector
18. Insert the 6-pin connector labeled “Engage” into the machine’s mating connector.
19. Replace the corner access panel.
20.While ensuring the 12-pin Deutsch connector is fed out the back of the top of the cab, replace the cab cap.
21. Reinstall, but do not tighten, the front three bolts that secure the top of the cab to the frame.
22.Assemble the latch, rubber washer, plug assembly, and latch nut through the latch hole on RS1 mounting plate.
FIGURE 10. Latch Assembly
23. Mount the RS1 base plate to the RS1 unit using the four bolts provided. It should be mounted so, the mounting
tabs are to the right and the latch hole is to the left.
RS 1 Mounting Plate
RS 1 Mounting Plate
Rubber Washer
Latch Hole
Plug
Latch Nut
 Loading...