CHAPTER
3
Start Up: 9
CHAPTER 3
START UP
When powered on for the first time, the ROS device will prompt the operator to configure the machine before
proceeding. The following procedure is designed to assist the user or equipment owner with the initial set up and
configuration of the ROS device and is recommended to avoiding entering profile calibration information more
than once.
Please read the following procedure from start to finish before starting the initial setup. Completing the tasks in
the order presented in the following section will help ensure the ROS device and connected systems are ready for
operation in the shortest time possible.
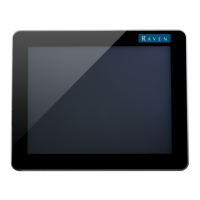
POWER BUTTON AND STATUS
To power up the ROS device, press the power button once.
The power status indicator will flash red and then should illuminate green. If the status indicator stays red or does
not illuminate, contact a local Raven dealer for additional assistance.
NOTE: Do not connect any USB drives or devices to the ROS device during the power up sequence.
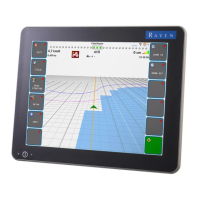
VIPER 4+ BUILT-IN SELF TEST
If the Viper 4+ fails to display a picture on the screen, perform a Viper 4+ self test to diagnose the issue. The built-
in self test will help determine if a black screen symptom is caused by a hardware issue or a software issue.
NOTE: This feature is not available on a Viper 4.
To perform a Viper 4+ self test:
1. Remove power from the Viper 4+ by disconnecting the four pin power plug.
2. Press and hold the power button on the side of the Viper 4+.
3. Reconnect the four pin power plug.
Power
Status
Power
Button
Viper 4
Viper 4+
Power
Button and
Power
Status