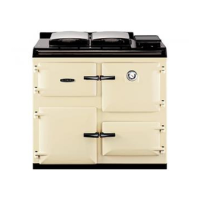
SEE FIG. 27
Follow instructions in sections BURNER ACCESS, Steps
1 to 3, and BURNER REMOVAL.
1. Remove plug.
2. Remove solenoid securing nut and washer.
3. Remove solenoid coil.
4. Fit new solenoid coil, re-assemble in reverse order.
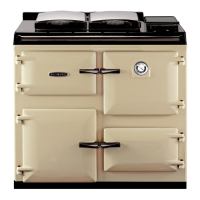
SEE FIG. 28
Follow instructions in section BURNER ACCESS, Steps 1
to 3.
1. Undo central fixing screw.
2. Gently pull control box away from base.
3. Fit new control box, re-assemble in reverse order.
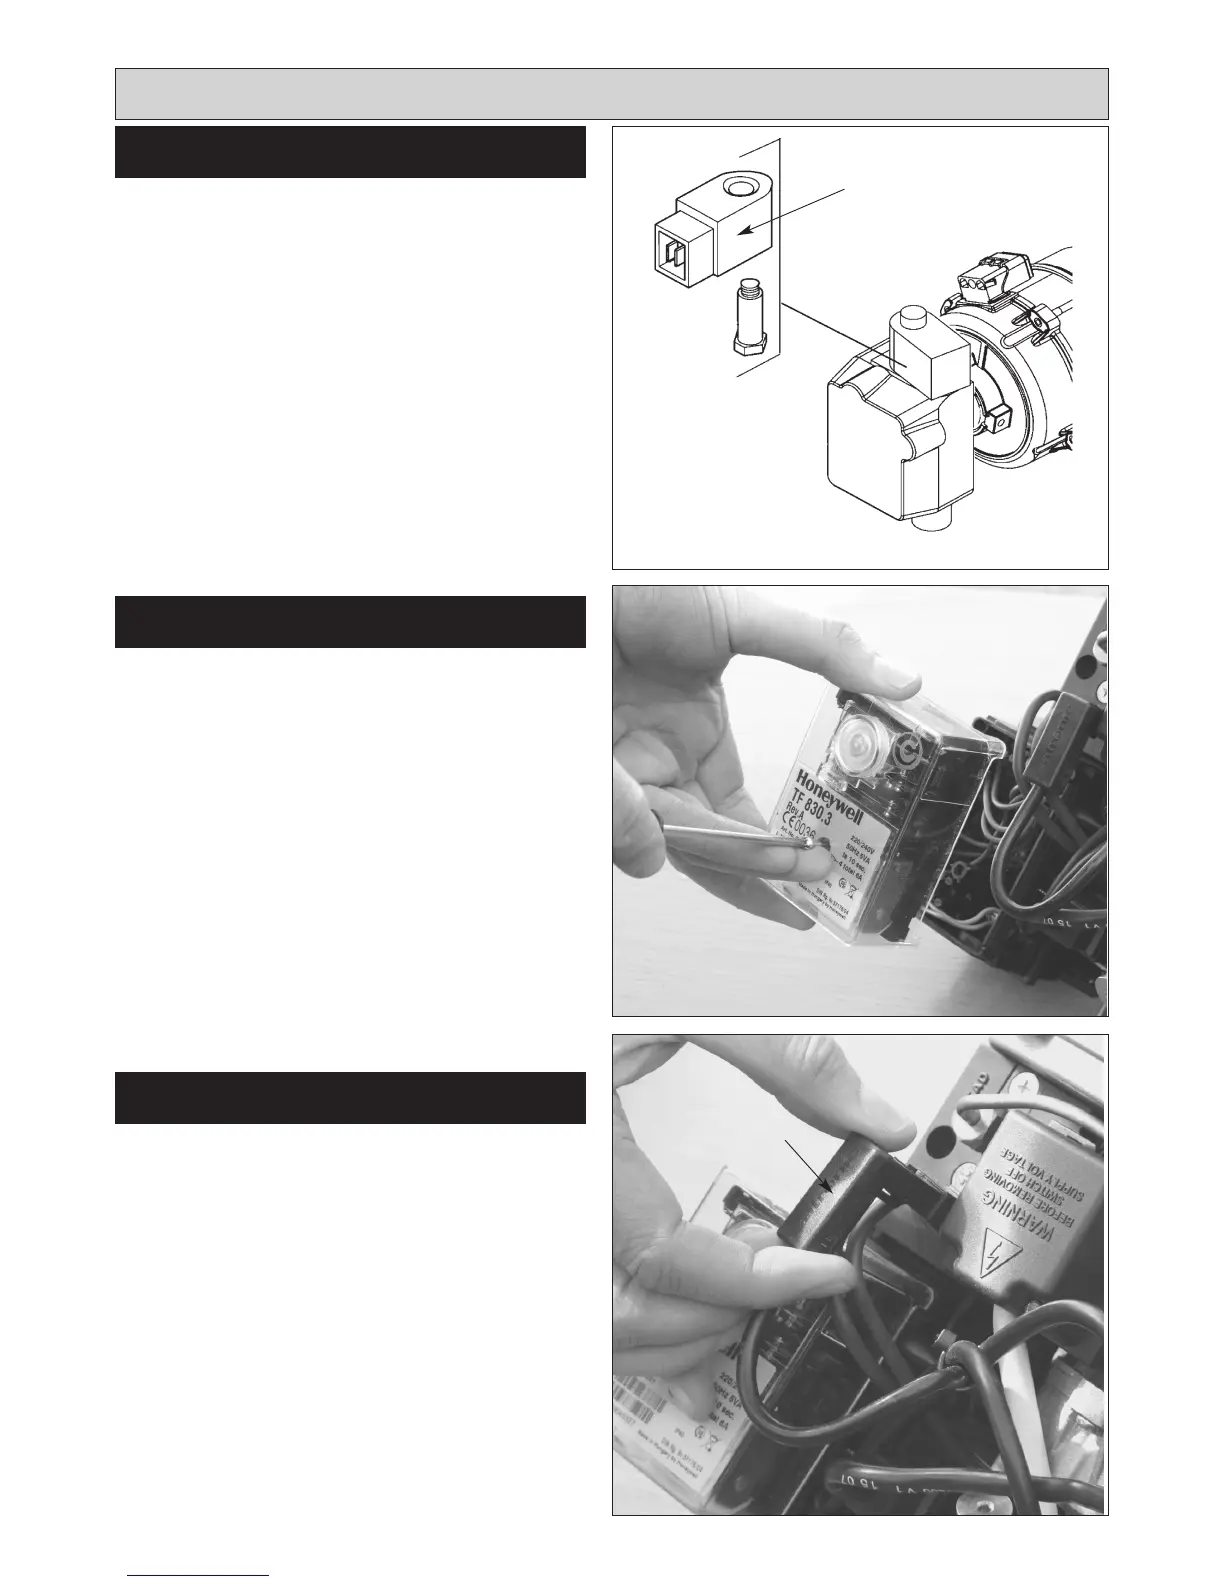
SEE FIG. 29
Follow instructions in section BURNER ACCESS, Steps 1
to 3.
1. Withdraw PEC from burner head.
2. Push in retaining clip and remove PEC from plug.
3. Fit new PEC.
4. Re-attach plug and re-insert PEC taking care to insert
the correct way round.
18
Replacement of parts (Burner)
Fig. 27 DESN 515972
SOLENOID COIL
Fig. 29 DESN 515974
Fig. 28 DESN 515973
CONTROL BOX
PEC
PHOTO
ELECTRIC
CELL
SOLENOID