Chapter 5: Installation 5-5
mounting surface, remove the two plastic tabs (1) obstructing the
cable channel.
Note: Failure to remove the plastic tabs from within the cable channel
could result in cable damage.
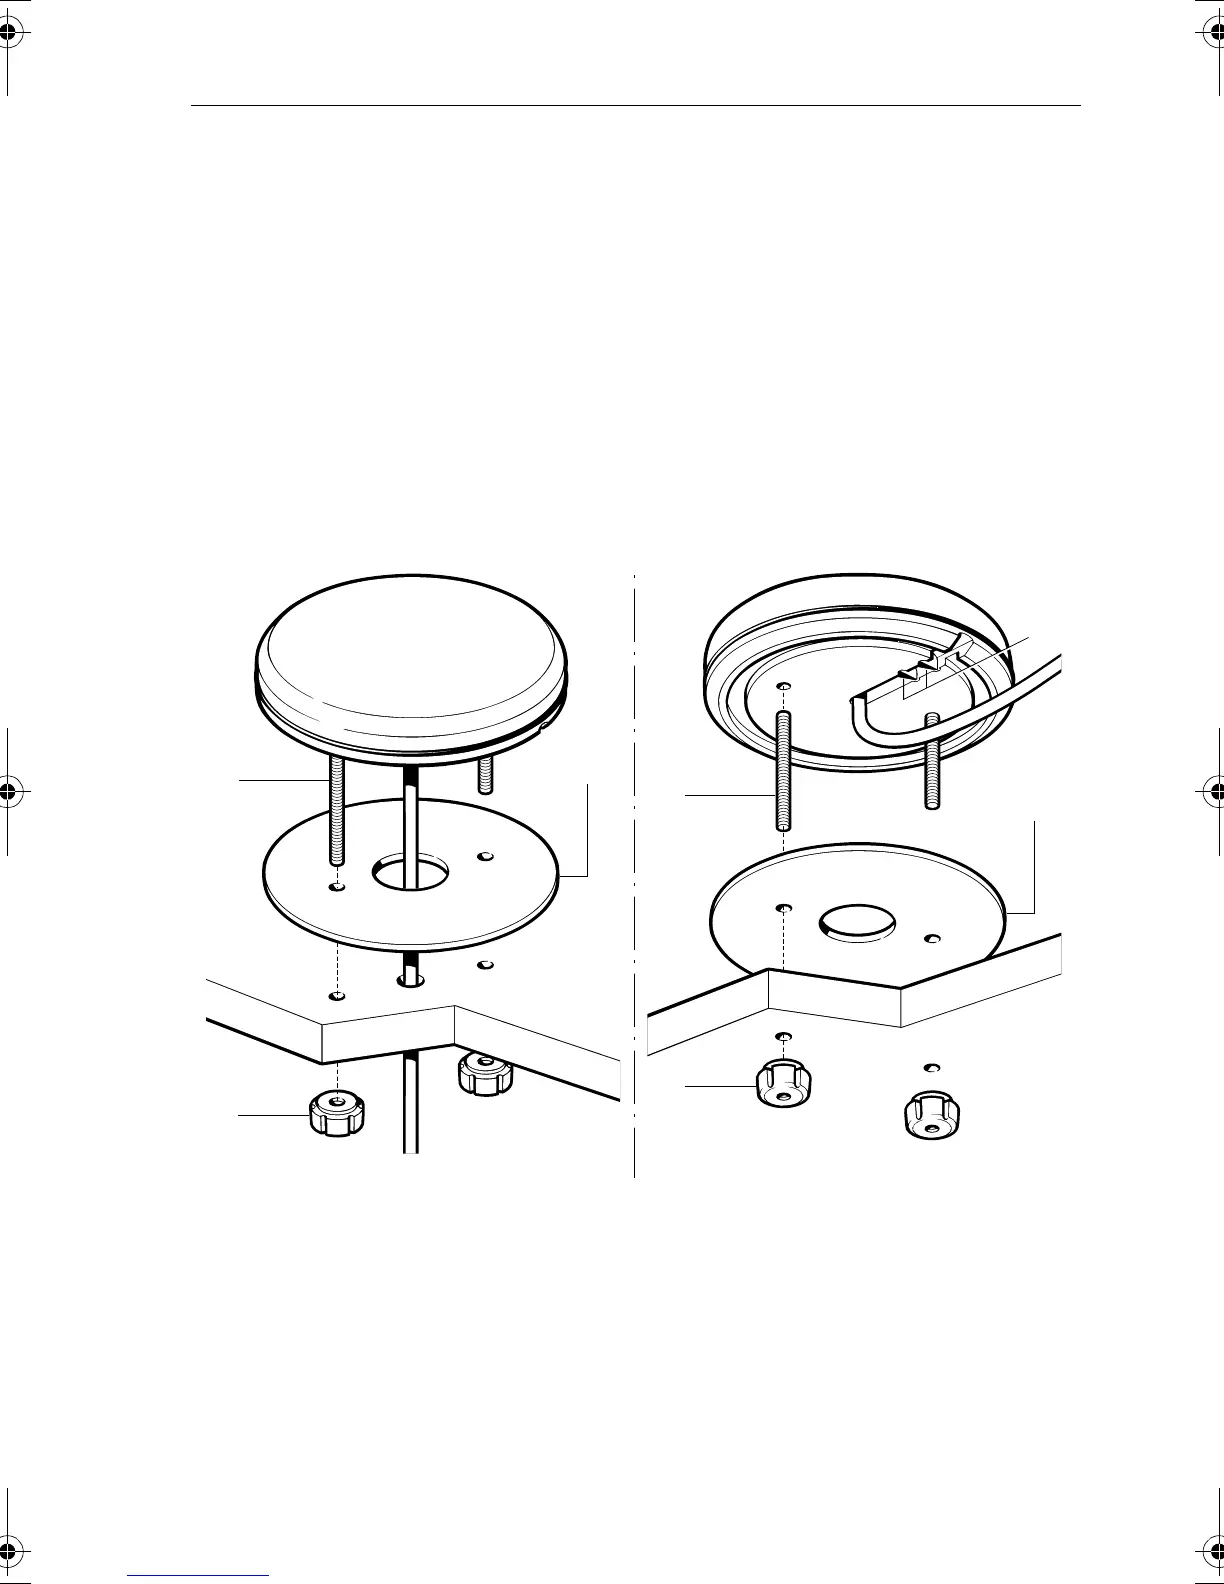
3. Screw the supplied brass studs (2) into the underside of the GPS
Antenna.
4. Affix the supplied gasket (3) to the mounting surface ensuring that the
holes match and pass the cable through the centre hole or the cable
exit channel.
5. Carefully position the GPS Antenna, passing the studs through the
holes in the mounting surface and secure to the mounting surface
using the thumb nuts provided (4).
Figure 5-2: Surface Mounting Arrangement
D4725_1
1
2
3
4
2
3
4
Top view
Underside view
81171_4.BOOK Page 5 Thursday, November 29, 2001 11:34 AM