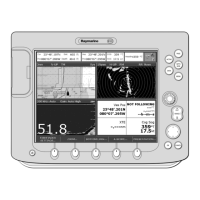
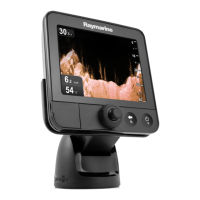
5-8 Raynav 300 GPS Plotter
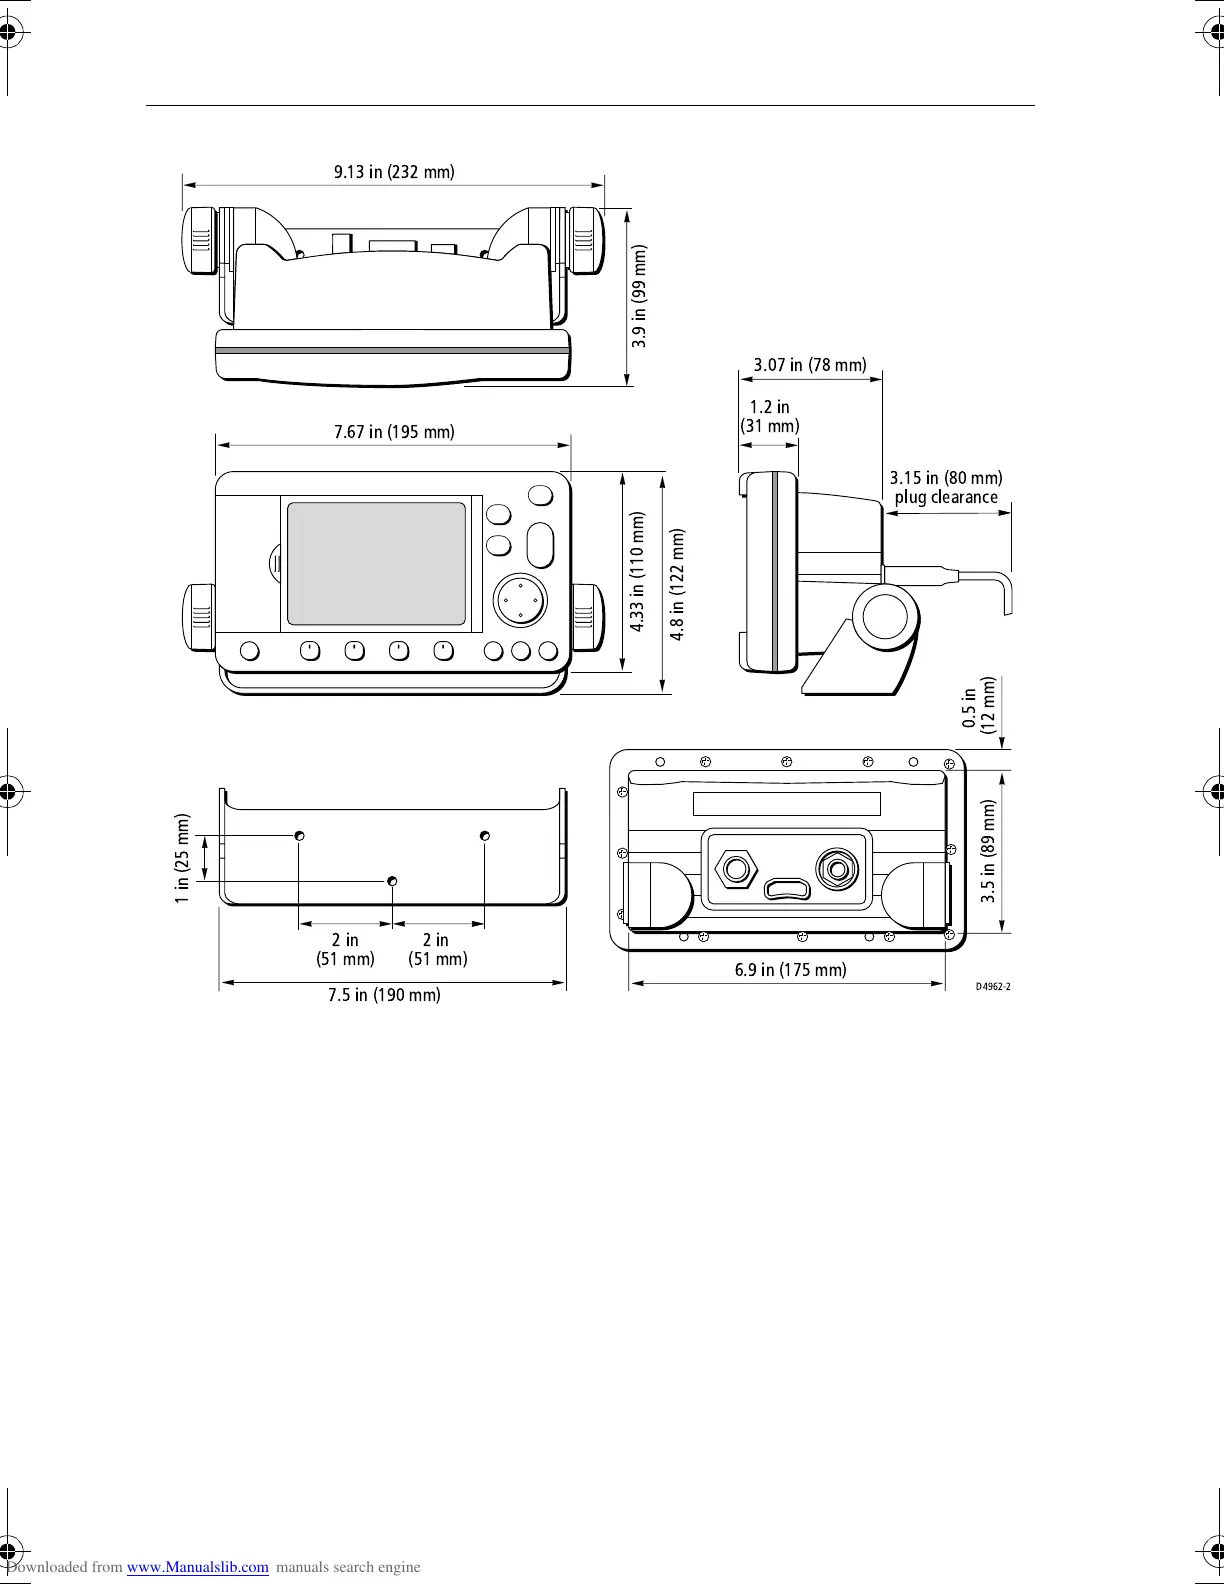
Figure 5-4: Raynav 300 GPS Plotter Dimensions
Trunnion (yoke) Mounting
The display unit can be conveniently mounted on a dash area, chart table,
bulkhead or deckhead.
Note: The gasket should be fitted to the rear of the unit to ensure EMC
compliance.
➤ To trunnion mount the display unit, proceed as follows:
1. Loosen the trunnion knobs and remove the trunnion from the display
unit.
2. Mark the locations of the trunnion screw holes on the mounting sur-
face.
3. Use the screws supplied to fix the trunnion at the marked locations.
D4962-2
3.15 in (80 mm)
plug clearance
3.07 in (78 mm)
1.2 in
(31 mm)
6.9 in (175 mm)
3.5 in (89 mm)
0.5 in
(12 mm)
3.9 in (99 mm)
7.67 in (195 mm)
9.13 in (232 mm)
7.5 in (190 mm)
4.33 in (110 mm)
4.8 in (122 mm)
1 in (25 mm)
2in
(51 mm)
2in
(51 mm)
81171_4.BOOK Page 8 Thursday, November 29, 2001 11:34 AM