16
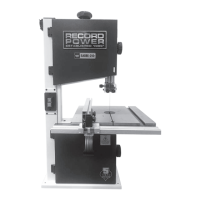
FENCE
FENCE BAR
MOVEMENT
ADJUSTMENT
COLLAR
FENCE BOLTS
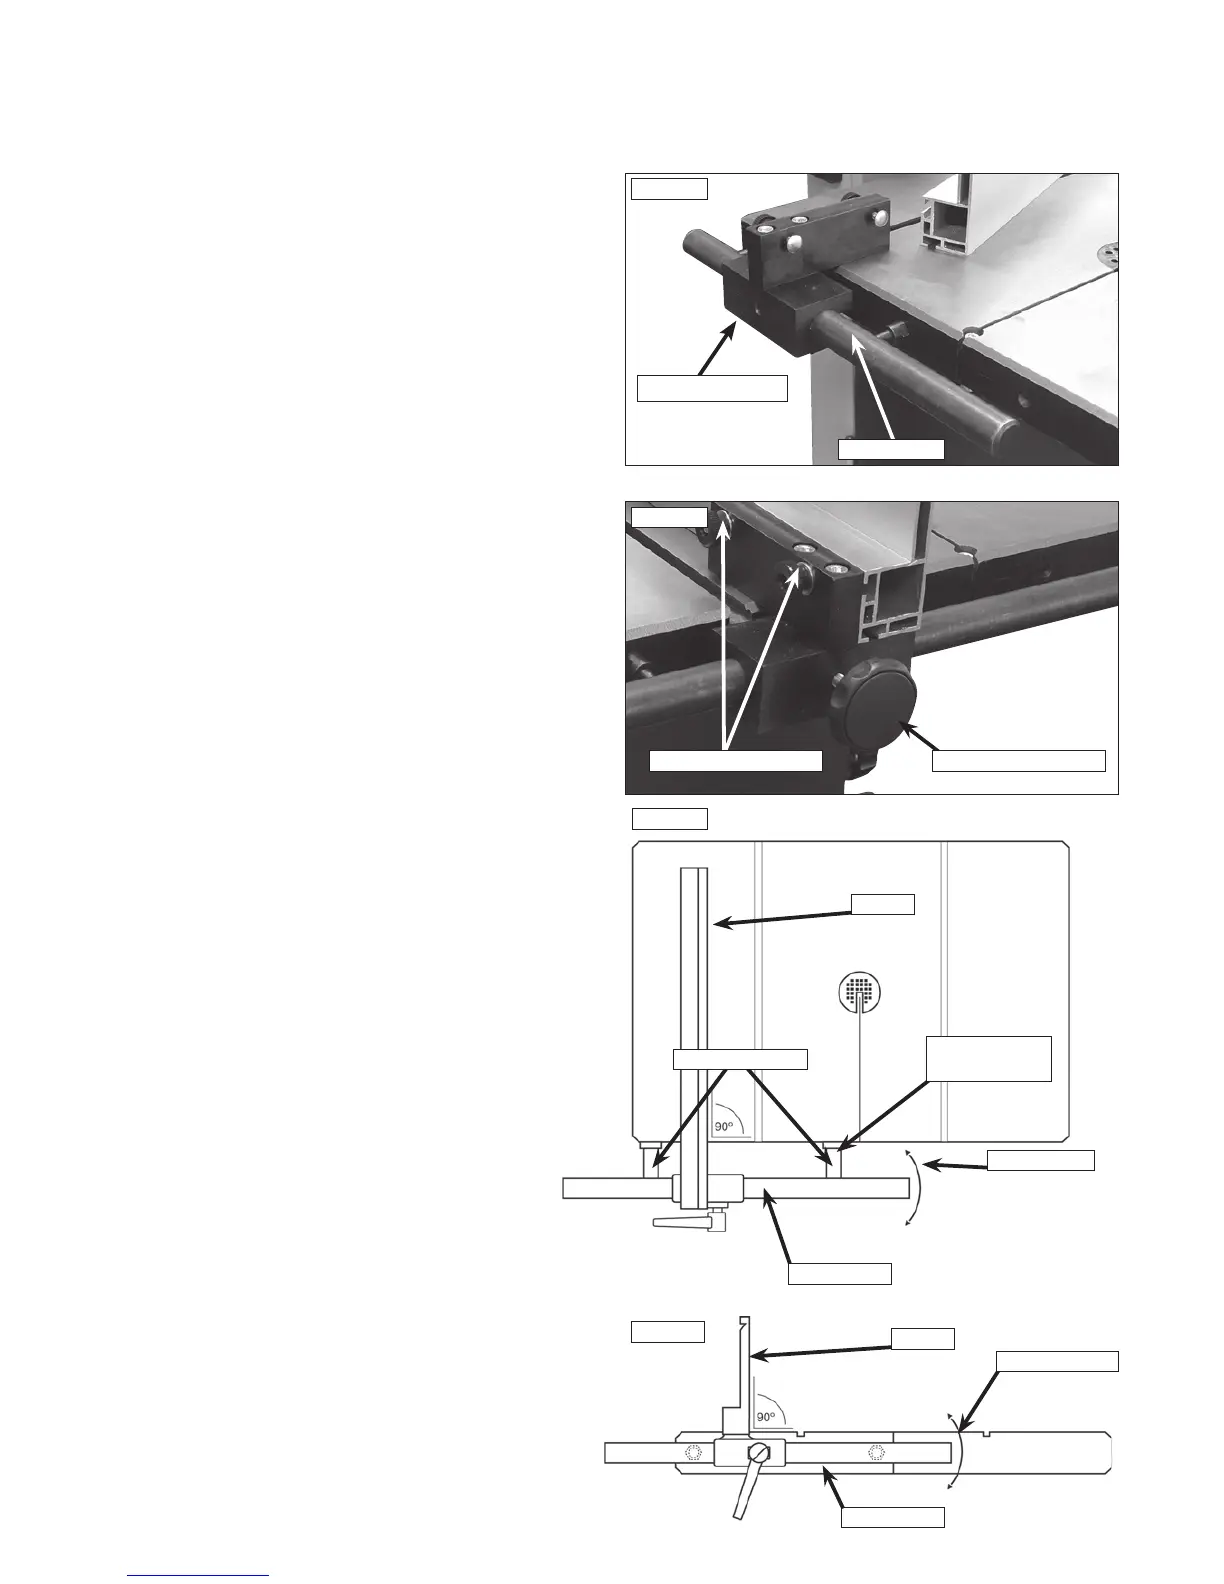
4.8 Fitting the fence carrier
Locate fence carrier onto the fence bar Fig.4.13.
4.9 Fitting the rip fence
Slide the rip fence onto the carrier as shown in Fig. 4.14 and tighten
the two securing knobs. The fence can be used in the upright position as
shown, or the other T slot can be used to give a lower position. This is ideal
for when working with small items, to allow the guides to be located closer
to the workpiece.
4.10 Fence alignment 1
Align the fence assembly in or out until parallel with the mitre fence
slot (See Fig.4.15) by turning the adjustment collars and the fence
bolts accordingly. If the fixing nuts have been tightened, these will need
slackening off before this adjustment can be made.
4.11 Fence alignment 2
Check that the fence is 90º to the table using a suitable square. If no
adjustment is needed, fully tighten the fence bar nuts. If adjustment is
required this is achieved by raising or lowering either side of the fence rail
until the fence itself is 90º to the table, (See Fig.4.16). Once set at 90º
fully tighten the fence bar nuts.
PLEASE NOTE: The fence bar can be located to either the left
or right hand side of the table, allowing the fence to be used
either side of the blade.
4. Machine Assembly - cont.
Fig.4.16
FENCE
FENCE BAR
ADJUSTMENT
Fig.4.15
Fig.4.13
FENCE BAR
Fig.4.14
FENCE LOCK KNOBSECURING KNOBS
FENCE CARRIER