12
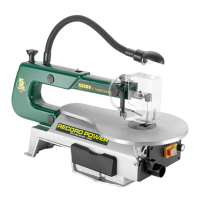
3.7 Fitting the fence assembly
Place the fence assembly onto the fence bar. Position the fence on to the
table and lock in place using fence Locking knob, Fig. 3.12.
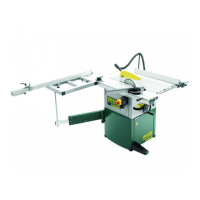
3.8 Fence alignment 1
Align the fence assembly in or out until parallel with the side of the mitre
guide slot by adjusting the fence bar nuts accordingly, see Fig. 3.13.
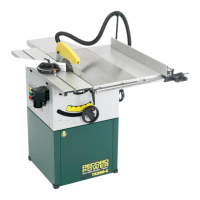
3.9 Fence alignment 2
Check that the fence is 90º to the table using a suitable square. If no
adjustment is needed fully tighten the fence bar nuts. If adjustment is
required this is achieved by raising or lowering either side of the fence rail
until the fence itself is 90º to the table, Fig. 3.14. Once set at 90º, fully
tighten the fence bar nuts.
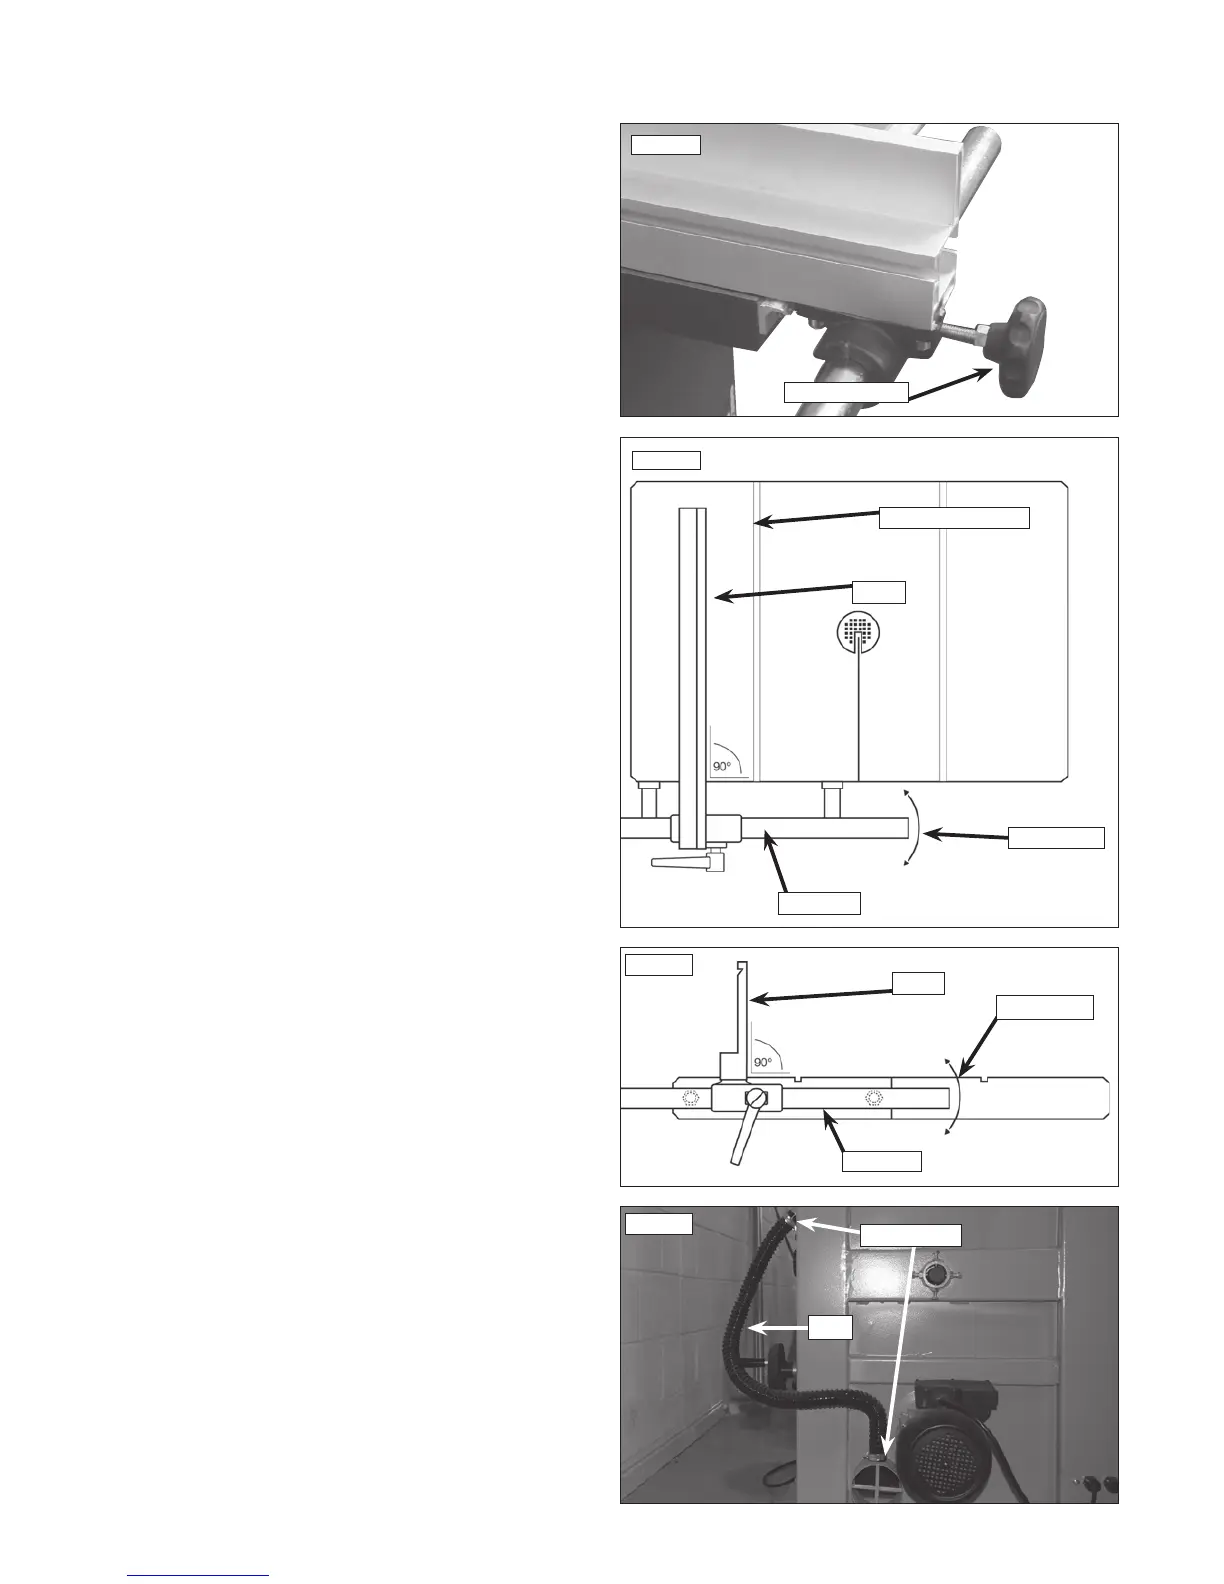
3.10 Dust Extraction Hose
To install the dust extraction hose, attach it to the outlet near the top of the
lower band wheel box and the inlet at the rear of the base of the bandsaw,
Fig. 3.15.
Fig. 3.12
Locking knob
Fig. 3.14
Fence
Fence bar
Adjustment
Fig. 3.13
Fence
Mitre guide slot
Fence bar
Adjustment
3. Machine Assembly - Cont.
Fig. 3.15
Hose
Jubilee clips
 Loading...