11
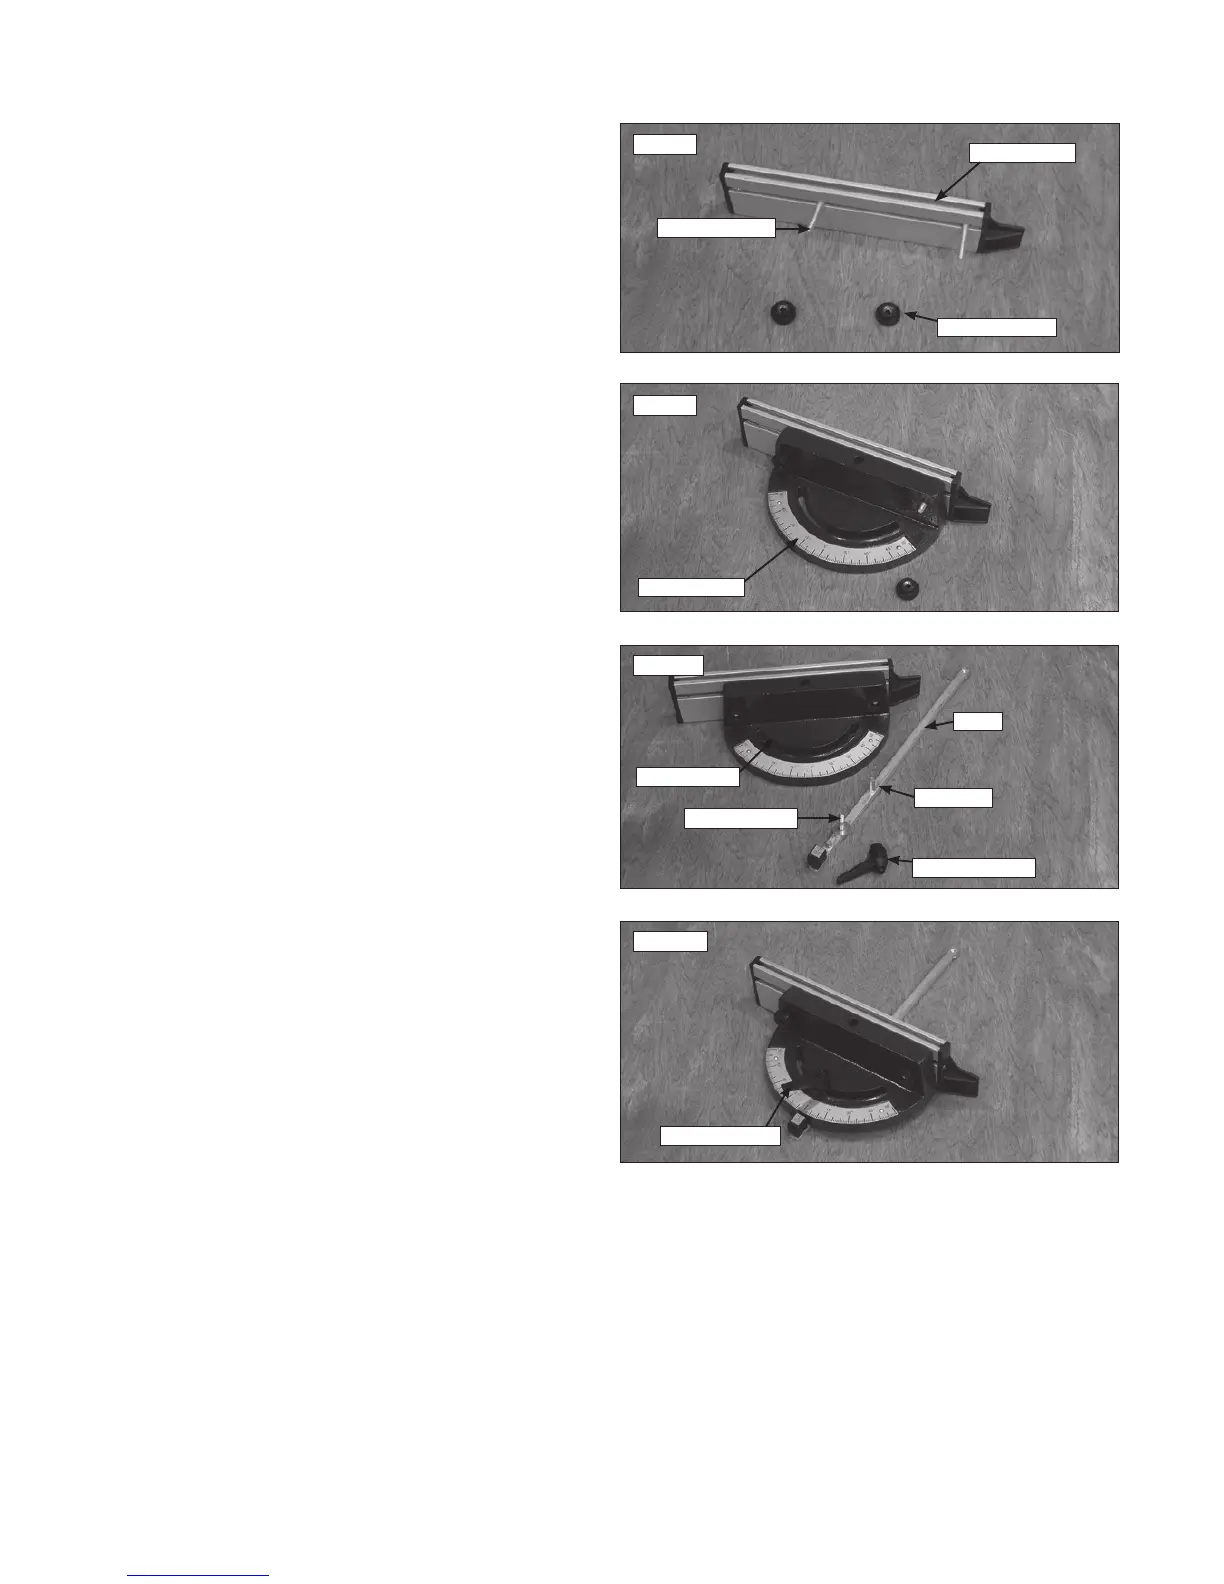
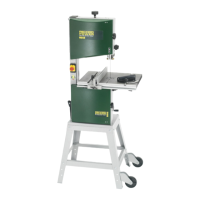
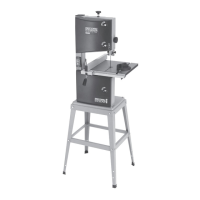
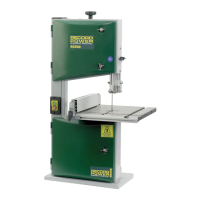
3.6 Assembling the mitre fence
1. Unscrew the locking nuts from the mitre fence Fig. 3.8.
2. Place the protractor with the flat edge running parallel to the mitre fence.
3. Position it in such a way that the fence screws slot into the holes on the
protractor Fig. 3.9.
4. Replace and re-tighten the locking nuts.
5. Position the slide underneath the protractor so that the threaded bar sits
in the angle slide and the pivot pin inserts into the pivot hole Fig. 3.10 and
Fig. 3.11.
6. Tighten the ratchet handle onto the threaded bar Fig. 3.11.
Fig. 3.8
Fig. 3.9
Fig. 3.10
Fig. 3.11
Mitre fence
Locking nuts
Protractor
Slide
Angle slide
Pivot pin
Threaded bar
Ratchet handle
Ratchet handle
3. Machine Assembly - Cont.
Fence screws


 To Next Page