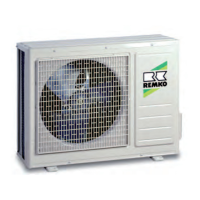
5.8 Wall bracket for the indoor unit
Fig. 32: Mounting points for the wall bracket ML 263 DC IT-523 DC IT (front view, all dimensions in mm)
Unit type / dimensions A B C D E F G H I J
ML 263 DC IT-353 DC IT 400 400 245 195 50 50 60 339 306 95
ML 523 DC IT 470 470 320 265 70 70 55 415 365 105
All dimensions in mm. In each case the diameter of the pipe break-through is Ø
65 mm
The wall bracket for the units must be attached with suitable screws and anchors.
6 Installation
6.1
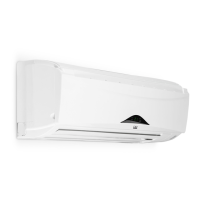
Installation of the indoor unit
The indoor unit is attached by means of a wall
bracket, taking into consideration the air outlet side
located in the lower part.
1. Mark the mounting points on the structurally
permissible building sections according to the
dimensions of the wall bracket.
2. If necessary, remove the break out opening
of the housing.
3. Connect the refrigerant piping, electrical
cables and condensate drainage line to the
indoor unit as described below.
4. Hang the indoor unit onto the wall bracket by
tilting it back slightly and by pressing the
bottom part of the unit against the bracket.
5. Check again that the unit is level. (
Fig. 33)
Fig. 33: Horizontal positioning
The wall bracket for the units must be attached
with suitable screws and anchors.
REMKO ML...DC
28