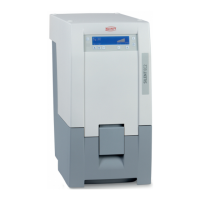
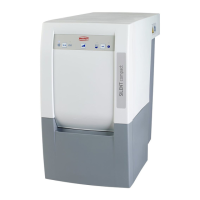
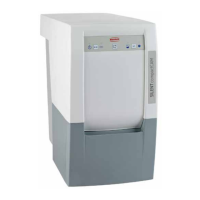
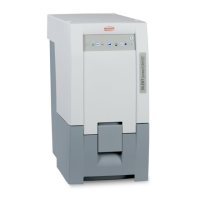
3.3 Filters
NEVER operate the dust extractor without
3.3.1 rE p l a c i n g t h E Fi n E pa r t i c l E Fi l t E r
Examine the ne particle lter regularly, but at least
annually, and replace it. It must always be replaced if
the “Change Filter” indicator (K) continues to go on,
despite the dust bag having been replaced.
• Pull the front panel forward and off (Figure 16).
• Turn the ne particle lter anticlockwise to release it
(Figure 17).
• Pull the ne particle lter straight forwards and out
of the unit (Figure 18) and dispose of it properly.
Always comply with all local ordinances
governing proper disposal and accident
prevention!
clothing may be required.
• Install a new ne lter and fully insert it over the
holder bar (Figure 19).
(refer to the spare parts list).
• Turn the ne particle lter clockwise and hand-tight-
en it in place (Figure 17).
• Inspect the seal on the front panel for damage and
replace it, as required (Figure 20).
• Snap the front panel in place (Figure 21, 22).
3.3.2 rE p l a c i n g t h E Ex h a u s t Fi l t E r
The exhaust lter primarily traps particles rubbed off
the suction turbine graphite brushes. The lter should
be replaced annually:
• Press on the four lock tabs on the lter cassette
and pull the cassette down and off the unit
(Figure 23).
• Properly dispose of the lter and the lter cassette.
Always comply with all local ordinances
governing proper disposal and accident
prevention!
clothing may be required.
• Insert a new lter mat in the lter cassette so that
the smooth, compressed side of the lter mat faces
down or outwards when the lter is installed.
• Install the new lter cassette on the exhaust air
vent.
• Make sure the lter cassette is properly seated and
locked in place on all four tabs.
(refer to the spare parts list).
3.3.3 rE p l a c i n g t h E El E c t r o n i c s Fi l t E r
Cooling air for the unit’s electronics passes through
the electronics lter. The type of material trapped by
the lter and the degree of contamination depend on
the ambient laboratory conditions.
The lter should be examined annually and replaced,
as necessary:
• Press on the two lock tabs on the lter cassette
and pull the cassette off towards the rear of the unit
(Figure 24).
• Properly dispose of the lter and the lter cassette.
Always comply with all local ordinances
governing proper disposal and accident
prevention!
clothing may be required.
• Install a new lter cassette and lter on the
opening.
• Make sure the lter cassette is properly seated and
locked in place on both tabs.
(refer to the spare parts list).
3.4 Replacing the Fuses
Before replacing any fuses, disconnect
the unit from the mains power supply by
unplugging the power cord from the wall
outlet.
The dust extractor is equipped with two fuses that
protect the unit against overloads (Figure 4b).
Only replace fuses with new ones that have the same
rating as those being replaced. Refer to the
"Technical Specications" Section.
Never use fuses with a higher rating.
Extraction units operating with 120V and
100V are not equipped with replaceable
fuses.
Instead, two device overload switches, T12A
(Figure 4b) are provided to protect these units.
Press the white button to reset a switch which has
tripped.
3.5 Replacing the Suction
Turbine
The suction turbine is encased in an encapsulating
housing to form a single unit, thus allowing it to be
easily replaced without the need for any tools.
Before opening the unit, disconnect it from
the mains power supply by unplugging the
power cord from the wall outlet.
The motor may be hot. Allow the motor to
cool off before proceeding.
The suction turbine may only be operated
when it is installed in the unit. Only an
authorized electrician may perform a func-
tional inspection of or repair the unit.
• Turn the lock knob 90° anticlockwise (Fig. 25).
Remove the motor compartment cover.•
• Pull the plug on the grey motor wire out of its socket
(Figure 26a).
• Loosen the two internal, grey knurled nuts
(Figure 26b) and unscrew them approx. 1 cm.
These knurled nuts do not need to be completely
removed.
• Release the suction turbine by turning it anticlock-
wise, then pull it straight out towards the back
(Figure 27).
• Install the new suction turbine (Figure 27) by push-
ing it in straight and turning it clockwise to lock it in
place (Figure 28). The connecting wire should be
on top (Figure 27a).
• Tighten the internal knurled nuts (Figure 26b).
• Plug the motor wire into the socket (Figure 26a).