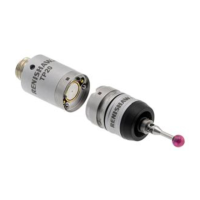
14. Using solvent cleaner and a clean, dry compressed air supply, blow all debris out of the MicroHole
in the access panel.
15. Remove the cleaning tool. Refit the access panel using the pin spanner. Tighten to 2.0 Nm
(1.48 lbf.ft).
16. Repeat the cleaning procedure for the other NC4+ Blue head (ensure both TX and RX heads are
clean).
After cleaning the NC4+ Blue
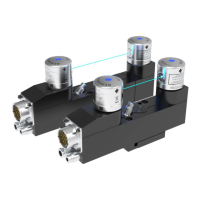
1. Reconnect and switch on electrical power to the interface unit (for more information, see “Applying
electrical power to the NCi-6 interface unit” on page 3.8).
2. Restore the air supply to the NC4+ Blue and adjust the pressure (for more information, see
“Setting the NC4+ Blue system air pressure” on 3.9).
3. If realignment is not necessary, set switch SW1-2 (NC set-up) on the interface unit to ‘On’. After
approximately 5 seconds, set the switch to ‘Off’.
4. Check that the system triggers. To do this, pass an object through the laser beam and check that
the NC4+ Blue unit’s status LED changes from blue to red and back to blue.
NC4+ Blue non-contact tool setting system installation guide
4.6
Maintenance
 Loading...