EasyManuals Logo

Renogy Adventurer User Manual

Renogy Adventurer
20 pages
To Next Page IconTo Next Page
To Previous Page IconTo Previous Page
Page #11 background imageLoading...
Page #11 background image
10
Surface Mount Attachment:
Wiring
The charge controller can also be mounted on a flat surface using the Adventurer Surface
Mount Attachment. In order to properly mount the charge controller, there is no need to
cut a section of the wall considering the charge controller can now be mounted on a flat
surface using the attachment. Mark and drill holes using the four pan head Phillips screws
that are provided specifically for the surface mount option.
1.Unscrew battery terminals by rotating counterclockwise to open the hatch. Then
connect the positive and negative battery connections in their appropriate labeled
terminal. The controller will turn on upon successful connection.
EN

Questions and Answers:

Question and Answer IconNeed help?

Do you have a question about the Renogy Adventurer and is the answer not in the manual?
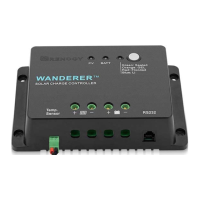
Renogy Adventurer Specifications

General IconGeneral
Rated Charge Current30A
System Voltage12V/24V Auto
Max PV Input Voltage50V
Max Output Current30A
SealingIP20
DisplayLCD
TypePWM Solar Charge Controller
Self-Consumption<10mA
Operating Temperature-35°C to +45°C
Max Input Power400W (12V), 800W (24V)
Battery TypeSealed, Gel, Flooded, and Lithium
ProtectionsOverload, Short-circuit
CommunicationRS232

Related product manuals