16
Preparation
Mounting Location
1. Tear off the mounting template in the Quick Guide of Renogy
ONE. You can also draw a picture according to the size
marked in the mounting template.
12V
Power
Supply
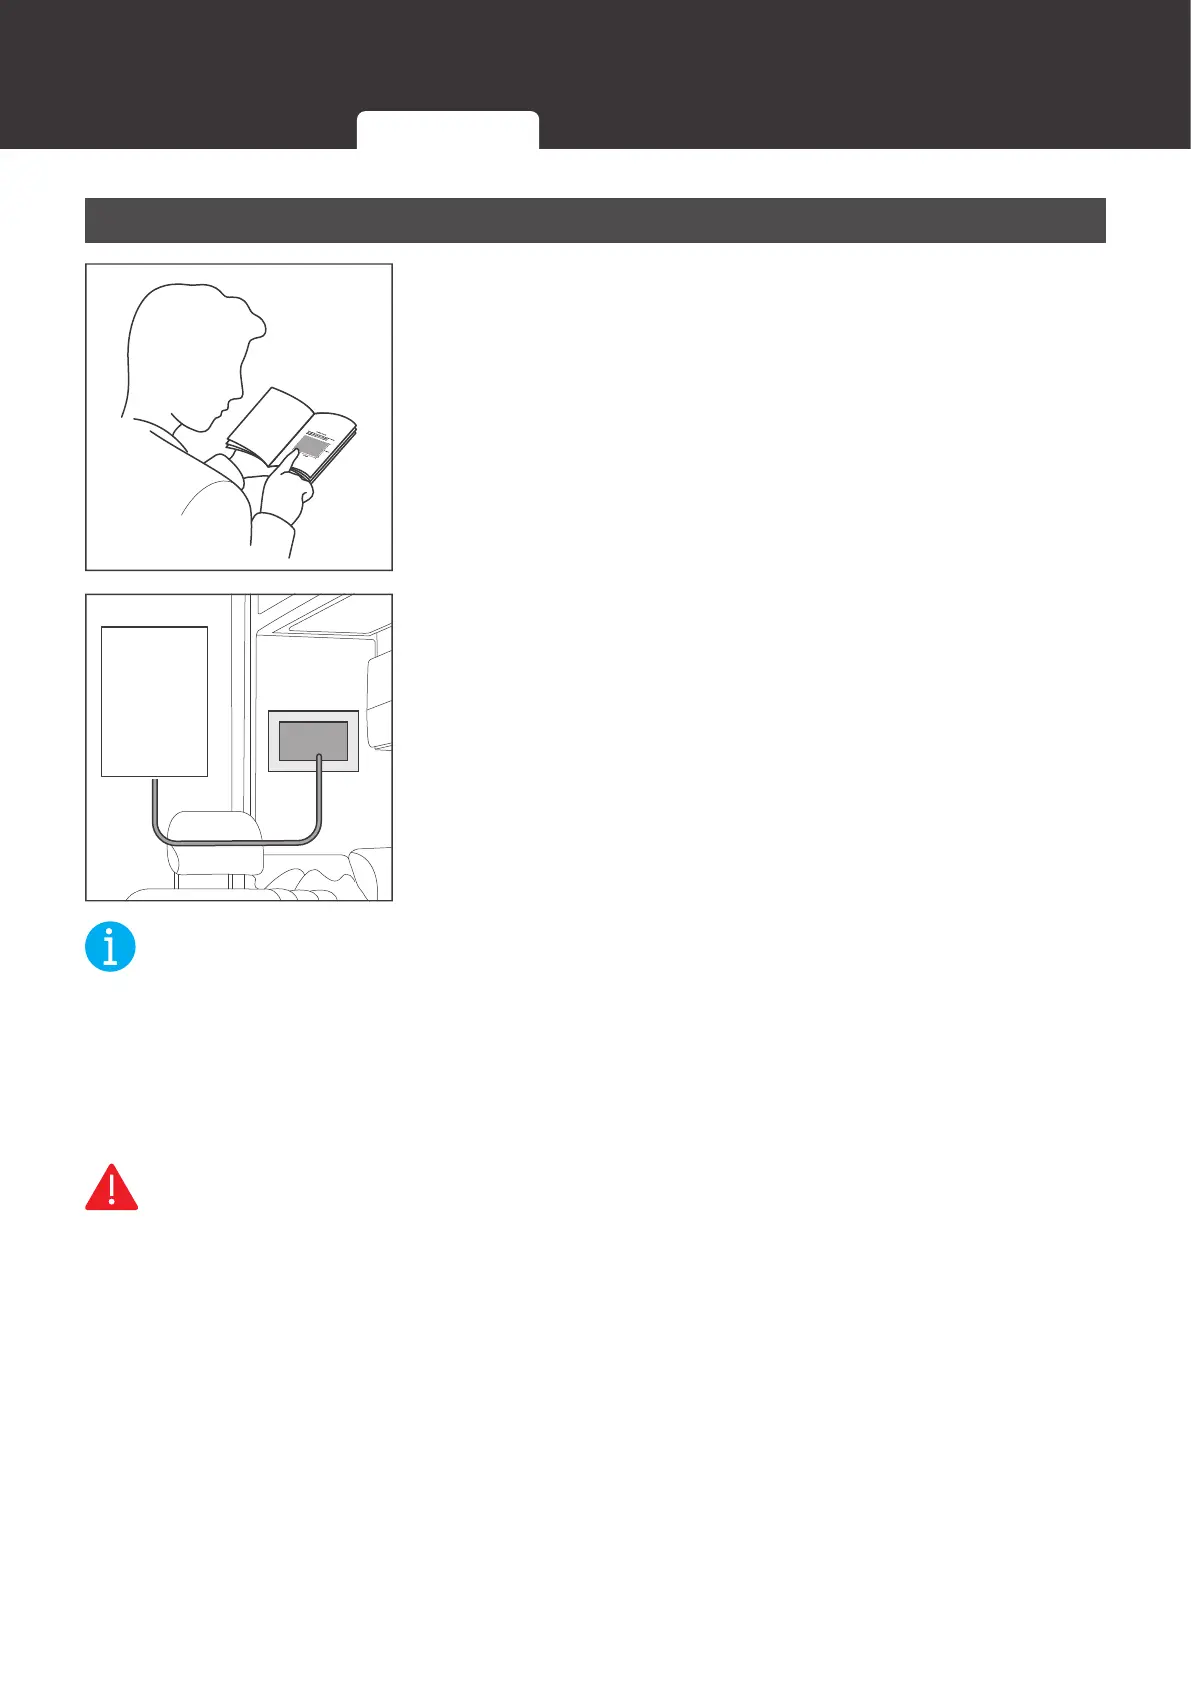
2. Tape the mounting template to the selected mounting
location, and measure whether the 12V power cable is long
enough to connect Renogy ONE to your DC power supply.
If the auxiliary 12V power cable is not long enough for
connecting Renogy ONE to your DC power supply, you can
re-select a mounting position or use an extension cable (≥
22 AWG). If you do not need to extend the 12V power cable,
please go to step 5.
NOT
z
Install Renogy ONE on a vertical surface.
z
Mounting Renogy ONE requires installation holes, so please make sure that you can drill
holes on the mounting position.
z
To ensure quality wireless communication for Renogy ONE, keep it away from metal objects
at a minimum distance of 200 mm or 7.88 inch.
WARNIN
z
Install Renogy ONE on a vertical surface indoors protected from direct sunlight, high
temperature, and water. Make sure there is good ventilation.
z
Do not install Renogy ONE in a humid environment, or spill water or other liquids on it.
Required Tools Inspection Mounting Location