Model Two Owner’s Manual
Copyright 2014 © Retro Manufacturing, LLCPage 12
STEP 4: Adjust to Fit Your Vehicle Specic Kit
One of the most frequent quesons we get is “How can your radio t my car?”.
The Model Two radio is a universal soluon (one chassis for most vehicles) and
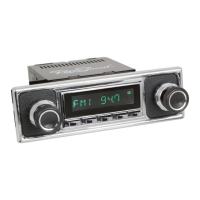
its control face is a xed size (3.5” W x 1.5” H). Most American cars t the radio
and the bezel from behind the dash. The bezel ts around the Model Two con-
trol face to ll the original factory opening.
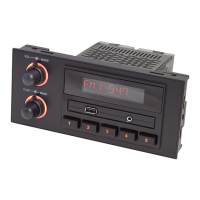
The Model Two control face is NOT referred to as a faceplate. A faceplate is a
piece that overlays or covers the top or front of the dash. A faceplate is used in
most European or Japanese cars, and can also be used on a modied dash to
disguise any blemishes or poorly made modicaons.
Locate the appropriate bezel or faceplate and perform the following steps to-
mount the radio behind the dash opening:
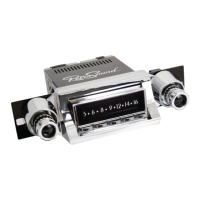
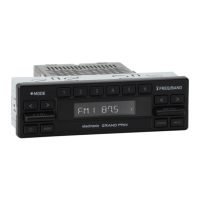
FACEPLATE: Use the supplied nuts and washers to align the faceplate onto the
sha. DO NOT overghten. Once the shas are lined up to the sha openings
on your vehicle-specic faceplate, use a nut and washer to hold the faceplate in
place on the shas. Adjust the nut height so that the faceplate aligns ush with
your dash and the radio’s control face. See “Figure 4 - Install Vehicle Specic
Faceplate”.
BEZEL: Place the bezel on the face of the radio and install through the back
opening of your dash.
NOTE: With the faceplate pictured below, the area around the radio face
(chrome or black) mounts on top of the dash.
Nuts/washers installed between
L bracket and faceplate
Figure 4 - Install Vehicle Specic Faceplate
DO NOT OVERTIGHTEN SHAFT NUTS!!
Faceplate
Plasc Washer
Metal Washer & Nut
Sha