Headboard Bracket Assembly
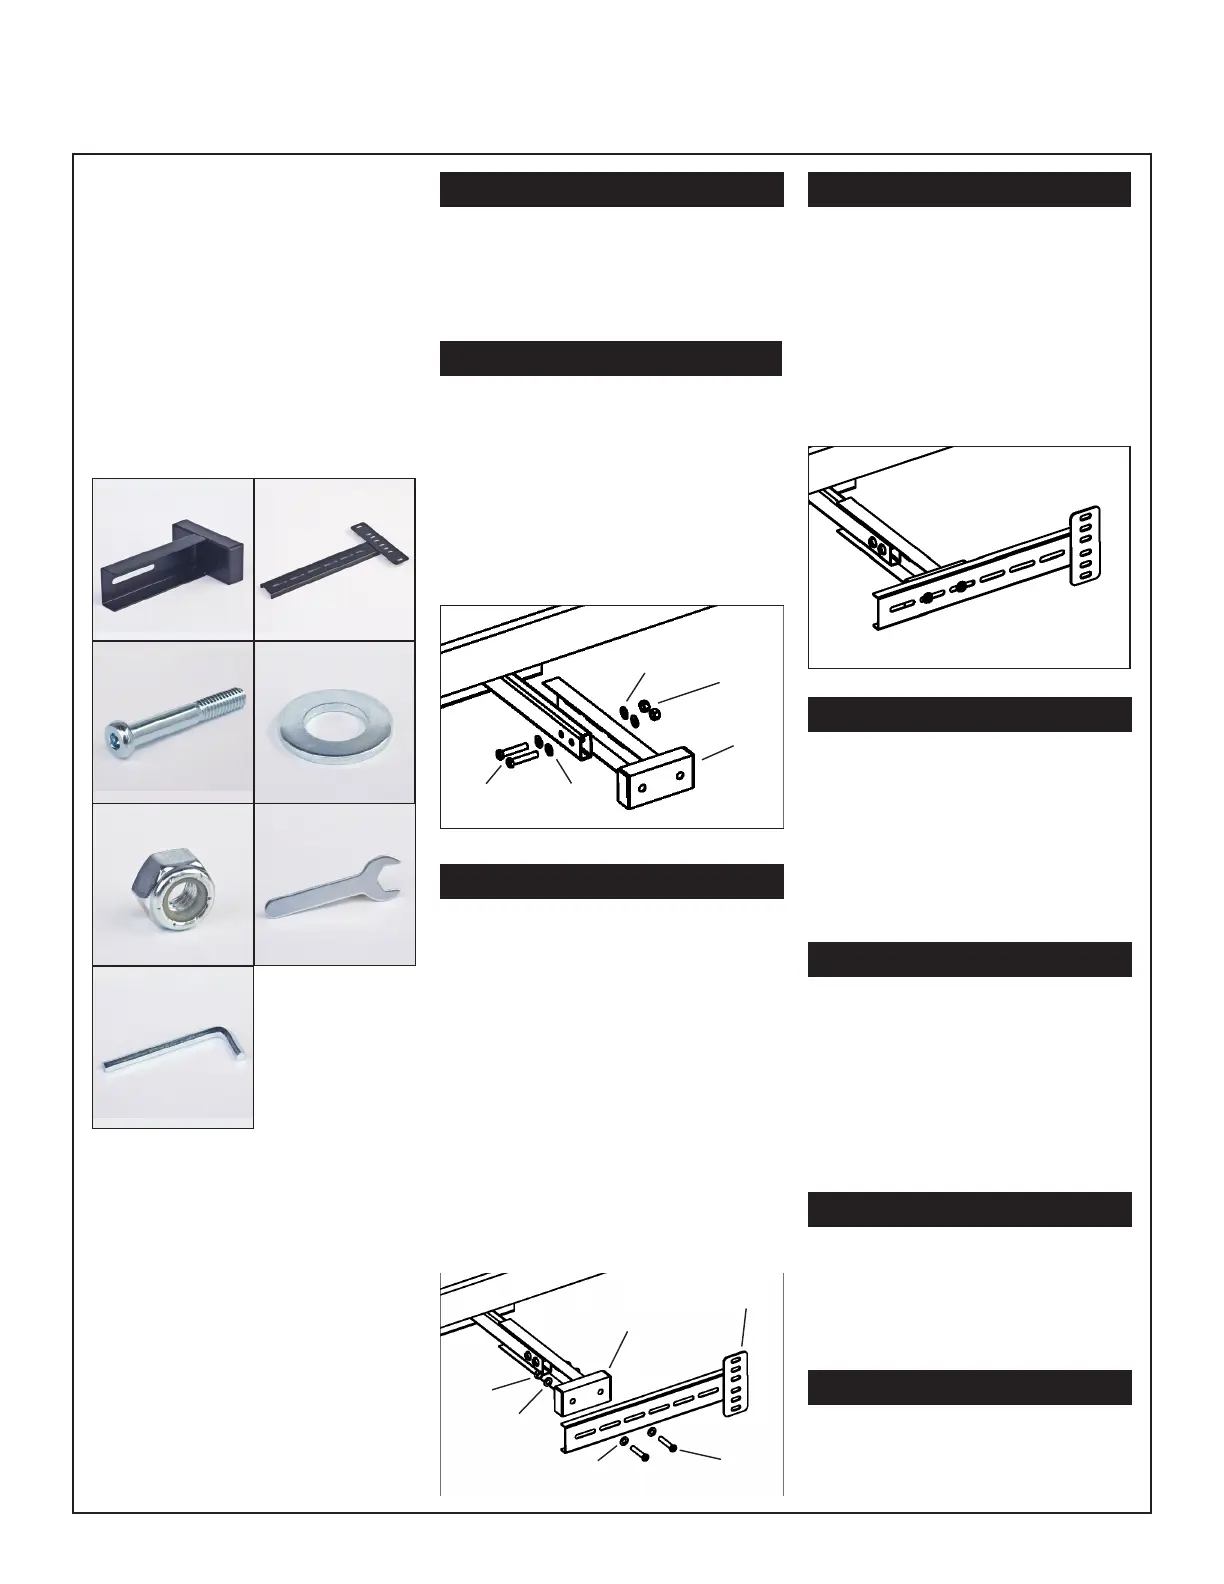
PARTS LIST
A. Inner Headboard Brackets (2)
B. Outer Headboard Brackets (2)
C. Headboard Bracket Bolts (8)
D. Washers (16)
E. Lock Nuts (8)
F. Wrench (1)
G. Allen Key (1)
A.
B.
C.
D.
E.
F.
G.
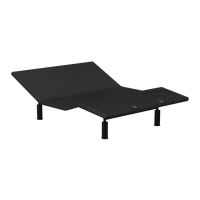
To prepare to install the headboard
brackets to the power base, place
one set of brackets on the left-hand
side of the base and one set of
brackets on the right-hand side of the
base.
STEP 1
Use the remote control to raise the
head of the base in order to gain
access to the power base frame.
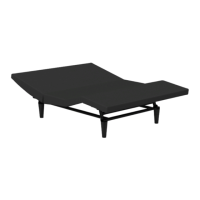
STEP 2
Bolt the Inner Headboard Bracket (A)
to the headboard mount tube located
on the steel frame crossbar using
2 Headboard Bracket Bolts (C), 2
Washers (D), and 2 Lock Nuts (E).
Make sure the open end of the bracket
is facing inward.
C
D
D
E
A
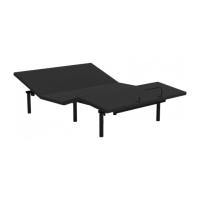
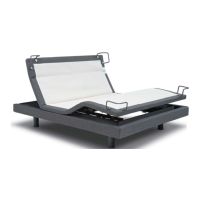
STEP 3
Place the open side of the Outer
Headboard Bracket (B) onto the
exposed square tube of the Inner
Headboard Bracket (A). This will
create a tight t between (A) and (B).
Place 2 Headboard Bracket Bolts (C)
with a Washer (D) through the Outer
Headboard Bracket (B) and into the
Inner Headboard Bracket (A). Thread
a Lock Nut (E) with a Washer (D) onto
the bolts and hand tighten to allow for
adjustment. Repeat steps 2-4 for the
opposing side of the power base.
C
D
D
C
B
A
STEP 4
Lower the head section of your
power base and check that there
is sufcient distance between the
edge of the power base and the
Outer Headboard Brackets (B).
Make adjustments if needed and
rmly tighten the bolts attaching (B)
to (A).
STEP 5
Measure the distance from each
center of the mounting holes on
your headboard.
Measure the distance from each
center of the mounting holes in the
Outer Headboard Brackets (B).
STEP 6
If the measurements do not match,
loosen or remove the bolts that
are holding the Outer Headboard
Brackets (B) and shift them to be
equal to the distance between
your headboard mounting holes.
Reinstall the bolts and rmly tighten.
STEP 7
Through the mounting holes in your
headboard, fasten your headboard
to the Outer Headboard Brackets
(B) using additional hardware.
STEP 8
Place your mattress on top of your
power base. Headboard Bracket
Assmebly is now complete.