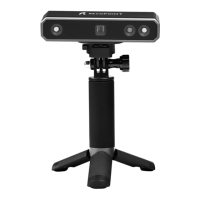
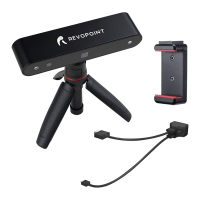
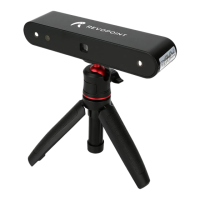
MINI 3D Scanner Quick Start Guide
5 COPYRIGHT ©2022 REVOPOINT 3D ALL RIGHTS RESERVED
Windows: Connect to the MINI 3D Scanner via USB Cable
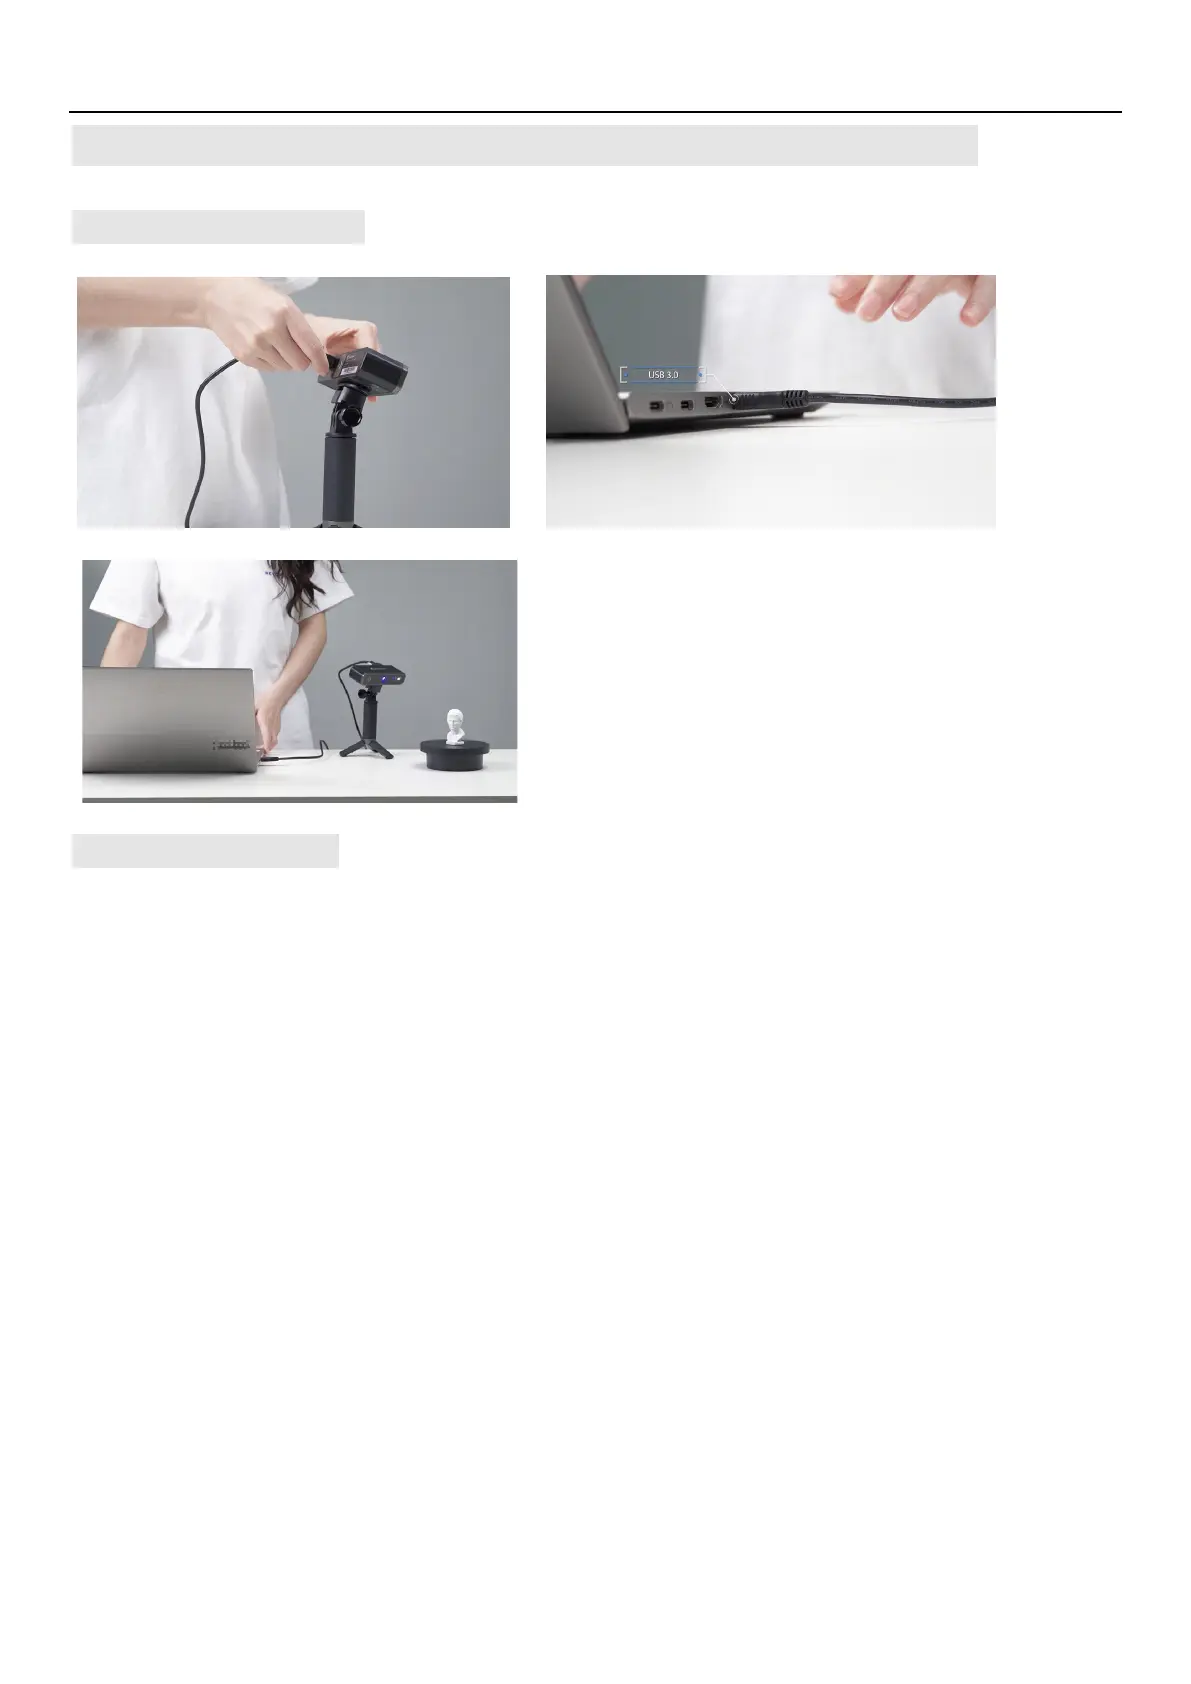
Hardware Connection
Operation Workflow
OVERVIEW (details on following pages): Double Click to open Revo Scan---> Confirm "Device is connected" (displays
after several seconds) ---> Click New Scan to select
Accuracy
,
Scan Mode
and
Texture
---> Confirm distance to be
"
Excellent
" ---> Adjust the brightness in RGB camera and Depth Camera ---> Start/Pause Scanning ---> Stop to
Complete/Restart Scanning ---> Fuse Point Cloud ---> Mesh ---> Texture (only available for
Color
scans) ---> Export the
3D model
NOTE: The screenshots in this tutorial are from the Windows version of Revo Scan. There will be slight differences in each
of the four device versions.
Make sure the MINI scanner is connected to a
USB 3.0+ port, because USB 2.0 will not supply
sufficient operating current. An indicator of this is
repeated power resets and lost connections.