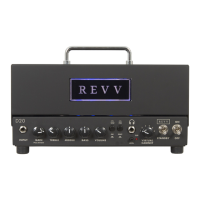
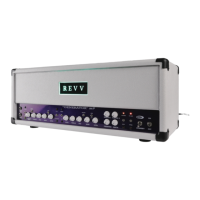
REVV | D25
6
SETUP &
POWER UP
It is very important to place the amplifier in a dry location
that provides 4-6” of space between the rear of the
amplifier and anything in the area that is designated for
the amplifier. Tubes produce heat; anything flammable
should be kept away from amplifier tubes. Please
check the tubes, and make sure they are all seated in
their sockets. Look good? We are ready to move on!
First, ensure the power and standby switches are in
the o (down) positions. On the back of the amplifier,
confirm your D25 is safely connected to a load by
connecting either the D25 internal speaker cable to
the Speaker Jack or an external speaker cabinet to
the Ext Cabinet Jack and selecting the correct im-
pedance of the external speaker via the push button.
Alternatively, you can choose the internal load on the
Front Panel push button (In=internal load); for more
information, refer to Section “Two-notes Torpedo-Em-
bedded” Page 14. Once the speaker load is secured,
connect the AC power cord to the amplifier Mains
connector on the rear of the amplifier and then to an
AC outlet. Finally, connect any remaining peripherals:
Note: Use a high-quality shielded instrument cable
for guitar input and FX loop connections to prevent
unwanted noise. Remember that instrument cables can
sometimes impact the guitar’s signal quality, and trying
varying cable lengths can help achieve the desired
sound.
Once all speaker load and peripheral connections are
secured, move the power switch to the On position
and give the tubes at least one minute to warm up.
Now it is time to begin setting all controls while we
wait. We recommend setting the master volume
and gain controls to the lowest setting or zero (fully
counterclockwise) and all treble, mid, and bass controls
to the 12 o’clock positions to begin. Set the standby
switch to the ON (up) position, and you are ready to
start exploring!
Note: Upon power-up, you may notice that the LED
clipping indicator illuminates solid red. This is the
startup sequence of the amplifier.
• FX Loop Connections
• Guitar, Pedalboard, &
Shielded Cable
• MIDI
• XLR
• USB
• Revv Cabinet Lighting
• Headphones
• Revv Foot Controller