Step one: Installing the headlight
DO NOT use excessive force or pressure (e.g. kicking) to install the
headlight, as it may result in potential injury or damage.
Headlight (attached but uninstalled to the front of the Cruiser)
Headlight screws (x 2: identical)
Locate:
Grip the headlight and orient it so the attached bracket is beneath the headlight.
a)
b)
1)
2)
Align the headlight bracket with the 2 holes at the base of where the tiller will be
installed.
3)
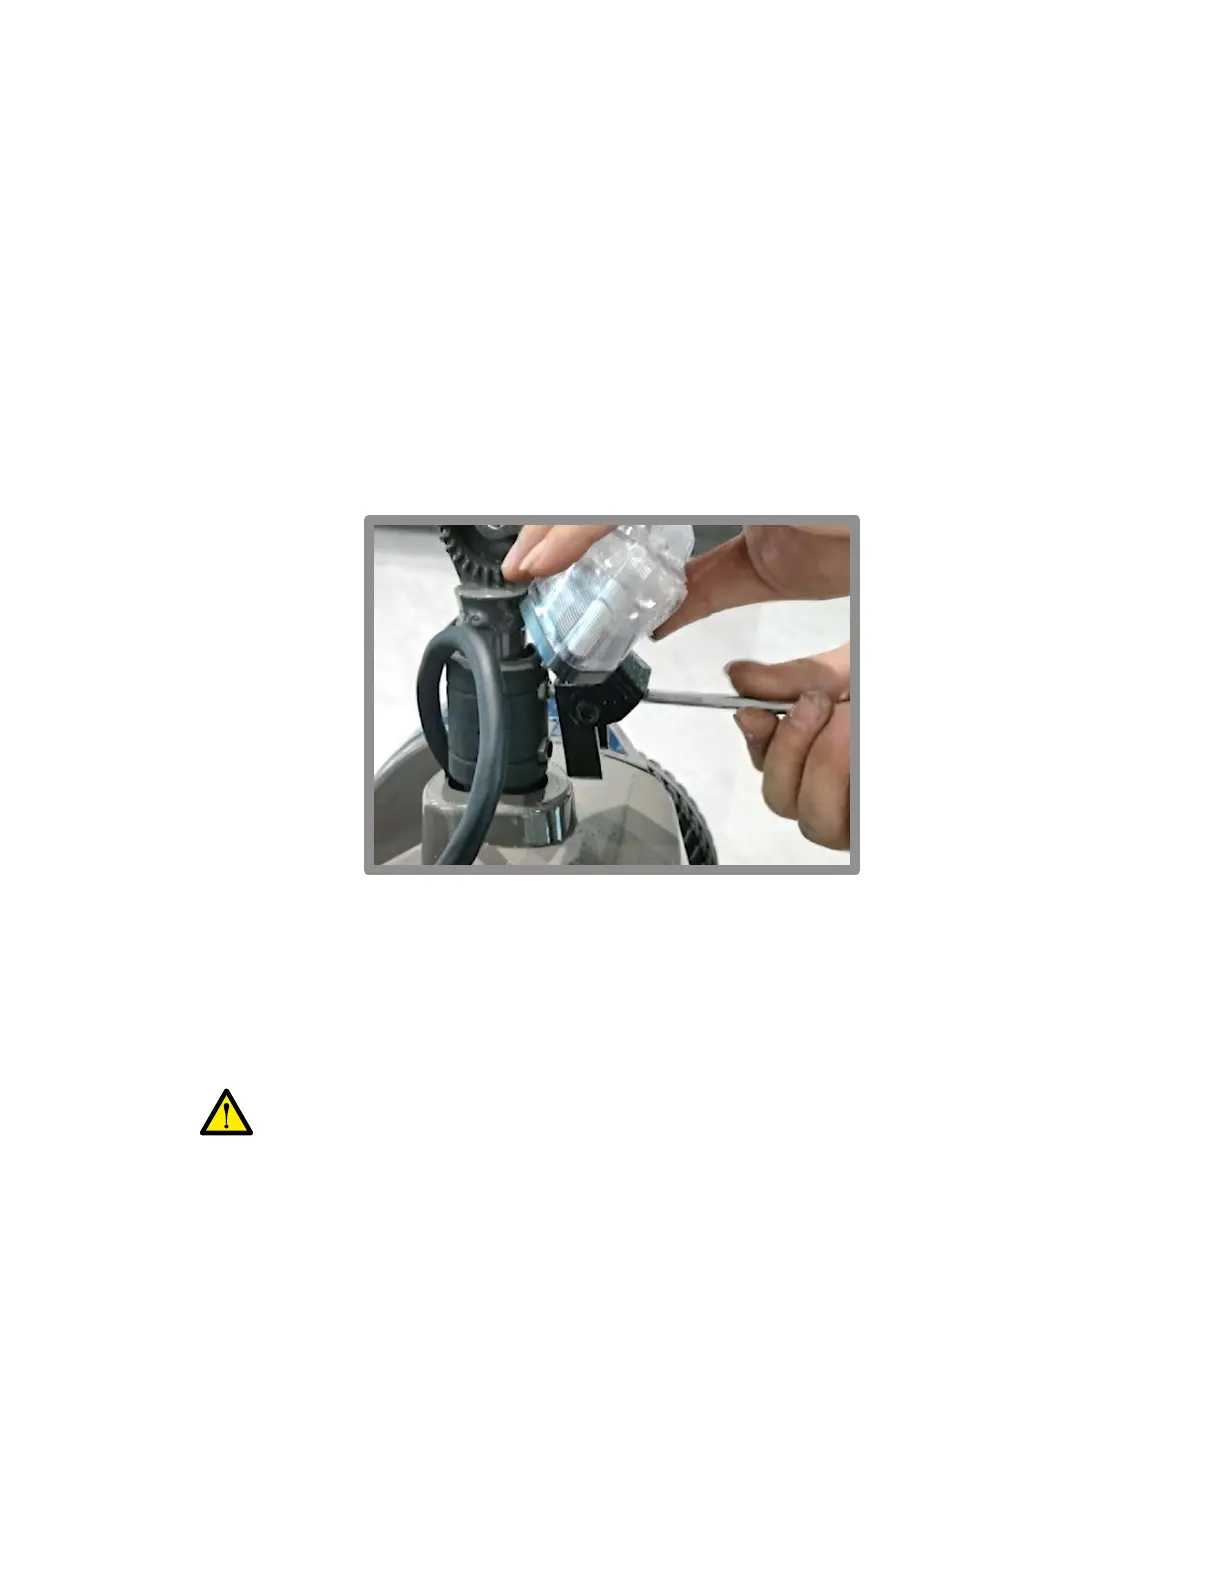
Pass each screw through the corresponding holes, and install using the allen wrench.4)
Turn the allen wrench clockwise to tighten each screw until it is fully tightened,
and the headlight bracket is rmly attached to the base.
5)
Flip the headlight down until it is level and pointed straight ahead.6)
#5 allen wrench (provided)c)
Step two: Installing and adjusting the tiller
Installing the tiller
Tiller (with pre-installed console, handlebars, & dual throttle control levers)
Tiller adjustment knob (which has 3 points)
Locate:
a)
b)
1)
Assembly (Cont.)
11