www.rgblink.com
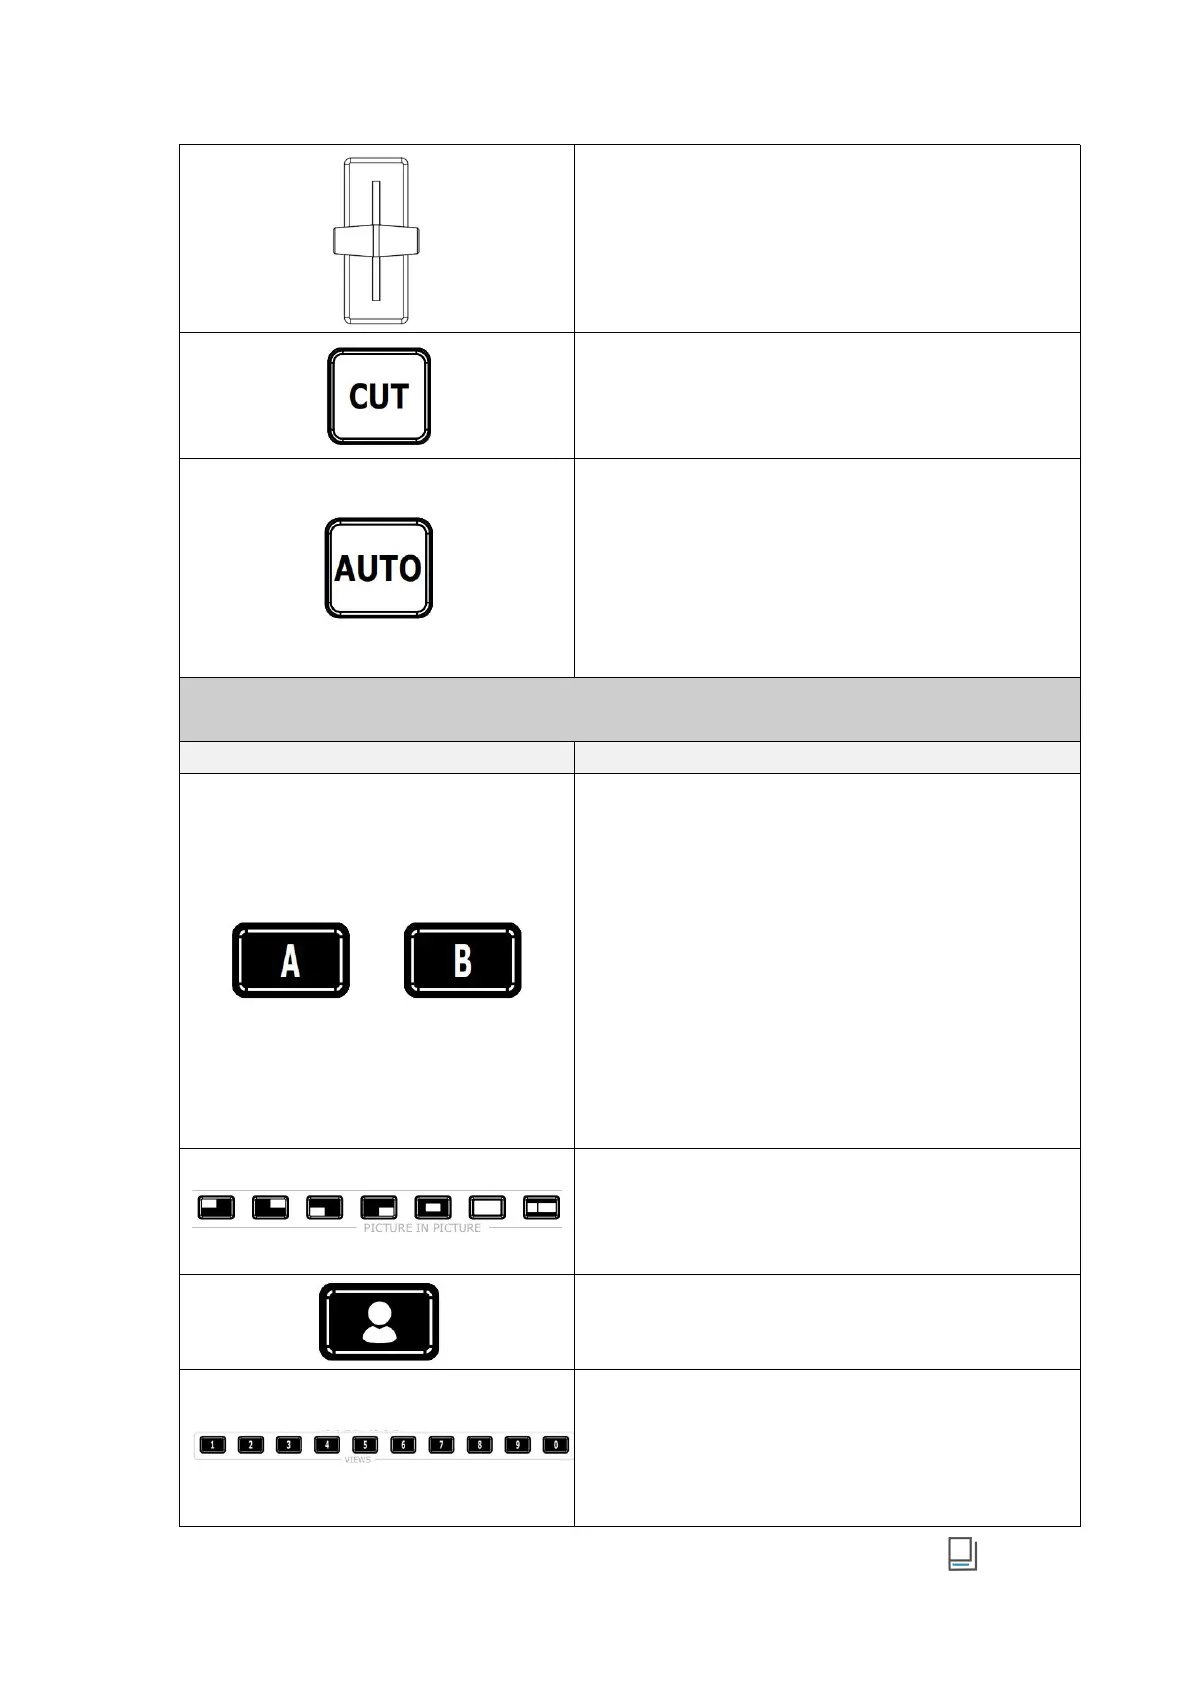
█ T-Bar
PVW and PGM views can be transitioned by pushing
T-bar.
█ CUT Button
Press to perform immediate manual switch between
PVW and PGM views with no transition effect.
█ AUTO Button
● Button Operation
○ Press to automatically transition PVW and PGM views
according to the selected duration and transition effect.
● Button Color Description
○ Button Blinks Red: transition is being applied.
○ Button Goes Dark: transition completed.
█ Layer A/B Button
● Button Unlit: layer OFF or not be placed on PVW.
● Short Press
○ Press Button Unlit: button lit blue indicates enabled
and selected state, which allows the user to use toggle
and joystick for size and position adjustment.
○ Press Button Lit Blue: to disable selected layer and the
button goes dark.
○ Press another layer button except Layer A/B button: if
Layer A/B button lit blue, it turns green and the button
pressed lit blue.
● Long Press: to enter LAYOUT.
█ Layout Selection Button
● Short Press: to set layout for selected layer, and the
button turns green.
● Long Press: to enter CROP/SCALE.
█ Chroma Key
● Short Press:to enable or disable Chroma Key.
● Long Press:to enter Chroma Key Interface.
█ Preset Loading Button
● Button Color Description
○ Button Unlit: no view contained.
○ Button Lit Green: view contained.
○ Button Lit Red: view being loaded.
 Loading...