The Self-Timer
The camera offers a ten-second timer for self-portraits
and a two-second timer to prevent blur caused by camera
movement when the shutter-release button is pressed.
Note
By default, the self-timer is assigned to the
t (Fn2) button, but it
can also be assigned to the Fn1 button (the instructions that follow
assume it is assigned to the
t button). The self-timer can only be
used when assigned to a button (page 119).
1
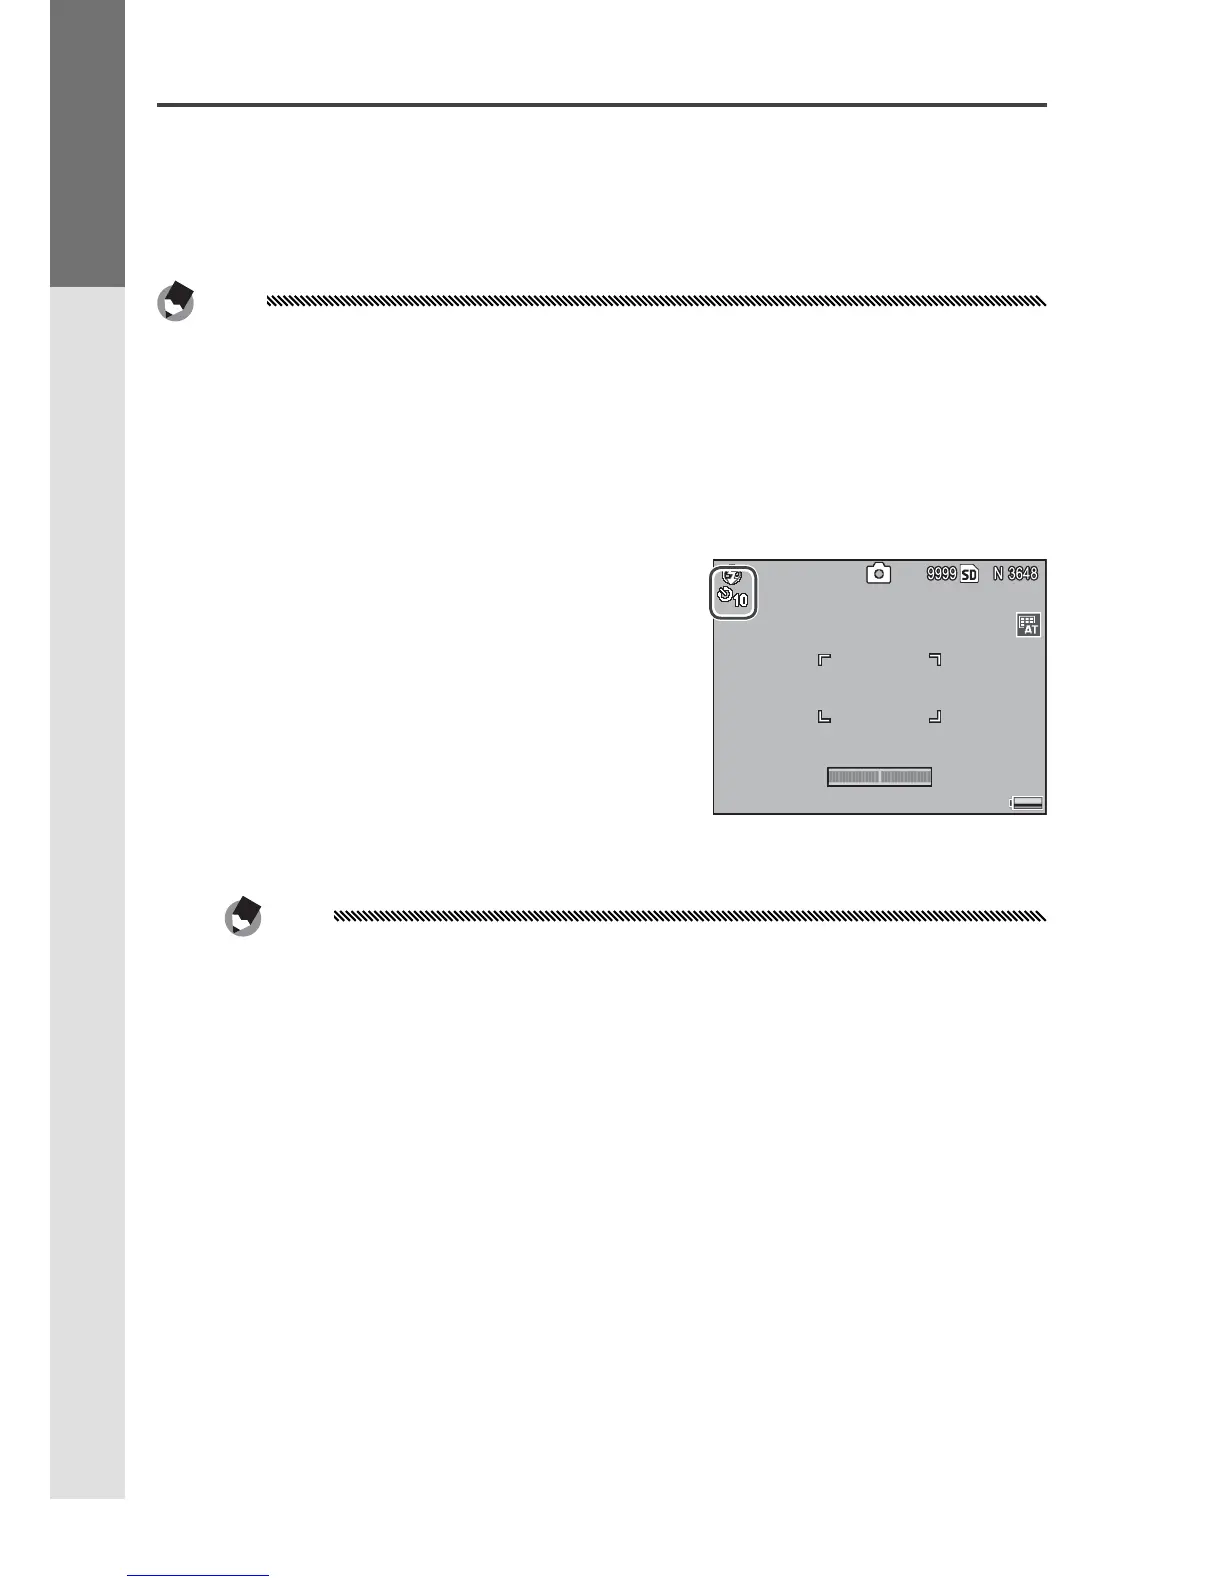
Choose a self-timer mode.
Press the t button once to
select the ten-second timer
and again to select the two-
second timer. The current
selection is displayed in the
picture display. Pressing the
button a third time turns the timer off.
Note
The selected self-timer mode remains in effect until a new
mode is chosen.
2
Start the timer.
Press the shutter-release button to lock focus and
start the timer. If the ten-second timer is selected,
the AF auxiliary light will light.

 Loading...