Technical Bulletin PAGE: 5/5
6-2. Re-fasten the screws in one of the other screw holes to shift the image position.
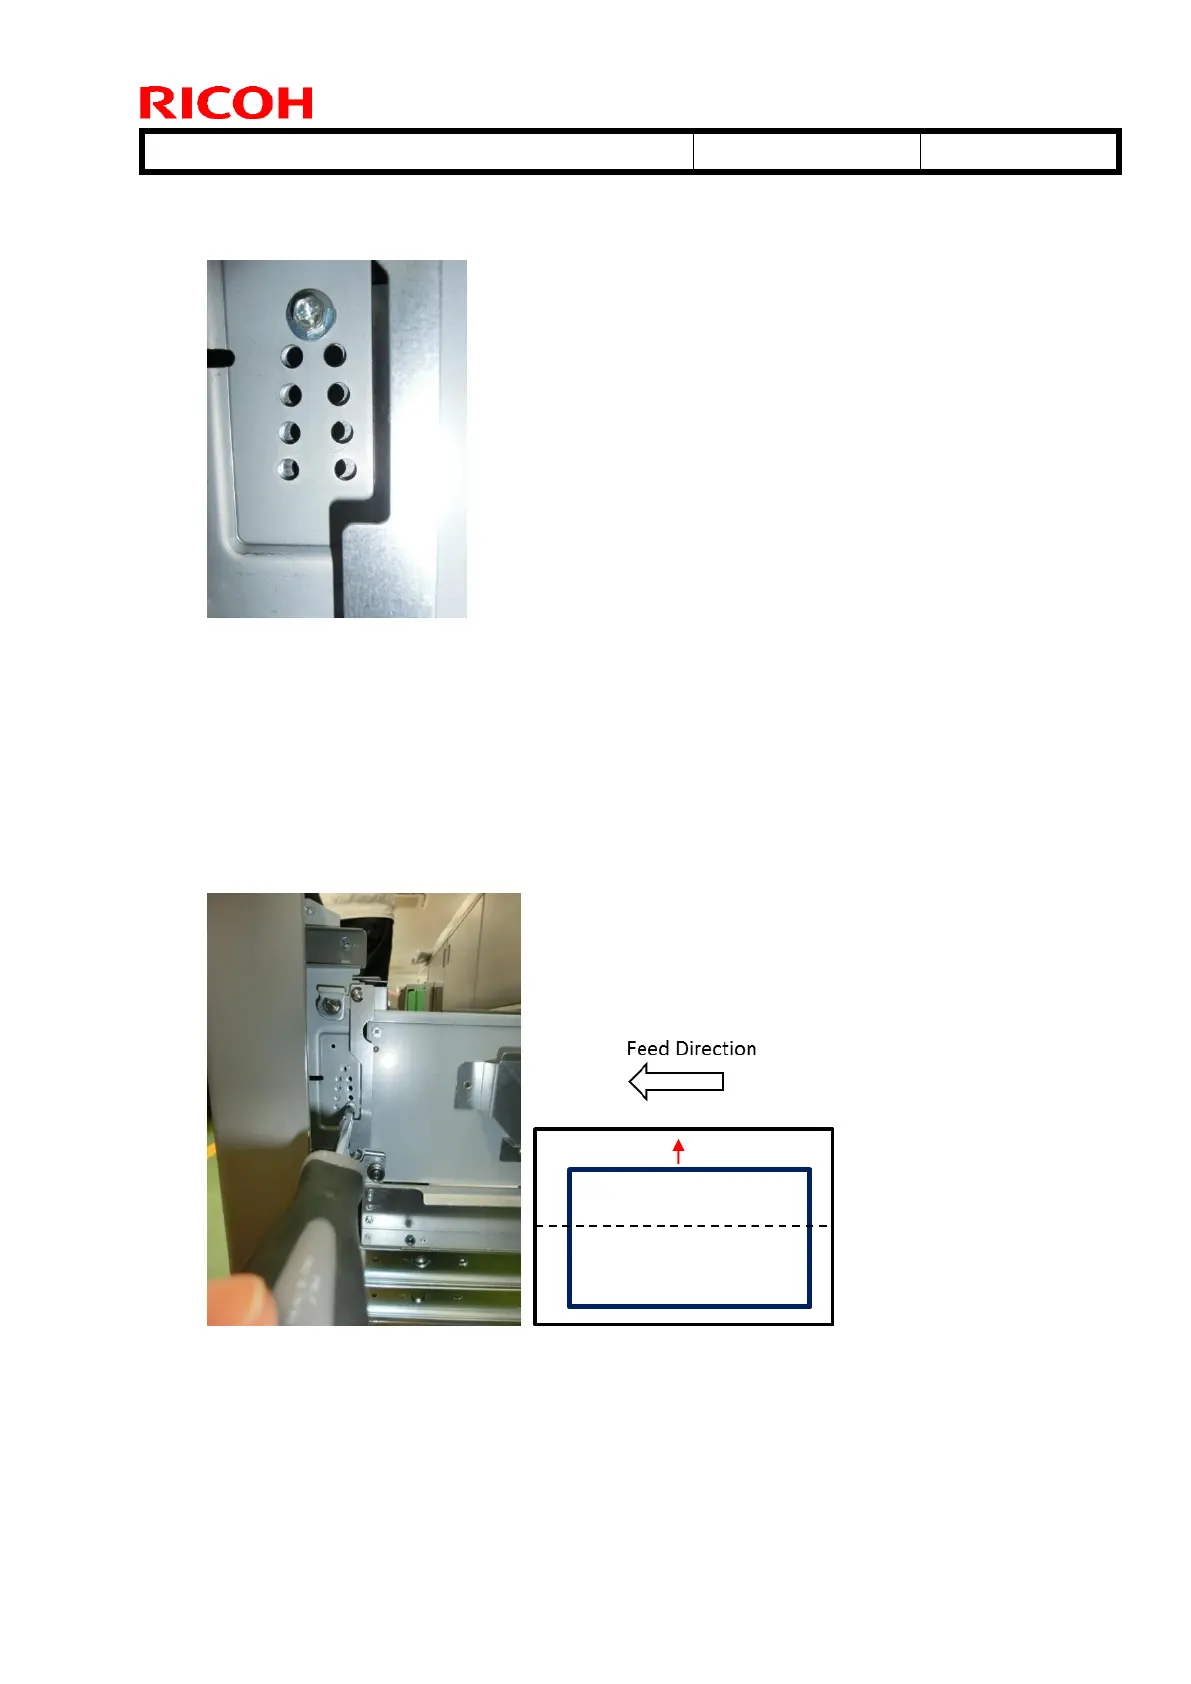
Note
There are 8 screw holes for each screw. Choose a screw hole depending on in which
direction and how much you want to move the image position. If you move the screw
to a screw hole on the non-operator side, the image position moves towards the non-
operator side (the paper position moves to the operator side) and vice versa.
Example: To move the image towards the non-operator side by 2mm, install the screw
at the following place at all 4 adjustment positions.
7. Only Andromeda: Change 013: [Deactivate Image Position Adjustment] back to
“OFF” to turn on the image position adjustment.
8. Finished.

 Loading...


