N
Nathaniel ButlerJul 26, 2025
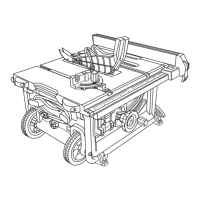
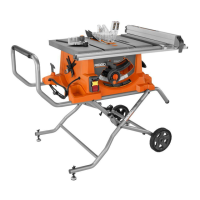
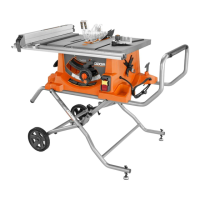
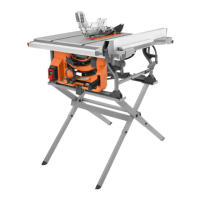
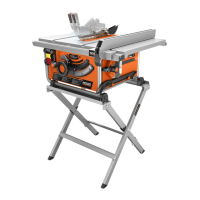
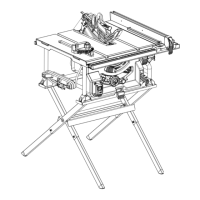
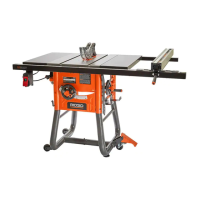
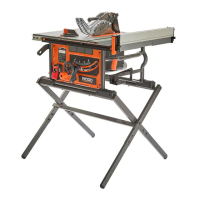
Why does my RIDGID R4512 Saw have excess vibration?
- JJason FergusonJul 27, 2025
Excessive vibration in your RIDGID Saw can stem from several issues. The blade might be out of balance, damaged, or warped, in which case you should replace it. Ensure the saw is securely mounted by tightening all hardware. An uneven work surface can also cause vibration, so reposition the saw on a flat surface.