18
FIRST OPERATING
7 FIRST OPERATING
To complete the start-up of the boiler, the following operations
are necessary, that should only be performed by an authorized
Service
R:
− verication of the installation;
− slave board setting
− combustion analysis.
7.1 Slave board setting
This operation that should only be performed by an authorized
Technical Assistance Service
R.
Each slave unit that composes the system should be identia-
ble from the only master board, through an address that is as-
signed properly conguring the switches J10 and J17, on each
slave battery. Each slave (one for each burner) needs to be prop-
erly congured so that the Master board shall detect their right
sequence.
The slaves are divided into blocks of four slave each (every Con-
dexa Pro3 IN-EXT is a block) and the system can handle up to
15 blocks.
Therefore, the address conguretion is done for each slave us-
ing the following procedure, always remembering that a block
is equivalent to a unit:
− locate the block the slave is related to (ex. block n°1, n°2,
etc., till block n°15);
− locate the slave position inside each block (e.g. posi-
tion1,2,3 or 4);
− supply each Condexa Pro3 IN-EXT composing the battery
(see par.6.4.1).
9
Qualied personnel only may work on the electrical system
and in compliance to provisions of the law, with particular
attention to rules on safety.
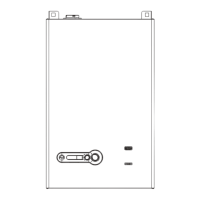
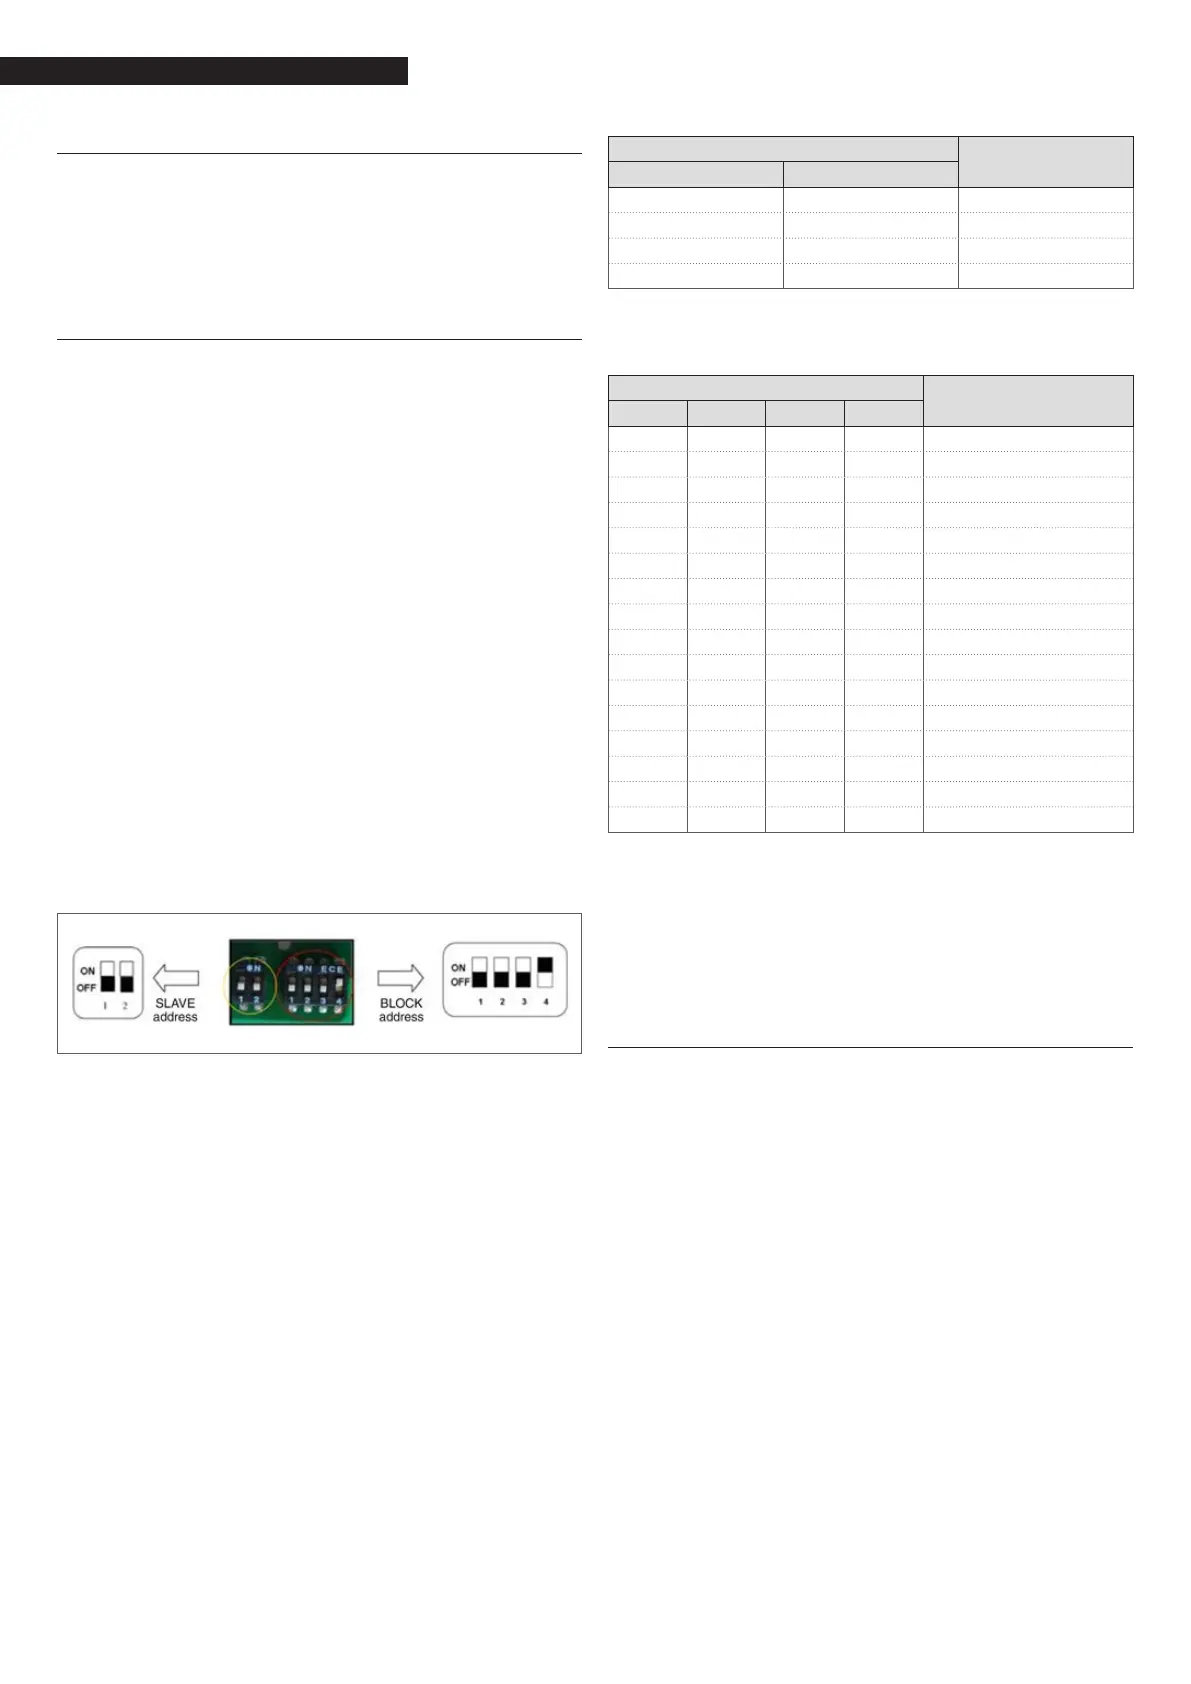
As shown in Figure 24to set the address of the block you should
work on the switch located on the right (Jumper J17) and for
each slave (single burner) on the Left one (Jumper J10).
Figure 24
Refer to the table to see the possible combinations of the jump-
ers J10 that characterize the four slaves (n 1, 2, 3 and 4) of the
same block.
JUMPER J10
SLAVE ADDRESS
1 2
OFF OFF 1
OFF ON 2
ON OFF 3
ON ON 4
Following table shows the possible combinations of the jumpers
(J17) we have the settings for the maximum (15) number of block.
JUMPER J17
4 UNITS BLOCK
(unit)
1 2 3 4
OFF OFF OFF OFF Emergency
OFF OFF OFF ON 1° block
OFF OFF ON OFF 2° block
OFF OFF ON ON 3° block
OFF ON OFF OFF 4° block
OFF ON OFF ON 5° block
OFF ON ON OFF 6° block
OFF ON ON ON 7° block
ON OFF OFF OFF 8° block
ON OFF OFF ON 9° block
ON OFF ON OFF 10° block
OFF OFF ON ON 11° block
ON ON OFF OFF 12° block
ON ON OFF ON 13° block
ON ON ON OFF 14° block
ON ON ON ON 15° block
The data have to be used regardless of the number of units
present: if, for example, have 6 blocks in the battery we will
consider combinations until the line corresponding to the 6th
block, and not beyond.
In the following part is an example of conguration of a battery
with seven burner in cascade.
7.1.1 Example of conguretion of a battery with 7
burner in cascade
In case two blocks are present in an installation having a battery
of seven burners (i.e. seven slaves): the rst is made of 4 burn-
ers and the second is made of 3. As a consequence, two blocks
need to be congured, respectively with address 1 and 2 and
with relative burners, to the rst block with address 1,2,3 and 4,
and to the second block with address 1,2 and 3 (see Figure 25).
 Loading...