Chapter 2 Calibration Process RIGOL
DG1000Z Calibration Guide
2-3
Frequency Accuracy Calibration
1. Make sure that DG1000Z has been warmed up for at least 30 minutes. Use a
dual-BNC connecting wire to connect the channel output terminal of DG1000Z
(take CH1 as an example, the calibration method is also applicable to CH2) and
the signal input terminal of the frequency counter, as shown in the figure below.
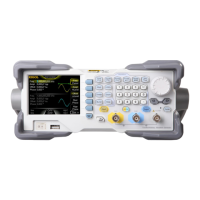
DG1000Z Series Frequency Counter
Figure 2-2 Connect DG1000Z and the Frequency Counter
2. Press Output1 corresponding to CH1 on the front panel of DG1000Z to turn on
the channel output.
3. Set the input impedance of the frequency counter to HighZ.
4. Enter the DG1000Z calibration interface and press Cal Item to select Freq
Accuracy.
5. Press Start according to the prompt message on the calibration interface to
start the frequency accuracy calibration (the calibration frequency is 10MHz).
6. Observe the measurement value of the frequency counter. If the current
measurement value is less than 10MHz, press UpWard Adjust to increase the
DG1000Z output frequency and if the current measurement value is greater
than 10MHz, press DnWard Adjust to reduce the DG1000Z output frequency
until the absolute value of the difference between the measurement value of the
frequency counter and 10MHz is less than 1Hz.
7. Press Save and the frequency accuracy calibration is finished.
◎

 Loading...