Chapter 2 Calibration Process RIGOL
DG1000Z Calibration Guide
2-9
High-frequency Flatness Calibration
1. Make sure that DG1000Z has been warmed up for at least 30 minutes. Connect
the power meter and power sensor; then connect the power sensor to the
output terminal of DG1000Z (take CH1 as an example, the calibration method is
also applicable to CH2), as shown in the figure below.
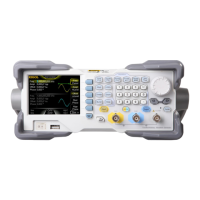
DG1000Z Series Power Meter
Power Sensor
Figure 2-5 Connect G1000Z and the Power Meter
2. Press Output1 corresponding to CH1 on the front panel of DG1000Z to turn on
the channel output.
3. Turn on the power meter.
4. Enter the DG1000Z calibration interface and press Cal Item to select High
Freq Flat.
5. Press Cal Point and the cursor switches to the first calibration point in the ID
column.
6. The frequency of the first calibration point is 100kHz. Please set a proper
frequency calibration factor on the power meter according to the ratio of the
power sensor.
7. Press Meas Val and the MeasValue column of the point selected becomes
editable. At this point, use the numeric keyboard or the knob and direction keys
to input the current measurement value of the power meter.
8. Press Input Val to write the measurement value into the system and finish the
calibration of the point selected. The cursor switches to the ID column.
◎

 Loading...