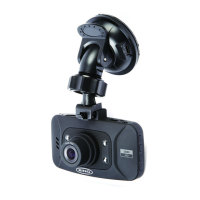
1. Choosealocaonforthecamerathatwillnotobstructthedriversviewbutiswithinthesweptarea
ofthewipers.Anidealposionisjusttoonesideoftherearviewmirror.
2. Thesuconcupwilladherebestifthewindscreeniscleanandabove10˚C.Ensuretheprotecve
lmhasbeenremovedbeforeng
3. Pushsuconcupagainstthewindscreenandpressdownlockingtabtoxinposion.
4. Slidecameraintobracketunlitlocksintoposion
5. Posionofthecameracannowbeadjustedbylooseningthelockingring,movingasrequired,then
re-ghtening
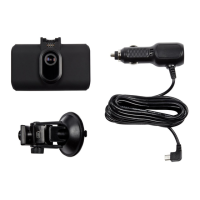
1. ConnectthesmallplugonthePowerCabletotheDCINconnecononthedashcamera
2. RoutethecablearoundthevehicleasshowninFig1.Itshouldbehiddenbehindthevehicletrimand
rubberdoorsealswherepossible.
3. Connectpoweradapterplugtovehicle12voltaccessorysocket
4. Thedashcamerawillautomacallypoweronandstartrecordingoncepowerisavailable.Formost
vehiclesthiswillhappenwhentheignionisswitchedonbutsomevehiclesocketsmayhavea
permanentpowersupply.
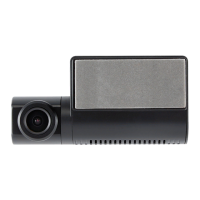
1. Insertamemorycardintoslotonboomedgeoftheunit
2. Ensurea‘click’isheardtoconrmthecardisfullyinserted
3. Formatthememorycardbeforeinialuse.
4. SwitchonthecamerathenselectMENU>GeneralSengs>FormatSD-Card