50 KBP Series Manual
□ The water heater is not subject to corrosive
compounds in the air.
□ The water supply does not contain chemicals or
exceed total hardness that will damage the heat
exchanger.
□ Clearances from the water heater unit are met.
□
are met.
□ For indoor models, ensure you have used the
and that you have completely followed the
□ For indoor models, verify that the vent system
does not exceed the maximum length for the
properly secured.
□ For indoor models, verify that SW 1 in DIPSW 1
has been adjusted for vent length if necessary.
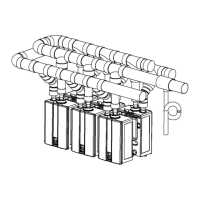
□ Purge the water line of all debris and air by
Debris will
damage the water heater. Use a bucket or hose
if necessary.
NOTICE
Do not connect the 120VAC to terminals for control.
Doing so will damage the PC board which would not be
a warranty repair.
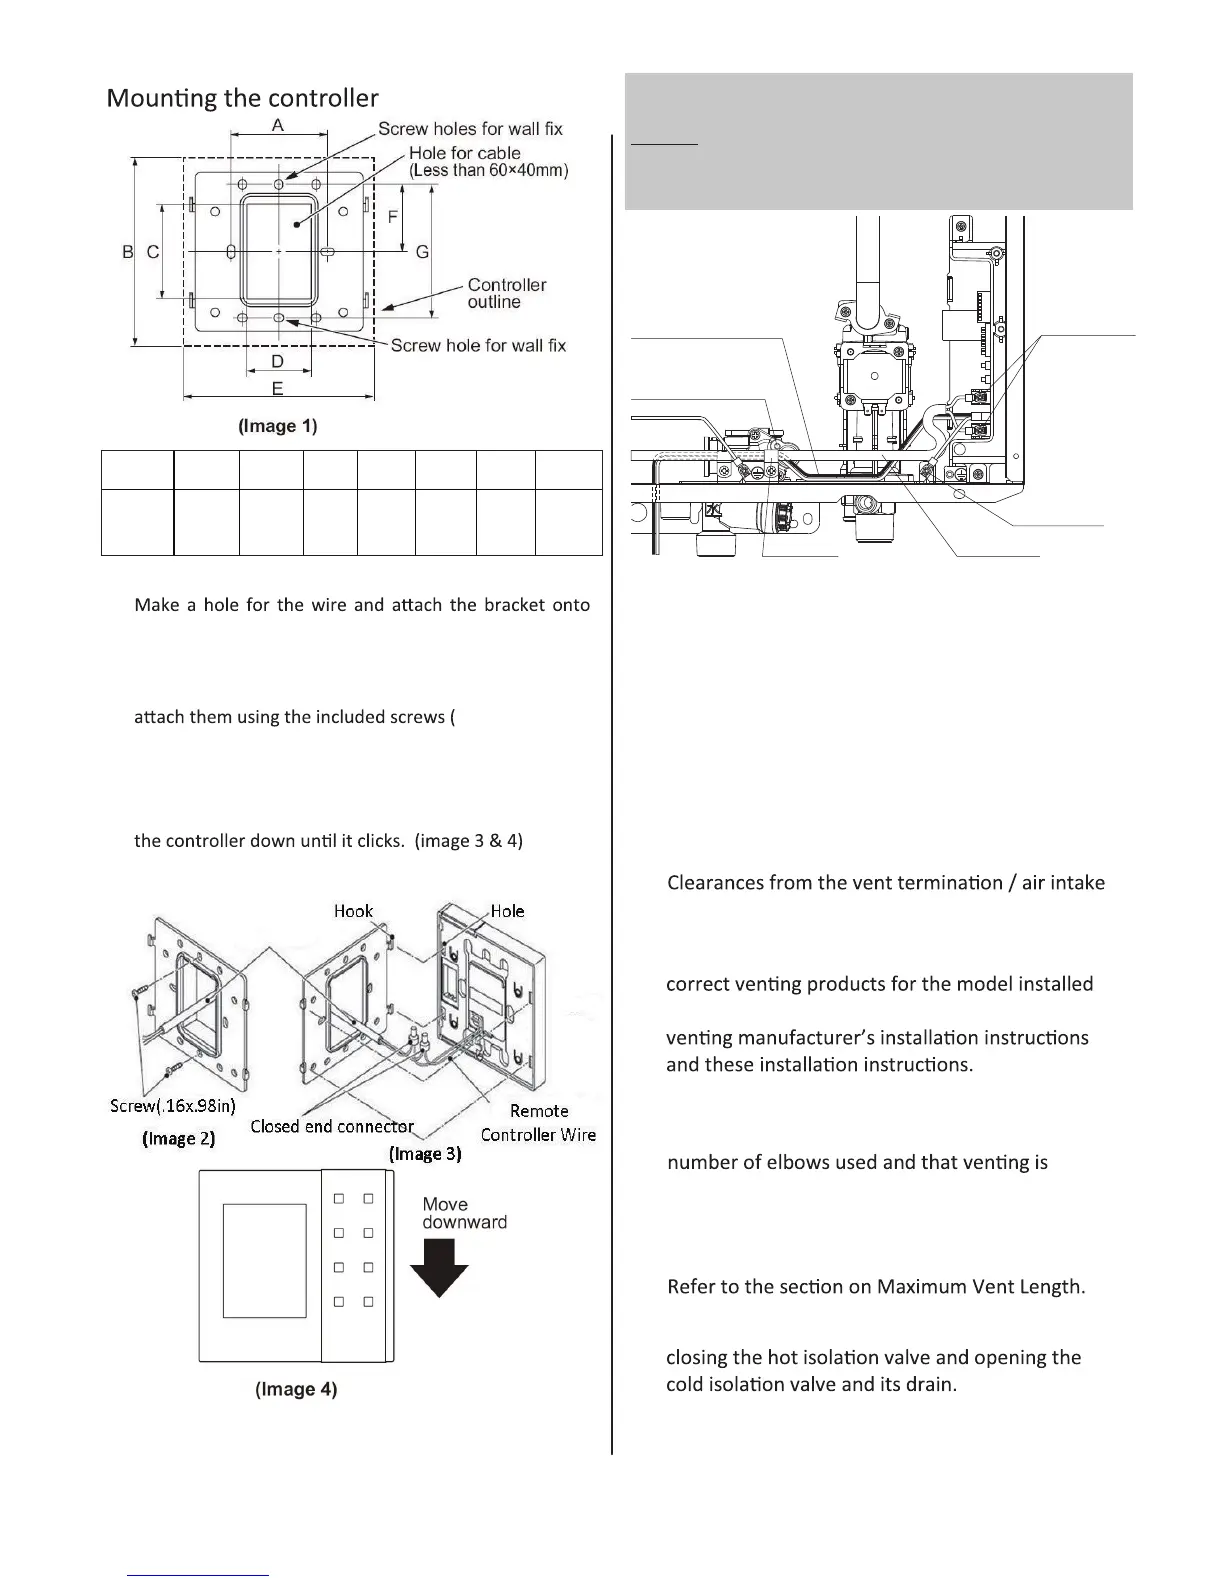
Ref. A B C D E F G
Inches
(mm)
2.36
(60)
4.65
(118)
2.36
(60)
1.58
(40)
4.72
(120)
1.65
(42)
3.29
(83.5)
1.
the wall using the included screws(refer to image 1 &
2). In case the wall is made from cement, make 2 holes
(.24in, more than .98in depth) for the wall plug and
.16×.98in)
2. Connect the wire from the heater to the controller wire
of the same color (See image 3).
3. Insert hooks of the bracket into the controller and move
Final Checklist
REMOTE CONTROL
CONNECTION
TERMINALS
120V Wining
Blue or Black wire : hot leg
Brown or White Wire : neutral
Hole A
*For indoor model, use hole A
for CABLE CLAMP
CABLE CLAMP
*For outdoor model
Ground
Connecon Screw
REMOTE
CONTROL CABLE
 Loading...