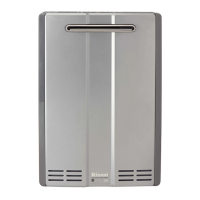
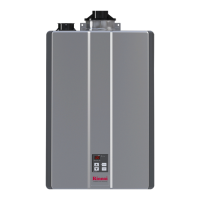
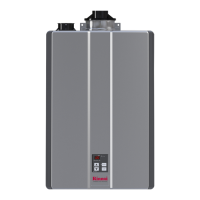
KCM Series Manual 11
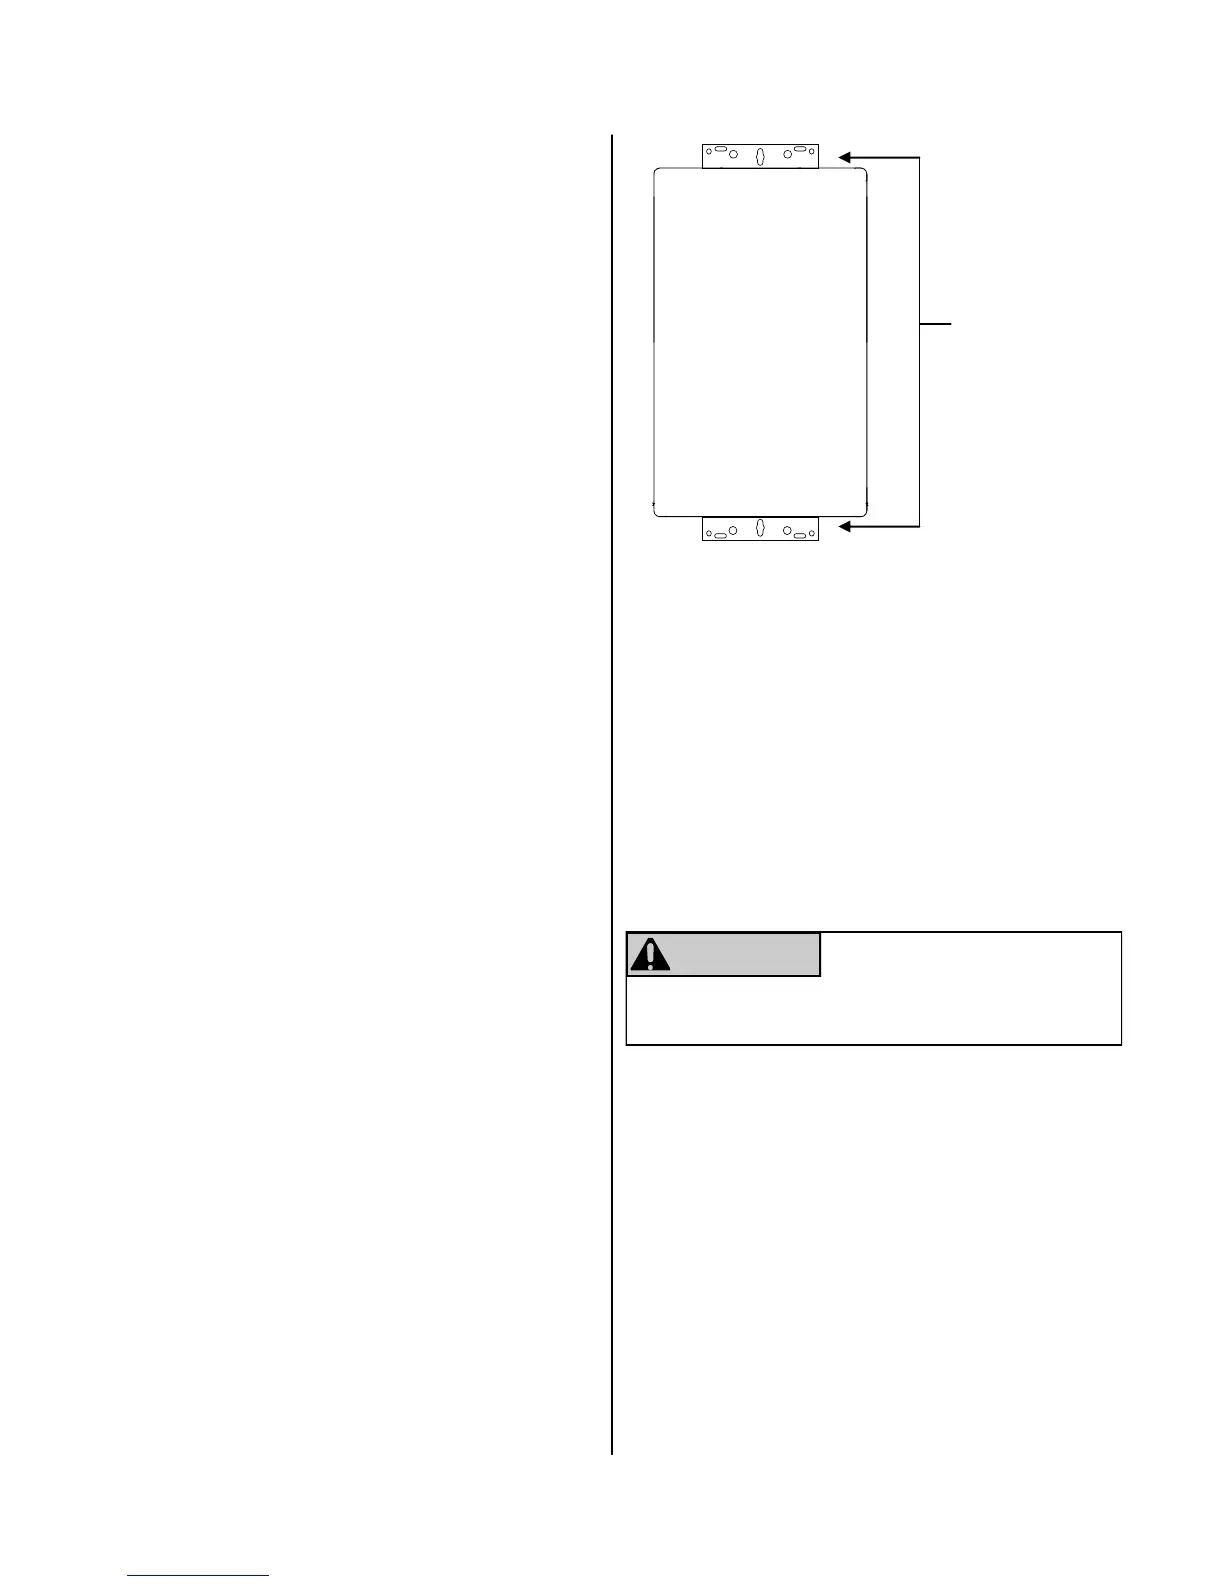
wall installaon
brackets
1. Idenfy the installaon locaon and conrm that
the installaon will meet all required clearances.
2. Securely aach the water heater to the wall
using any of the holes in the wall installaon
brackets which are at the top and boom of the
water heater. Ensure that the aachment
strength is sucient to support the weight of the
water heater. Refer to the weight of the water
heater in the Specicaons secon of this
manual.
Use a leveling tool to ensure that the water
heater is level. Proper operaon requires that
the water heater be level.
□ The water heater is not exposed to corrosive
compounds in the air.
□ The water heater locaon complies with all
required clearances.
□ For indoor models, the planned venng will not
exceed the maximum length for the number of
elbows used.
□ The planned venng terminaon/air intake
locaon meets all required clearances.
□ Indoor air is not being used for combuson.
□ The water supply does not contain chemicals or
exceed total hardness that will damage the heat
exchanger.
□ A standard 3 prong 120 VAC, 60 Hz properly
grounded wall outlet (for indoor models) or other
120 VAC, 60 Hz source is available.
□ The installaon must conform with local codes or,
in the absence of local codes, with the Naonal
Fuel Gas Code, ANSI Z223.1/NFPA 54, or the
Natural Gas and Propane Installaon Code, CSA
B149.1. If installed in a manufactured home, the
installaon must conform with the Manufactured
Home Construcon and Safety Standard, Title 24
CFR, Part 3280 and/or CAN/SCA Z240 MH Series,
Mobile Homes.
□
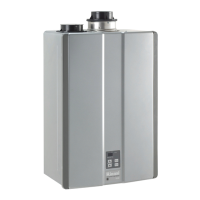
Slide the plasc trim pieces on each side of the water
heater to expose the screws.
Remove the 4 screws and pull o the front panel.
NOTICE
The water heater must be installed in an upright
posion. Do not install upside down or on its side.
 Loading...