T
Thomas StanleySep 3, 2025
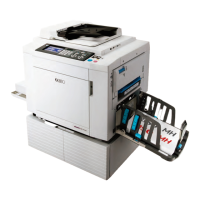
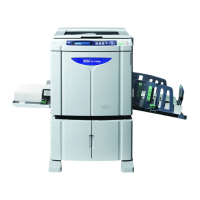
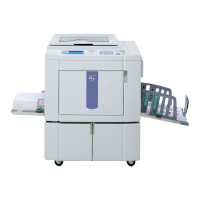
What to do if Riso MZ770 Disc Duplicator says 'Print Drum 1 is not Set in Place'?
- KKevin NixonSep 3, 2025
If your Riso Disc Duplicator displays the message 'Print Drum 1 is not Set in Place Press Drum Release Button and Pull Out Print Drum Once after Button Lights', it indicates that the Print Drum is locked but not pushed in properly. Press the Print Drum Release Button. Remove the Print Drum after the button is lit and reinstall it.