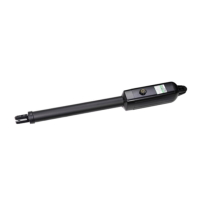
11
10. Cut off any part of the bolts that extend beyond the tightened nuts.
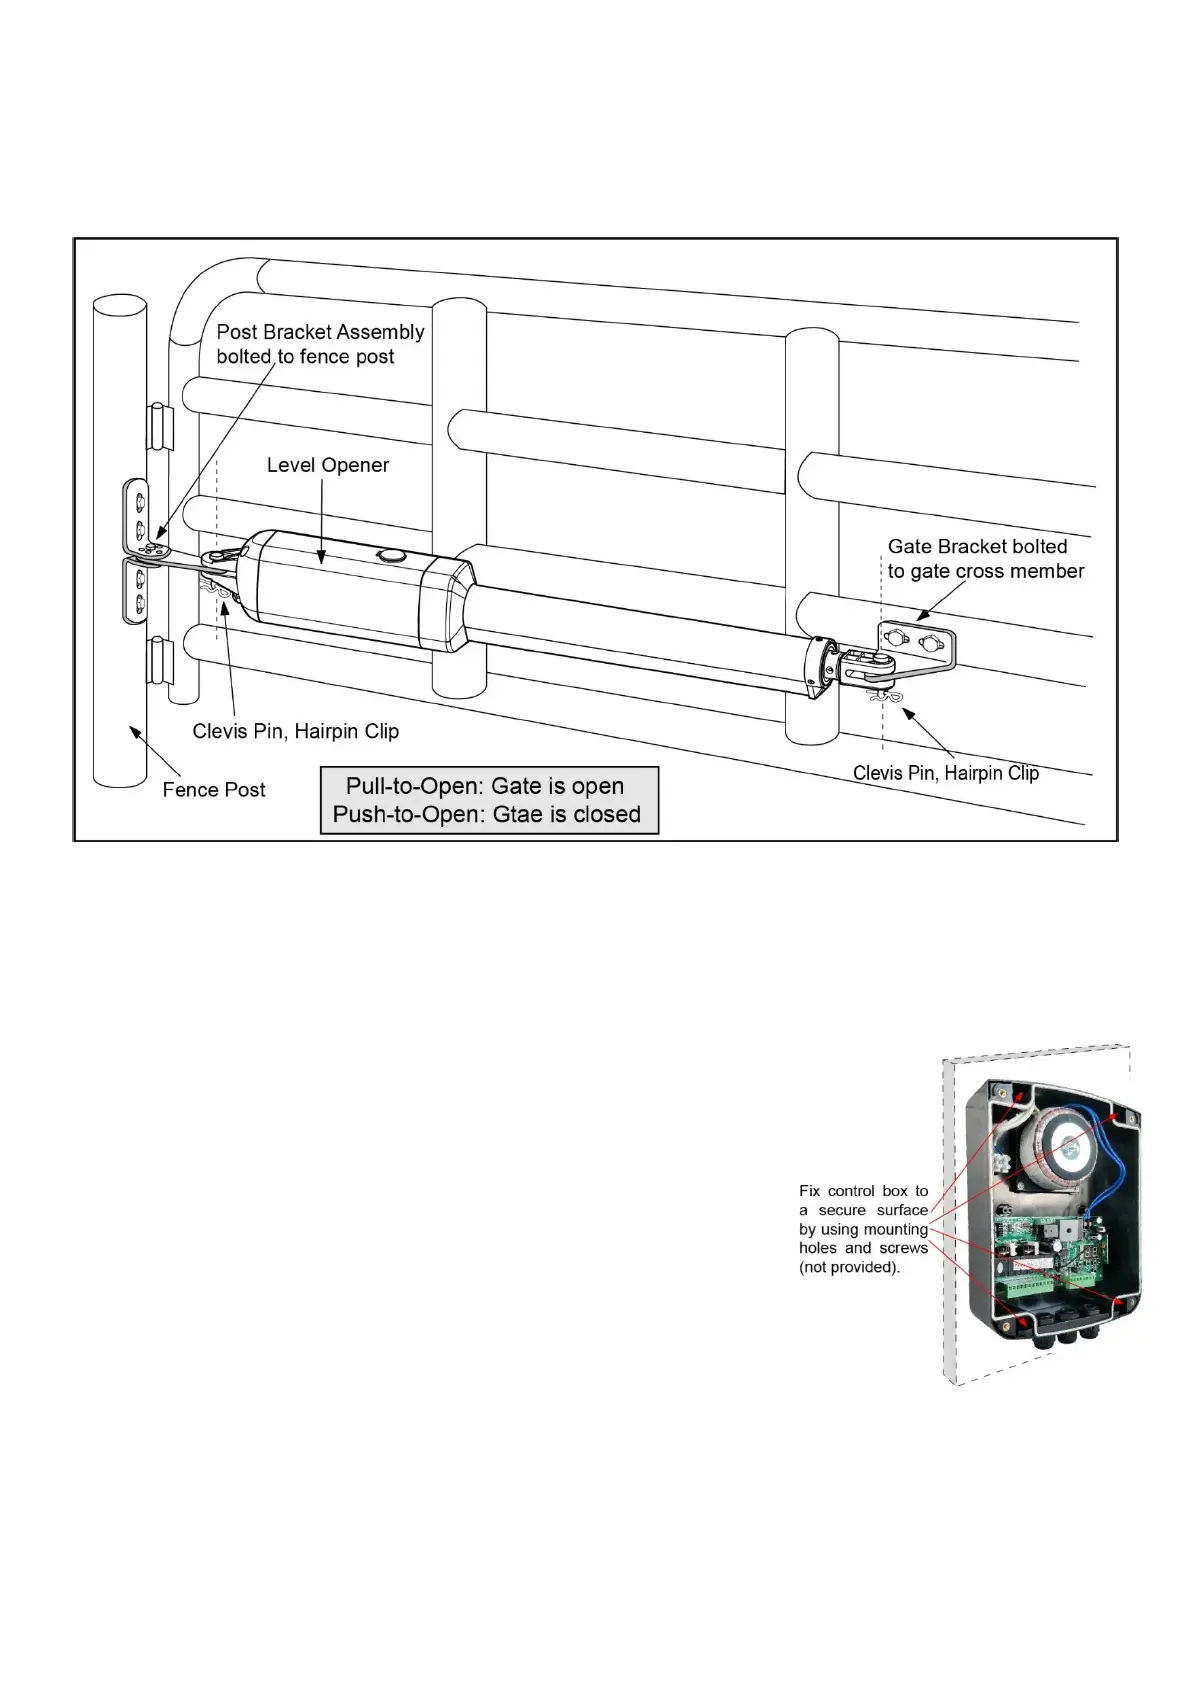
11. With the gate opener fully retracted and with the gate in the fully open position (for Pull-to-Open installation)
or fully closed position (for Push-to-Open installation), attach the gate opener to the Post Bracket Assembly and
the Gate Bracket by inserting a clevis pin through the gate opener and the Post Pivot Bracket and another clevis
pin through the gate opener and the Gate Bracket. Secure each clevis pin with a hairpin clip.
12. Open the release hole plug on the top of the gate opener, insert the release key, and turn the key 90°
counterclockwise. This restores normal operation.
NOTE: The setting of the PULL/PUSH TO OPEN of the control board should be in accordance with the
installation.
Mounting of the Control Box
1.To install the control box use the deck screws (not provided).
Even though the control box is waterproof designed, for safety reason and a
longer service life, it is recommended to install the control box inside a secure
surface and at least 100 cm (40 inches) above the ground to avoid being
flooded or buried under snow.
2.Insert the power cable and cable of the first gate opener through the front
strain relief and into the control box by loosening the strain relief screw
located in the leftmost of outside bottom of the control box and feeding the
cables into the control box. Check the length of cables is long enough to their
respective terminal block in control box.