7
The projector can be installed in any postition without altering its operation characteristics.
Caution !
Make sure that the device is fixed properly ! Ensure that the structure
to which you are attaching the projector is secure !
For fixing the projector use the hole provided in the bracket. The hole in the adjustable mounting bracket has a
diameter of 8mm.
For overhead use, fit a safety chain or cord
3.2 Connection to the mains
Caution !
The electric connection has to be carried out by a qualified employee only !
Connect the projector with the mains plug to the mains
3.3 DMX-512 connection
Connect the controller with the projector using a stereo shielded cable and 3-pin XLR-connectors.
In order to connect the controller, you have to adjust the starting address of the DOMINATOR like shown under 3.5.
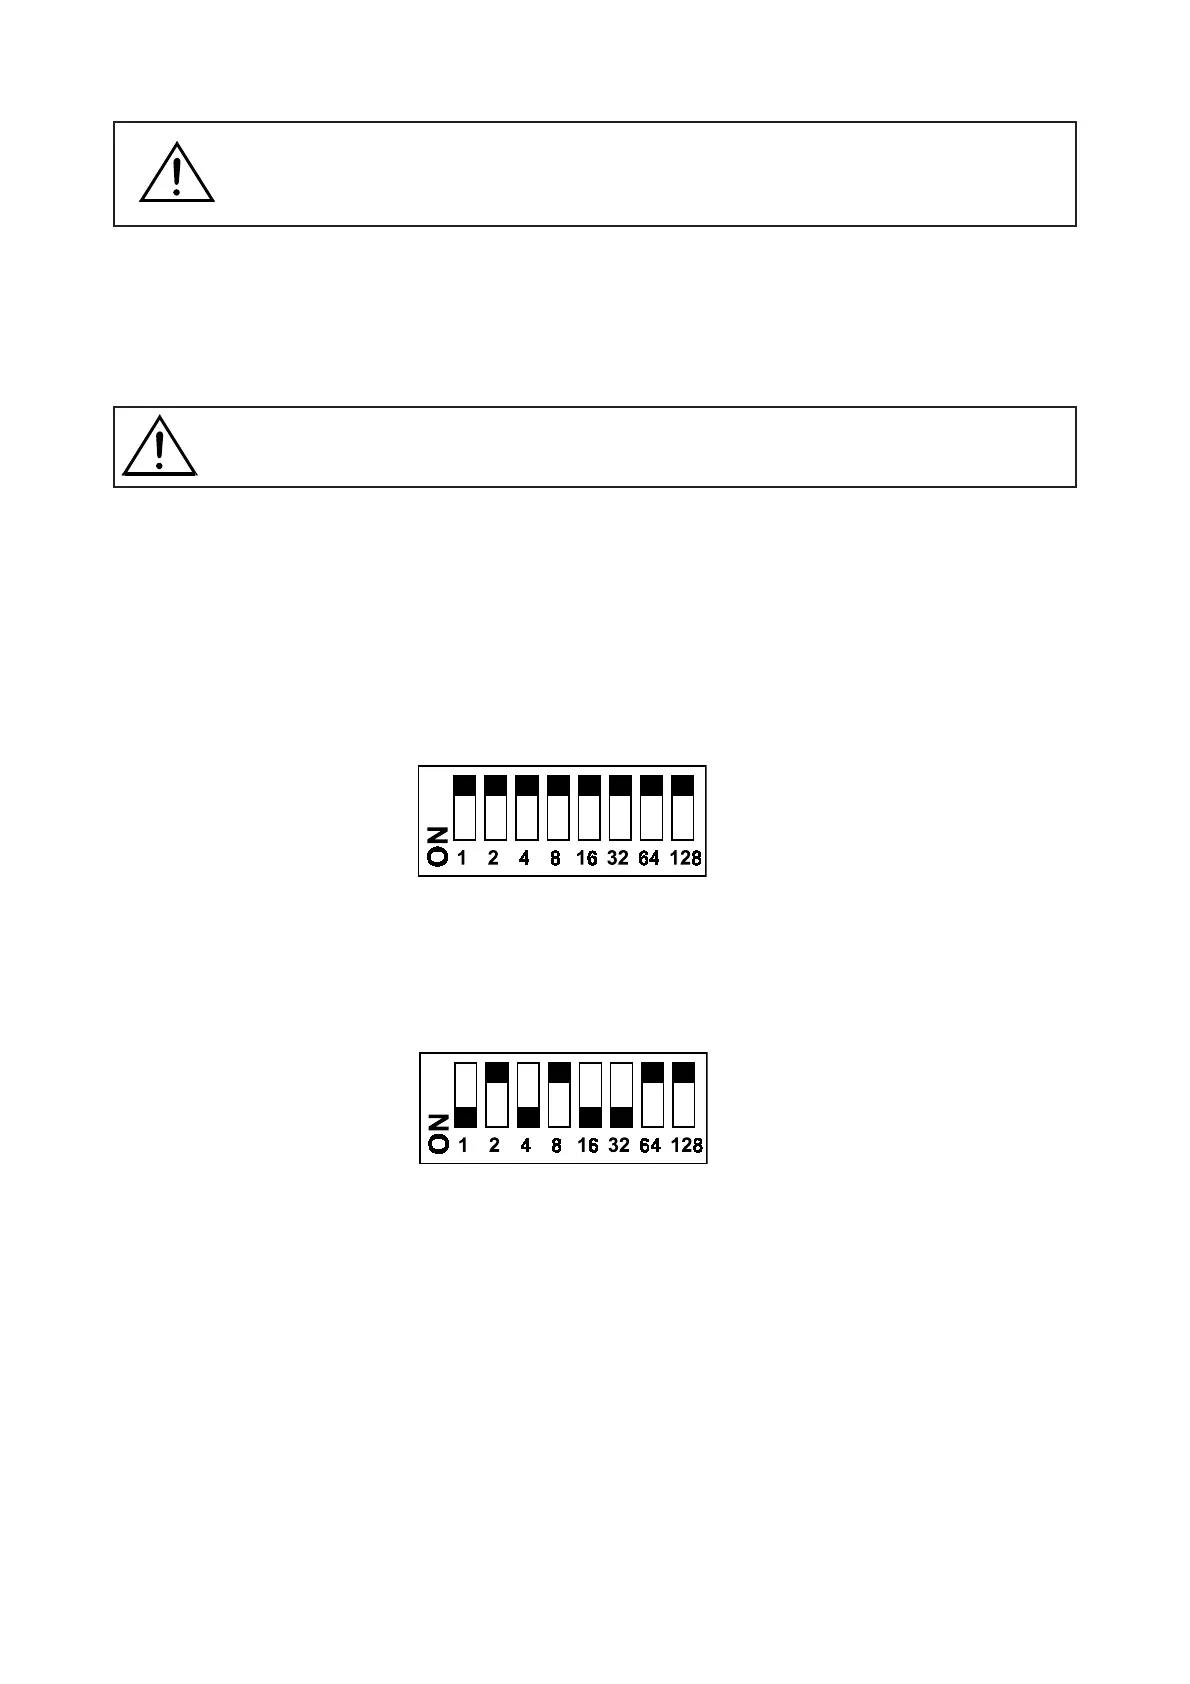
3.4 Test sequence
In order to run the test sequence, adjust the starting address of the DOMINATOR as follows:
3.5 Projector addressing
If the DOMINATOR is to be connected with a Universal DMX Controller , adjust the starting address of the
DOMINATOR as follows:
4. Operation
4.1 Reset
As soon as the projector is switched on, the motors are adjusted (Reset) and the device is ready for use within c.
10 seconds.
4.2 Operation LED
If the projector is connected with a controller via the DMX-input, but does not receive any data, the operation LED
is flashing.