11
B4
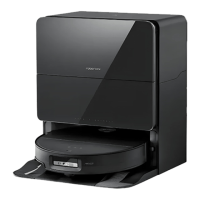
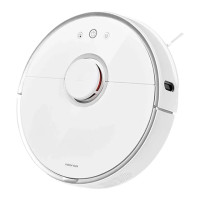
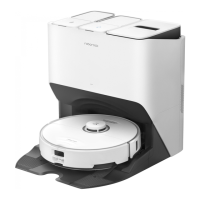
Powering On & Charging
Press and hold to power on the robot.
Wait until the power indicator light is
steady, and then place the robot in front
of the dock. Make sure that the dock is
plugged in. Then, press
and the robot
will automatically return to the dock for
charging. The robot is equipped with a
built-in high-performance lithium-ion
rechargeable battery pack. To maintain
battery performance, keep the robot charged.
Dock status indicator light off, robot
power indicator light breathing: Charging.
B4-1—
The robot may not be turned on when the battery is
low. In this case, place the robot to the dock for charging.
Note:
• Maintain the dock according to the Routine
Maintenance. Do not clean the dock power cord or
charging contacts with a wet cloth or tissue.
• All docks are subject to water-based tests before
leaving the factory. It is normal that a small amount of
water remains in the waterway of the dock.
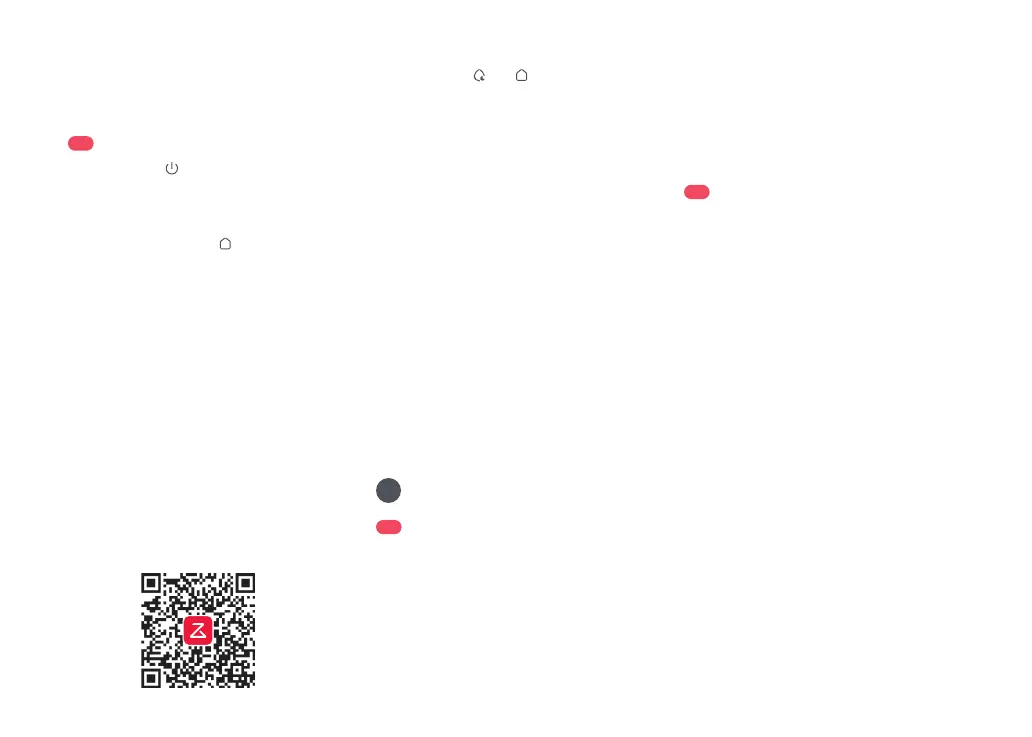
Connecting to the App
Search for “Roborock” in the App Store
or Google Play or scan the QR code to
download and install the app.
1. Download the App
2. Reset WiFi
Press and hold and simultaneously
until you hear the “Resetting WiFi” voice
message. The reset is complete when the
voice assistant and WiFi indicator light
flashes slowly. The robot will then wait for a
connection.
If you cannot connect to the robot due to your
router configuration, a forgotten password, or any
other reason, reset the WiFi and add your robot as a
new device.
Note:
Notes:
• The actual process may vary due to ongoing app
updates. Follow the guide provided in the app.
• Only 2.4 GHz WiFi is supported.
• If the robot waits more than 5 minutes for a
connection, WiFi will be automatically disabled. If you
want to reconnect, reset the WiFi before proceeding.
Open the Roborock app, tap the “Add
Device” or “+” button and add your device
following the in-app guide.
3. Add Device
Instructions for Use
C
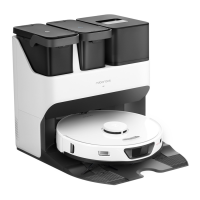
Open the dock cover, lift the clean water
tank, open its lid, and then fill it with tap
water. After filling, close the lid, lock the
latch, and then put the clean water tank
back to the dock.
C1
Filling the Clean Water Tank
C2
Adding Cleaning Solution
Notes:
• To avoid deformation, only use cold water.
• If any water stains remain on the outside of the
water tank, wipe them with a soft, dry cloth before
reinstalling the tank.
• To prevent damage, do not add any disinfectant in the
clean water tank. To prevent a high concentration of
cleaning solution, add solution only to the cleaning
solution cartridge.
To prevent damage, do not pull the dust container
door open.
Note:
1. Press the dust container door to open
it, pull out the entire cleaning solution
cartridge by its bottom handle, and then
place it on a hard, flat surface.
2. Open the lid of the cartridge and add
cleaning solution.
3. Close the lid and put the cartridge back
to the dock. Press the cartridge until you
hear it lock with a click.
4. Close the dust container door in place to
make sure the dust container is securely
sealed.
Notes:
• Make sure that the cleaning solution cartridge is
entirely removed before adding cleaning solution.
• To prevent damage, do not use any disinfectant and
only use cleaning solution recommended by Roborock
in the solution cartridge.
• After adding, the robot will automatically add cleaning
solution to the water for mop washing and robot
water tank refilling according to the preset ratio to
ensure optimal mopping performance.
• Cleaning solution is not included in the package.
Purchase one if needed.