6
IN TRODUCTION TO YOUR
N EW TABLE-TOP CUTTER
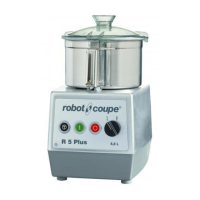
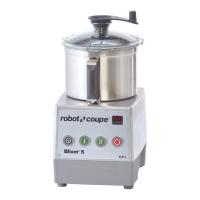
MIXER R5 Plus - R5 V.V
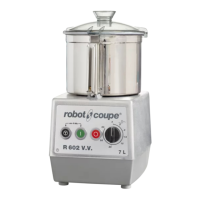
R6 - R6 V. V.
The R5 Plus, R5 V.V., R6 or R6 V.V. is perfectly geared
to professional needs. It can perform any number of
tasks, which you will gradually discover as you use it.
This machine can be used to process meat, vege-
tables, fine stuffing, mousse, grinding, kneading,... in
less than 5 minutes for even the longest tasks.
Its numerous functions will open the door to a whole
new culinary world.
Thanks to its simple design, all components requiring
frequent handling for maintenance or cleaning can
be fitted and removed in a trice.
To make things easier for you, this manual gives a
breakdown of all the various fitting operations.
This manual contains important information designed
to help the user get the most out of his or her bowl
cutter/ vegetable preparation device.
We therefore recommend that you read it carefully
before using your machine. We have also included
a few examples to help you get the feel of your new
machine and appreciate its numerous advantages.
SW ITCHIN G ON
THE MACHIN E
• ADVICE ON ELECTRICAL CONN N ECTION S
Before plugging in, check that your power supply cor-
responds to that indicated on the machine’s
identification plate.
THREE PHASE R5 Plus - R6
The R5 Plus/ R6 come with different types of
motor : 230 x 400 V / 50 Hz / 3
400 V / 50 Hz / 3
220 V / 60 Hz / 3
380 V / 60 Hz / 3
This machine is supplied with a cable to which you
simply attach the appropriate electrical plug or isola-
tor for your system. The cable has four wires, one
earth wire, plus three phases wires.
If you have a 4-pin plug:
1) Connect the green and yellow earth wire to the
earth pin.
2) Connect the three other wires to the remaining
pins.
If you have more than 4 pins in the plug, please
note the RO BOT-COUPE does not require a neutral
wire.
Switch on the empty machine, making sure that
the blade is rotating properly in an anti-clockw ise
direction.
On the motor unit and on the lid a arrow marks the
blade rotation directions.
If the blade turns in a clockwise direction, swap over
two wires.
GREEN YELLOW is the earth,
DO NOT DISCON N ECT
Swap either : the and the
the and the
or the and the
• SINGLE PHASE R5 Plus
The R5 Plus is available with motor ratings:
230 V / 50 Hz / 1
220 V / 60 Hz / 1
The machine comes with a single phase plug connec-
ted to a power cord.
• SINGLE PHASE R5 V.V./ R6 V.V.
The R6 V.V. is available with motor ratings +
variabe speed : 230 V / 50-60 Hz / 1
The standardized plug must be calibrated to a mini-
mum of 13 amps and preferably 20 amps, if the
appliance is used intensively.
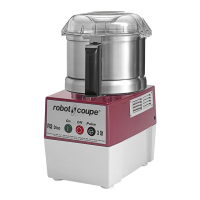
• CON TROL PAN EL
Red switch = Off switch
Green switch = On switch
Black switch = Pulse control
R5 Plus - R6: Speed selector = 1.500 or 3.000 rpm.
R5 V.V. - R6 V.V.: Speed variation from
300 to 3.000 rpm.
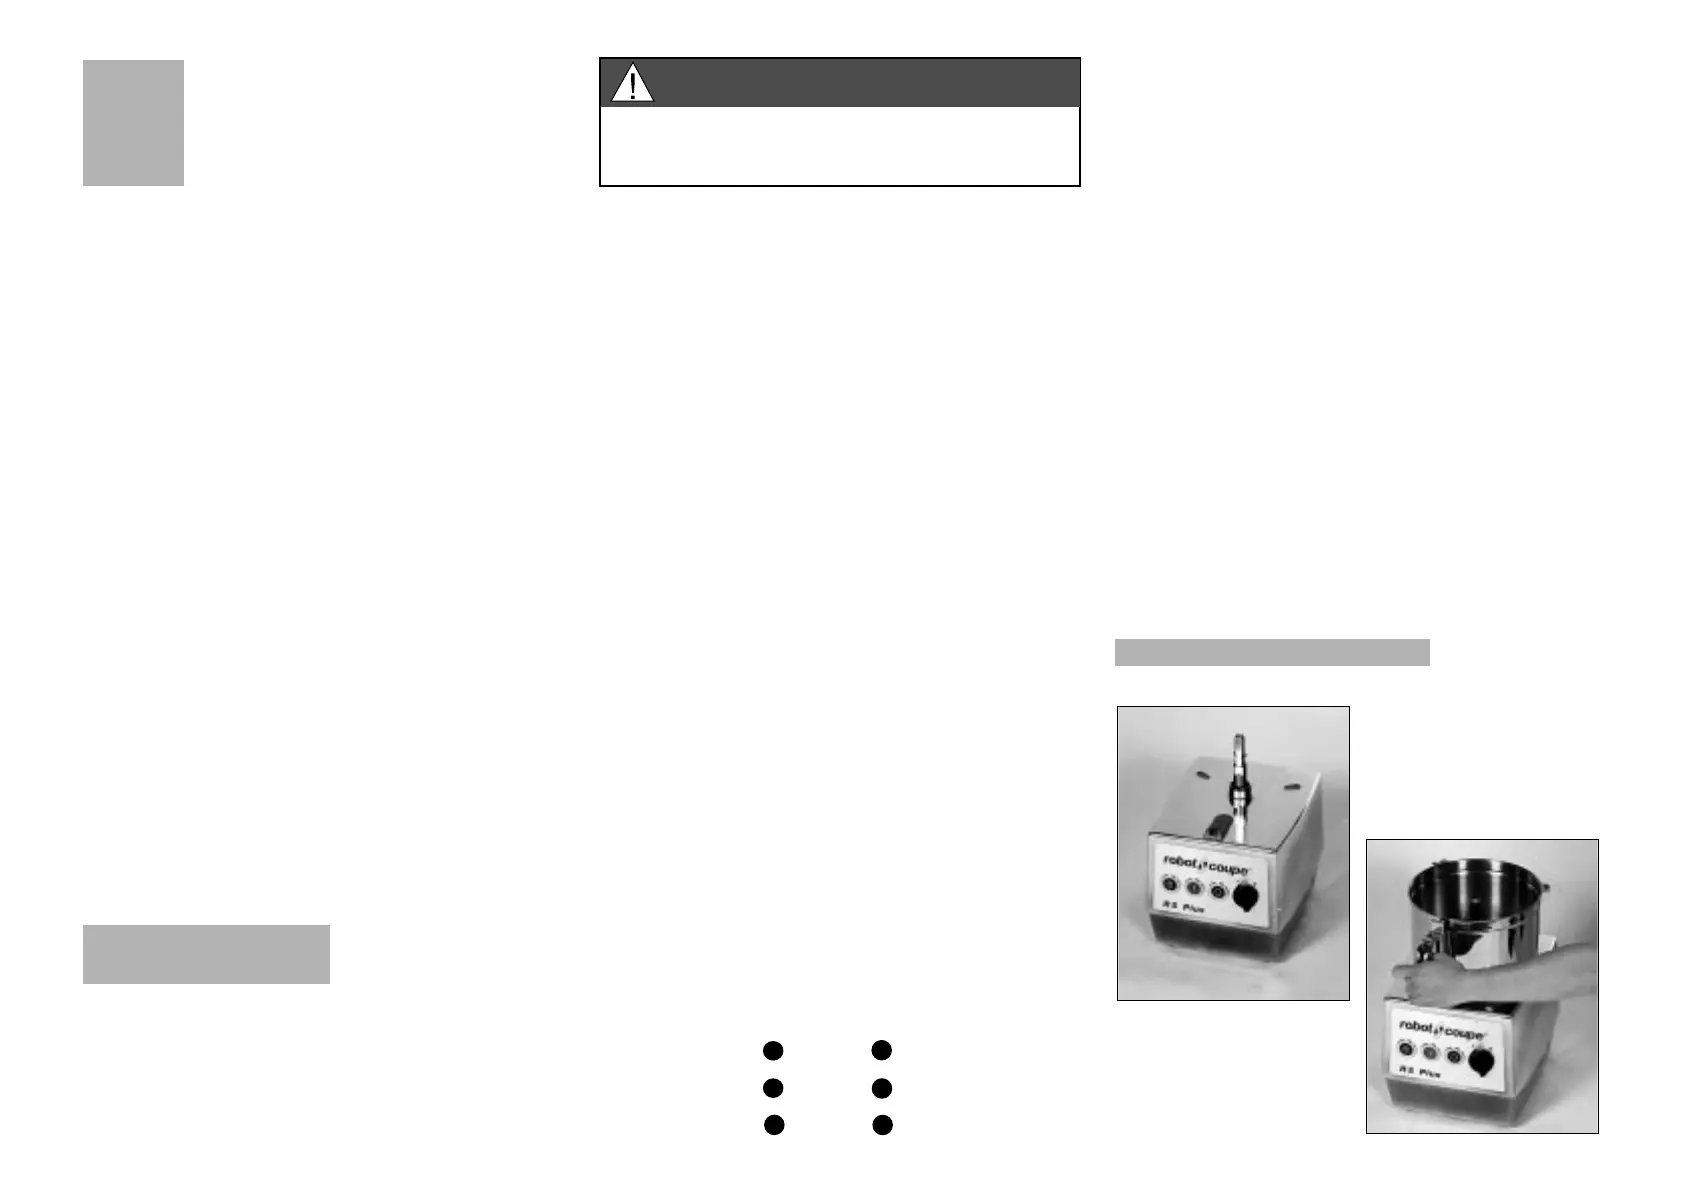
ASSEMBLY
1) W ith the motor base
facing you, position the
cutter bowl on the motor
base.
2) Turn the bowl to the
right until it locks.
This appliance must be plugged into an
earthed socket (risk of electrocution).
WARN ING