EasyManuals Logo

Rockwell Automation MagneMotion MagneMover LITE Service Manual

Rockwell Automation MagneMotion MagneMover LITE
138 pages
To Next Page IconTo Next Page
To Previous Page IconTo Previous Page
Page #89 background imageLoading...
Page #89 background image
Maintenance
Repair
MagneMover LITE Service Manual 89
Rockwell Automation Publication MMI-UM037A-EN-P - April 2020
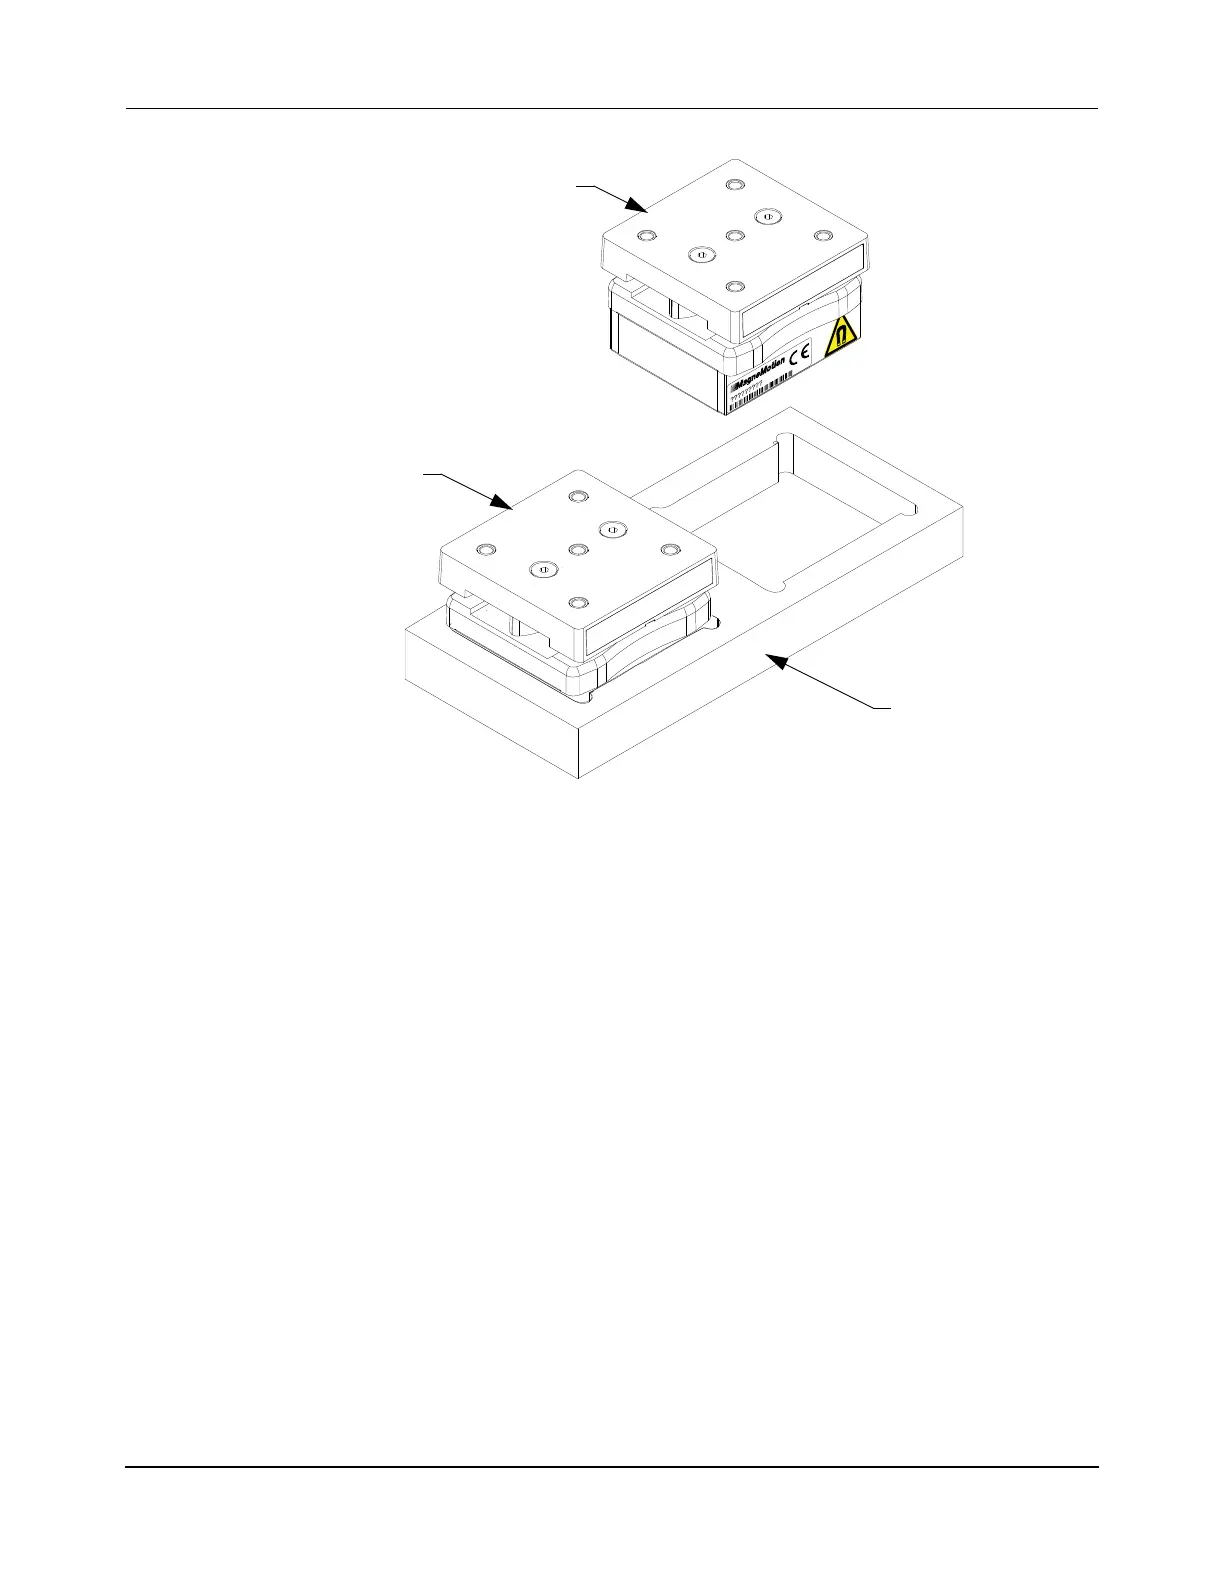
Figure 26: Place Second Glide Puck in Fixture
4. Apply two to three drops of Loctite 243 to the threads at the top center of each puck as
shown in Figure 27.
5. Position the linkage plate assembly over the top of both pucks.
6. Secure the linkage plate to the top of the pucks using new washers (dome side up) and
new screws. Tighten each screw to 0.9 N•m [8 in•lb].
The Loctite must cure for 2 hours at 22° C [72° F] before using the puck.
First Puck
Installation
Fixture
Second Puck

Other manuals for Rockwell Automation MagneMotion MagneMover LITE

Questions and Answers:

Question and Answer IconNeed help?

Do you have a question about the Rockwell Automation MagneMotion MagneMover LITE and is the answer not in the manual?

Rockwell Automation MagneMotion MagneMover LITE Specifications

General IconGeneral
BrandRockwell Automation
ModelMagneMotion MagneMover LITE
CategoryAccessories
LanguageEnglish

Related product manuals