SUPER ELF S3 – Dornier
Maintenance
Photocells automatic calibration
The Super Elf S3 is fitted with an automatic photocells calibration system, which is needed
when replacing the feeder circuit board or one of the sensors groups.
Proceed as follows:
1. Remove all the yarn from the spool body, and verify that the photocells glass and mirrors
are clean (see below)
2. Press the Reserve push-button on the feeder side for about 30 seconds, till the LED makes
a short blinking than remains steady ON: at this point the calibration is automatically
performed by the feeder SW.
3. Wait a few seconds, than reset the feeder by switching the loom OFF, than back ON. Wait
again until the loom has completed the normal initialization at power ON, than the feeder is
ready to run.
Note: if the calibration procedure is made with yarn on the spool body, or with glass -mirrors
dirty, the feeder can go in alarm “SYSTEM ERROR 4” and it is completely blocked. To unlock
the feeder, remove the yarn from spool body, or the dust from glass – mirrors, and make the
automatic calibration again. If, after performing correctly the automatic calibration, the same
error is still displayed on the loom Dialog panel, proceed as here below described:
- Check the stopper pin position and distance from the spool body (see page 17)
- Check the correct connection of the photocell circuit inside the spool body
- Replace the top spool body sector (that includes the sensors)
- Replace the stopper magnet housing
- Replace the CPU board and make a new automatic calibration
Photocells information
The Super Elf S3 works with an automatic compensation system, to grant same level of
reading signals, even when the dust stats to accumulate on the window glass of the optical
sensors. The amount of dust accumulated it is indicated on relevant display page.
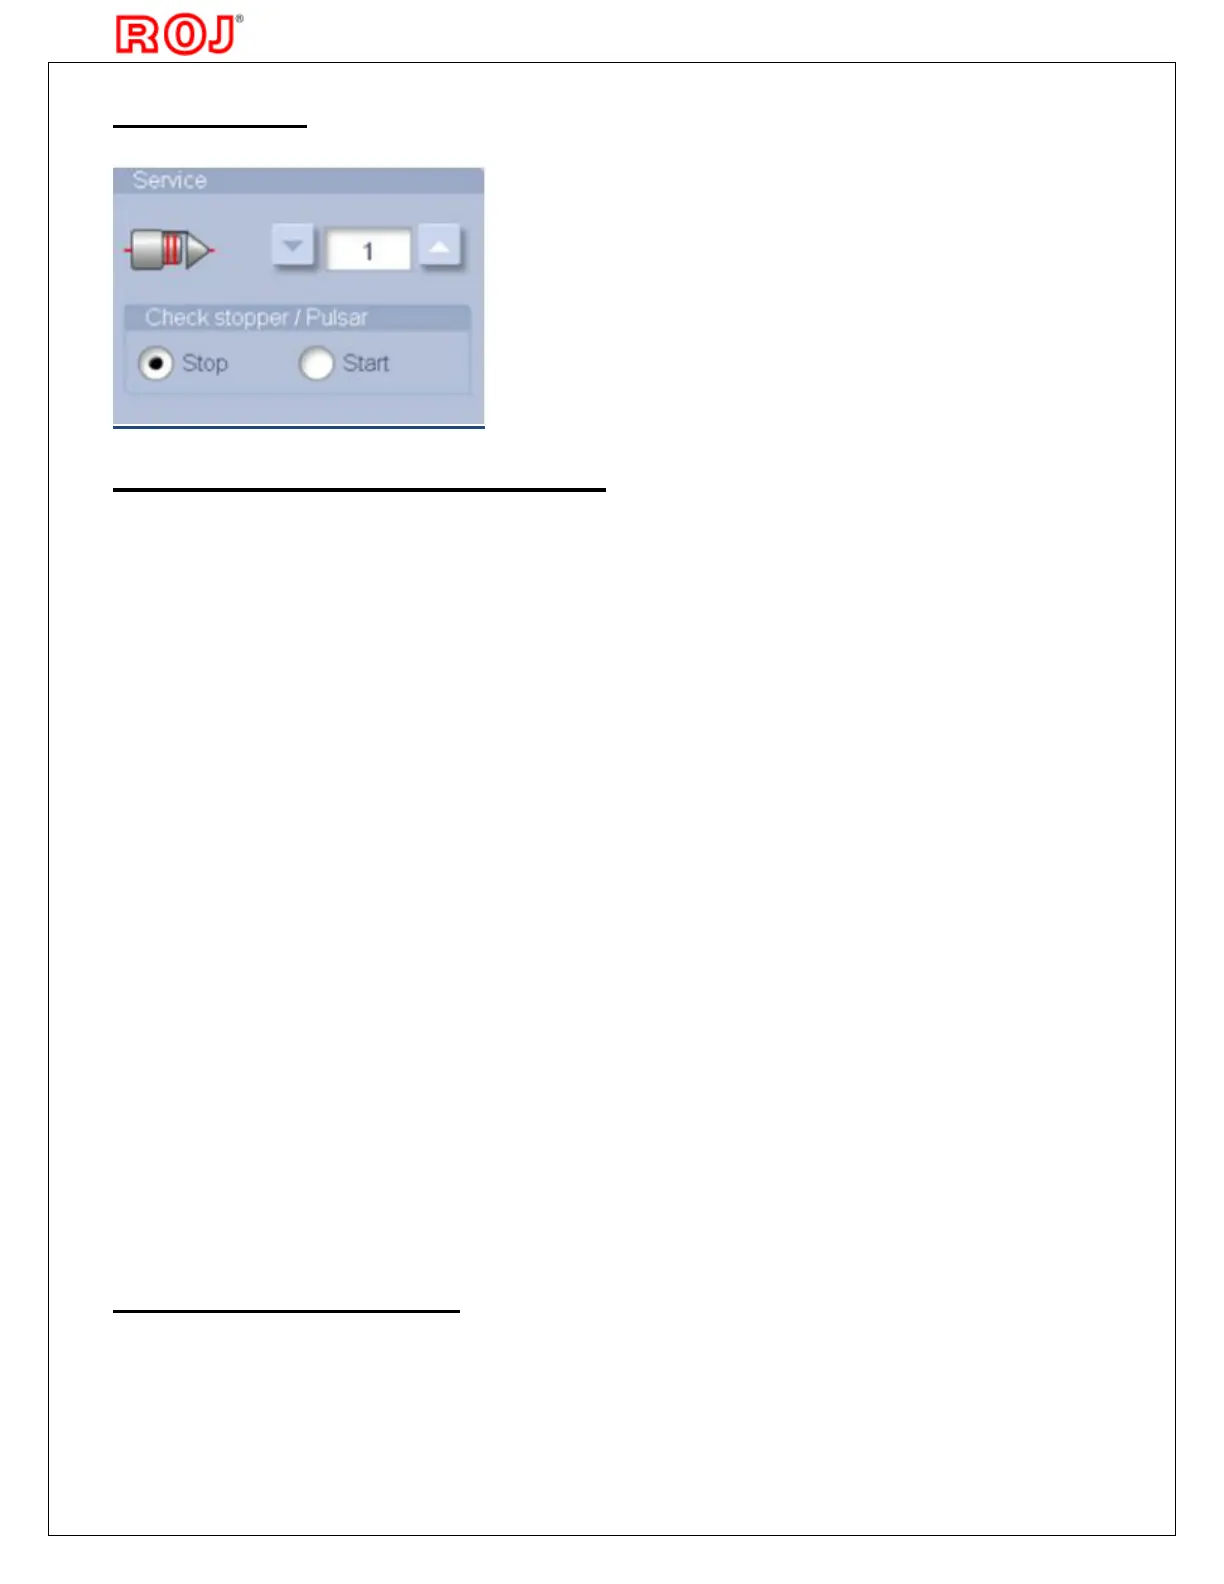
Stopper / Pulsar test
This test activates a test cycle on the pulsar that will
move the pulsar fork according to the settings in the
Filling tensioner menu. The Stopper electromagnet is
also activated.