4
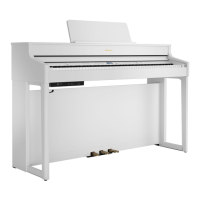
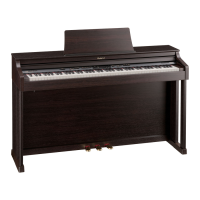
* The illustration shows the HP704.
19
20 21 22 23 24
18
* To prevent malfunction and equipment failure, always turn down the
volume, and turn o all the units before making any connections.
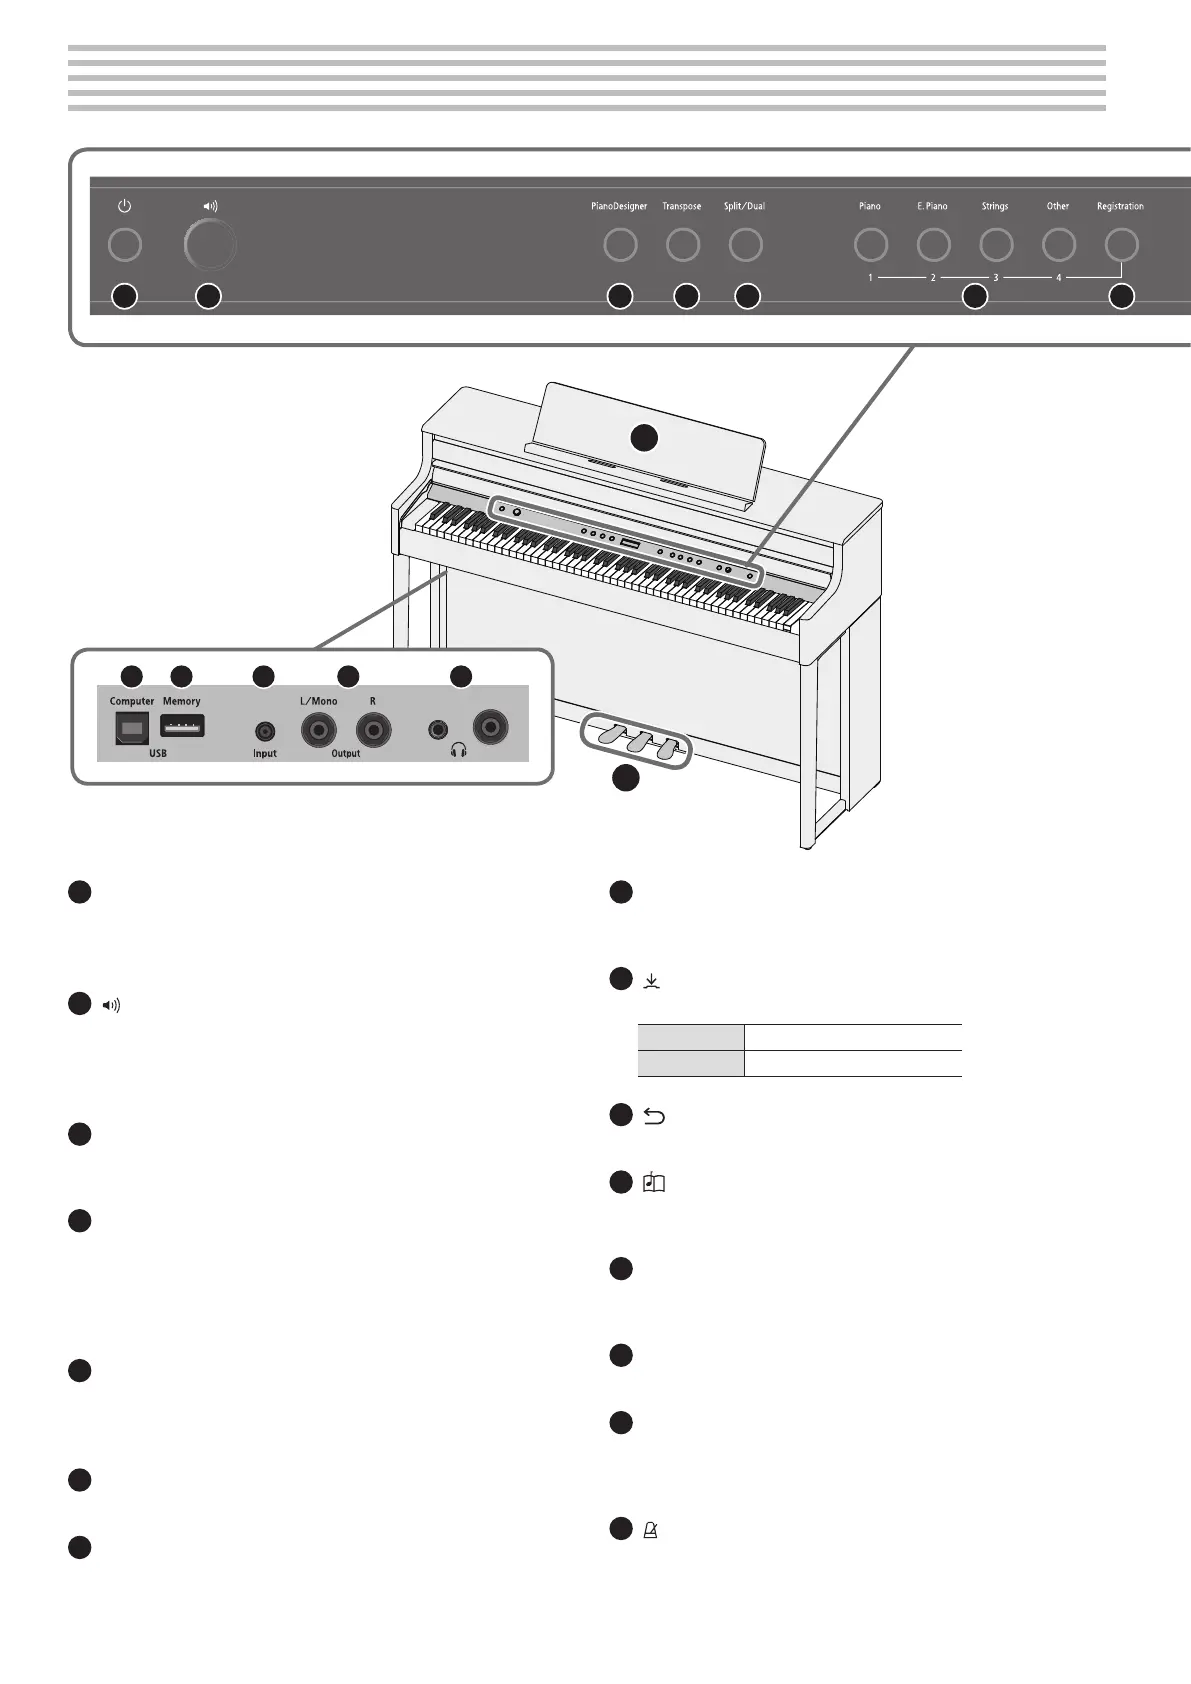
° Panel Descriptions
1 2 3 4 5 6 7 8 9 10 11 12 13 14 15 1716
25 26
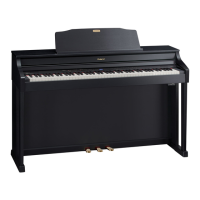
* The illustration shows the HP704.
1
[
L
] (Power) button
Turns the power on/o. (p. 6)
* This piano also lets you turn the power on/o by opening or closing
the keyboard cover.
2
[ ] (Volume) knob
Adjusts the volume of the entire piano.
This adjusts the volume for playing the piano or playing back the
songs. If headphones are connected, it adjusts the volume of the
headphones. (p. 6, p. 7)
3
[Piano Designer] button
Adjusts various elements of the piano’s sound, allowing you to
customize the sound to your preference. (p. 16)
4
[Transpose] button
The keyboard can be transposed in semitone steps.
When accompanying a vocal, or when performing as a singer-
instrumentalist, you can transpose the pitch to match the singer’s
pitch range without changing the ngering of your keyboard playing.
(p. 11)
5
[Split/Dual] button
Lets you play dierent tones in the left- and right-hand areas
of the keyboard (Split Play), or layer two tones together on the
keyboard (Dual Play). (p. 10)
6
Tone buttons
Select the sound that’s played by the keyboard. (p. 8)
7
[Registration] button
Lets you register your favorite performance settings so that you
can easily recall those settings while you perform.
8
Display
This shows information such as the tone name, song name, tempo,
and time signature.
9
[ ] (select/conrm) knob
Changes or conrms an item or value shown in the screen. (p. 7)
Turn knob Change an item or a value
Press knob Conrm
10
[ ] (back) button
Returns to the previous screen, or exits the current screen. (p. 7)
11
[ ] (song) button
Selects the built-in song or recorded performance that will be played
back. (p. 12)
12
[
s
] (play/stop) button
Plays/stops the song playback, or start/stops recording.
(p. 12, p. 13)
13
[
t
] (recording) button
Records the performance that you play. (p. 13)
14
[Part] button
Lets you select the performance part (right-hand, left-hand,
accompaniment) that will play back. This also lets you record parts
separately. (p. 12, p. 14)
15
[ ] (metronome) button
Turns the metronome on/o. (p. 11)
 Loading...