3
Additional Explanation
Pattern Sequencer
5
In the PATTERN SEQUENCER screen, you can long-press the [LOOP] button to open
the LOOP window, where you can make loop-related settings. Press the [EXIT]
button to close the LOOP window.
Parameter Explanation
Loop Switch
Species whether playback will loop (ON) or not loop (OFF).
* You can also switch this by pressing the [LOOP] button.
OFF, ON
Loop Rec
Species whether to loop-record (ON) or not loop-record (OFF).
* You can also switch this by pressing the [LOOP] button while holding
down the [SHIFT] button.
OFF, ON
5
Use the [UPPER] slider to adjust the level of track 1, and the [LOWER] slider to adjust
the level of track 2.
5
Use the [PHRASE PAD] slider to increase or decrease the level that’s specied for
tracks 3–8 while maintaining the balance between these tracks.
5
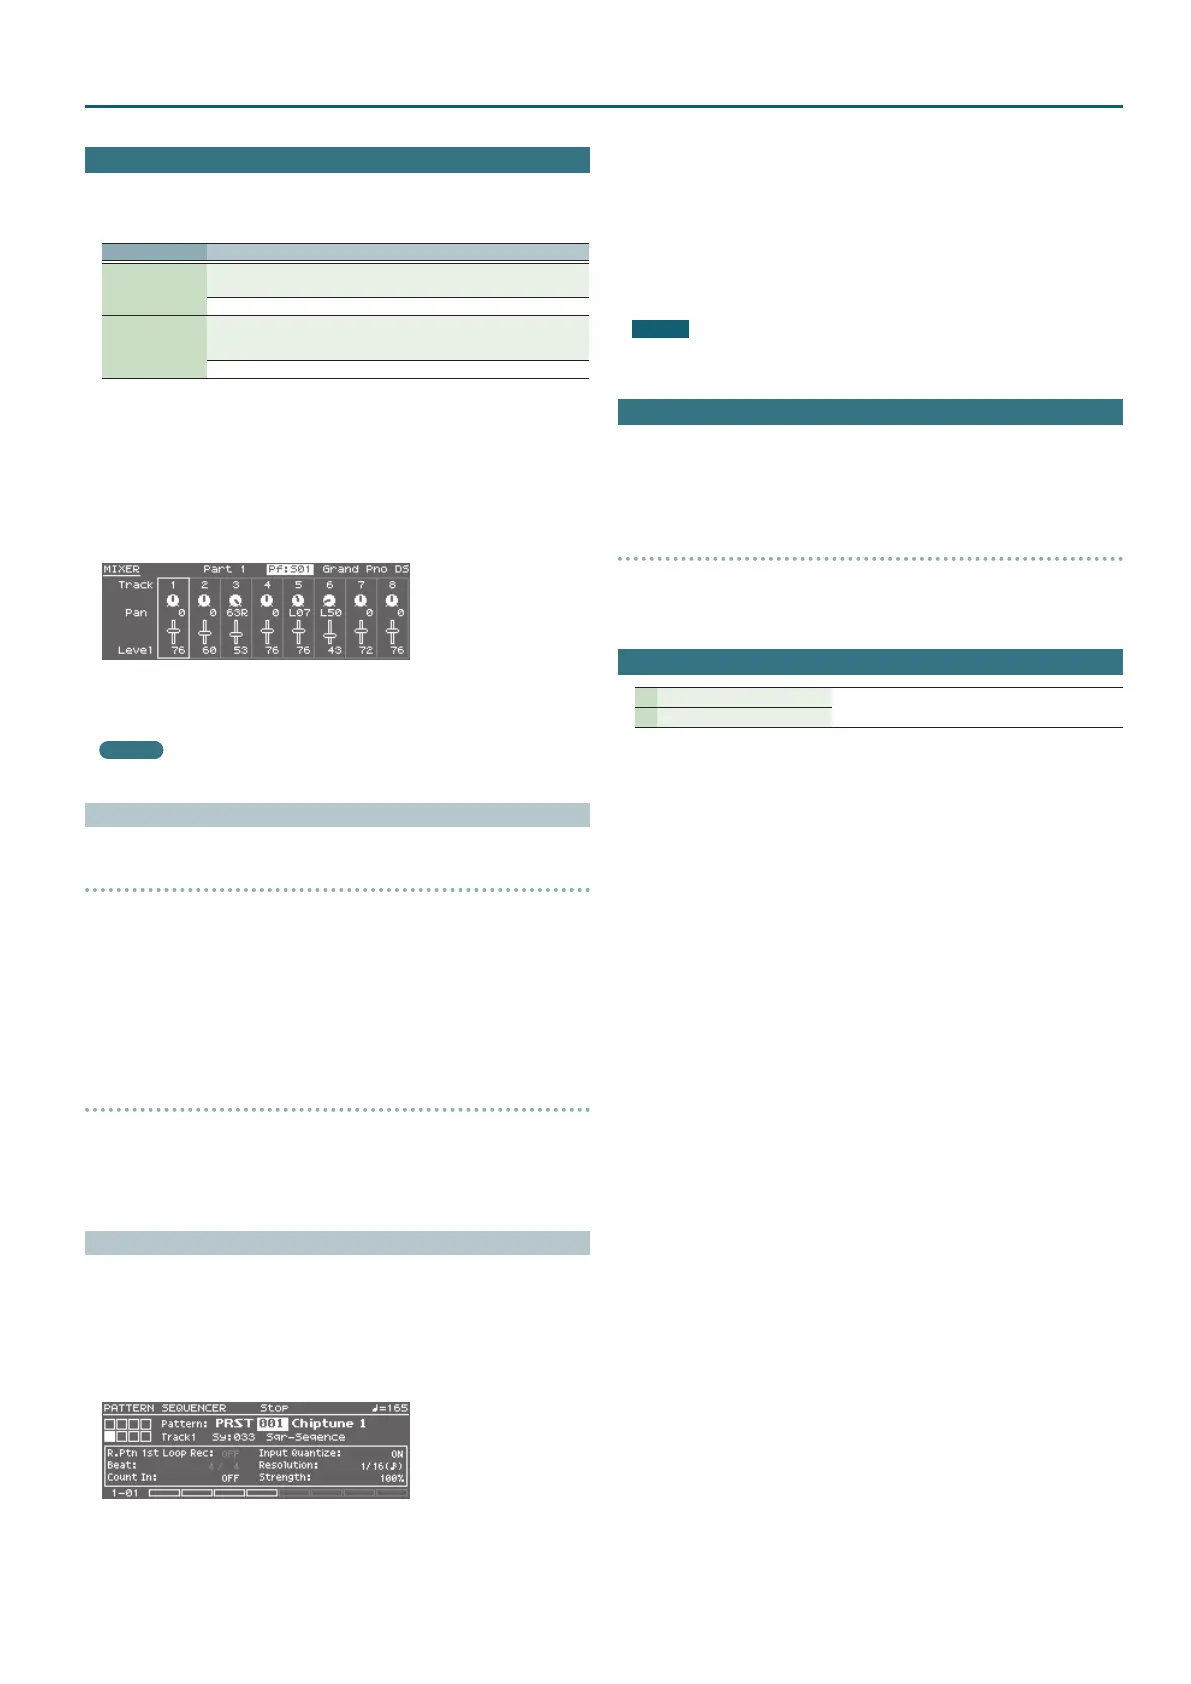
Press the [MIXER] button to open the MIXER screen. Here you can set the pan and
level of each track.
You can use pads [1]–[8] to select a track to edit.
Use the [UPPER]/[LOWER]/[PHRASE PAD] sliders to adjust the level.
MEMO
Tracks 1–7 are assigned to parts 1–7, and track 8 is assigned to part 10.
Realtime Erase
Erasing only specied notes during recording or playback
(REALTIME NOTE ERASE)
1.
During recording or playback, hold down the [RHYTHM PATTERN] button
and press the [ERASE] button.
The REALTIME NOTE ERASE window appears.
2.
Press a key on the keyboard to specify the note that you want to erase.
3.
Press the [ERASE] button.
While you continue holding down the key, only the note you specify is erased from
the selected track.
Erasing only movements of knobs or the bender/modulation lever
during recording or playback
1.
During recording or playback, hold down the [MUTE] button and press the
[ERASE] button.
Only while you continue holding down these buttons, movements of the knobs and
the bender/modulation lever are erased from the selected track.
Saving a Pattern As a “Performance” (SAVE AS PERFORM)
Settings related to the sound of the pattern (preset/user) used in the pattern
sequencer can be saved as a performance.
For example, if you want to export a pattern to SMF, use your DAW to edit it into a
complete song, and then use the JUNO-DS to play this song data, the performance
saved by the “SAVE AS PERFORM” function can be recalled to play the data using the
original sound.
1.
In the PATTERN SEQUENCER screen, select a pattern.
2.
Press the [MENU] button.
The MENU screen appears.
3.
Move the cursor to “PATTERN UTILITY,” and press the [ENTER] button.
4.
Move the cursor to “SAVE AS PERFORM,” and press the [ENTER] button.
The SAVE AS PERFORM screen appears.
5.
Use the value dial to select the write destination performance, and press
the [ENTER] button.
A conrmation message appears.
If you decide to cancel, press the [EXIT] button.
6.
Move the cursor to “OK,” and press the [ENTER] button.
Writing is complete when the screen indicates “Completed!”
NOTE
Never turn o the power while the screen indicates “Writing....”
Turning the Display Backlight On/O
To reduce battery consumption, you can turn o the display backlight when it’s not
required.
1.
Hold down the [SHIFT] button and press the [EXIT] button.
The display backlight will turn o.
Turning the display backlight on
1.
Hold down the [SHIFT] button and press the [ENTER] button.
The display backlight will turn on.
Demo Songs
1 Wonder
Copyright © 2015 Roland Corporation
2 There There There

 Loading...


