27
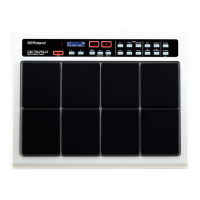
Mar. 2010 SPD-30
9. Trigger Test [9/15 TRIG MONITOR]
fig.test10.eps_80
This successively tests the operation of the built-in pads (PAD1 through
8) and external pads (1/KICK, 2/SNARE, 3/HIHAT, and 4/RIDE).
1. Strike PAD 1 with the drum stick. Verify the following three points.
• Does only the struck pad respond, with no false response from pads
not struck?
• Does the value of Velo change according to the velocity of the strike
(strong, intermediate, or soft)?
• Is the Velo value fairly uniform for all eight pads? (The values
should be within an allowable range of about ±15.)
* At ordinary startup, KIT50 sounds. After a factory reset, a drum-set sound
(KIT50, “Tutorial”) is played, but if no factory reset has been executed yet, the
audio played may differ depending on the state of user data.
* The displayed Velo values corresponding to strike velocity are approximately as
follows.
Strong: 81 — 127
Intermediate: 30 — 80
Soft: 5 — 30
* The cancel sensor may respond when a pad is struck, causing CANCEL to
appear, but this does not indicate a problem.
* Pressing [Button 1] clears the history display for the Velo value.
2. Test PAD 2 through PAD 8 in the same way.
Next, test external-pad input.
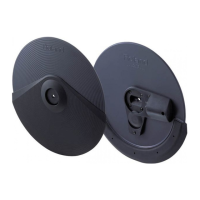
3. Use a stereo cable to connect the pad (CY-8 or the like) to the 1/KICK jack.
* Information may appear on the screen even when the plug has only been
inserted, but this is caused by mistaken detection due to noise on insertion, and
does not indicate an abnormality.
4. Strike the center of the pad with the drum stick.
EXT 1 through 4, HEAD, and the Velo values are displayed. The
displayed EXT information corresponds as shown below to the jack
where the pad is connected. Verify that the correct information is
displayed.
5. Verify the following two points.
• Does only the struck pad respond, with no false response from pads
not struck?
• Does the value of Velo change according to the velocity of the strike
(strong, intermediate, or soft)?
6. Forcefully strike the edge of the pad with the stick.
EXT 1 through 4, RIM, and the Velo values are displayed.
7. Verify the following two points.
• Does only the struck pad respond, with no false response from pads
not struck?
• Does the value of Velo change according to the velocity of the strike
(strong, intermediate, or soft)?
8. Choke the edge of the pad (dampen it with the hand).
SW, EXT 1 through 4, RIM, and ON/OFF are displayed. For the ON/OFF
display, ON is displayed when pressed and OFF is displayed when
released (two lines each).
9. In the same way, carry out steps 3 to 8 for the other external pads.
10. Press [Button 3] to advance to the next item.
10. Cancel Sensor Test
[10/15 CANCEL PIEZO]
fig.test11.eps_80
1. Strike a non-pad area of the unit’s body with your hand, and verify that
the Velo value changes according to the intensity of the strike.
2. Press [Button 3] to advance to the next item.
The cancel sensor monitors impact to the unit’s body. This prevents mistaken
sound generation if the user inadvertently strikes the body. Note, however,
that it cannot prevent this 100% of the time.
Display Jack
EXT 1 1/KICK
EXT 2 2/SNARE
EXT 3 3/HI-HAT
EXT 4 4/RIDE

 Loading...