28
For Those Using a Computer
Installing the XV-2020 driver (FreeMIDI)
Use the following procedure to install the XV-2020 driver. The included XV-2020
FreeMIDI driver is an add-on module for using the XV-2020 with FreeMIDI. In order
to use it, FreeMIDI must be installed on the hard disk from which you started up.
* Exit all applications before you begin installing the driver.
* Install OMS if using the XV Editor software included with the unit.
* The XV-2020 FreeMIDI Driver included on the disc is provided as an additional
module that allows the XV-2020 to be used with FreeMIDI. In order to use it,
FreeMIDI must already be installed on the start-up hard disk.
* Disconnect the XV-2020 from the Macintosh before beginning the installation.
1. Exit all currently running software (applications).
If you are using a virus checker or similar software, be sure to exit this as well.
2. Prepare the CD-ROM.
Insert the CD-ROM into the CD-ROM drive.
fig.3-3_50
3. Double-click the FM-E icon (found in the XV-2020 folder - XV Driver E
folder of the CD-ROM) to start up the installer.
4. Verify the installation location, and click [Install].
fig.3-2_40
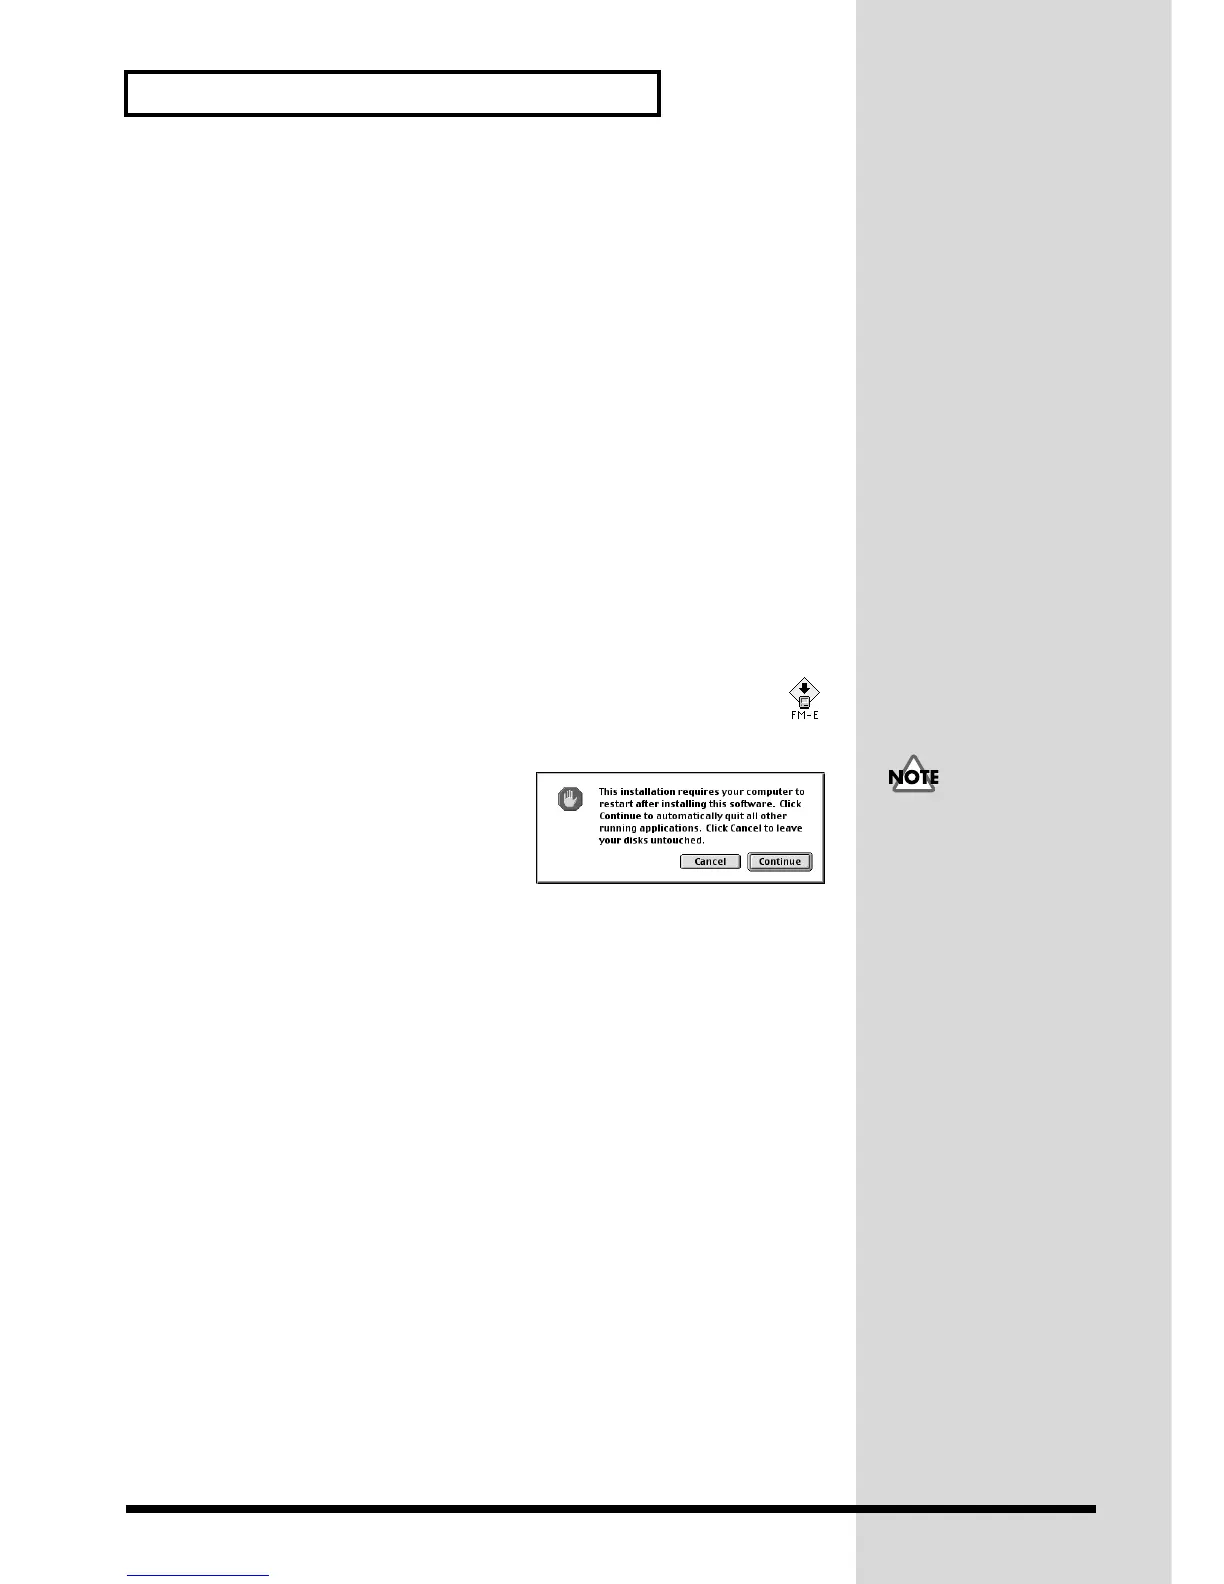
5. If a message like the following is
displayed, click [Continue].
The other currently running applications
will exit, and installation will continue.
6. A dialog box will indicate Installation
completed. Click [Restart] to restart your Macintosh.
7. Use the USB cable to connect the XV-2020 to your computer.
1. With the XV-2020’s power switch turned off, connect it to the AC adaptor.
2. Plug the AC adaptor into an AC power outlet.
3. Use the USB cable to connect the XV-2020 to your computer.
8. Switch ON the XV-2020’s Power switch.
This unit is equipped with
a protection circuit. A brief
interval (a few seconds)
after power up is required

 Loading...