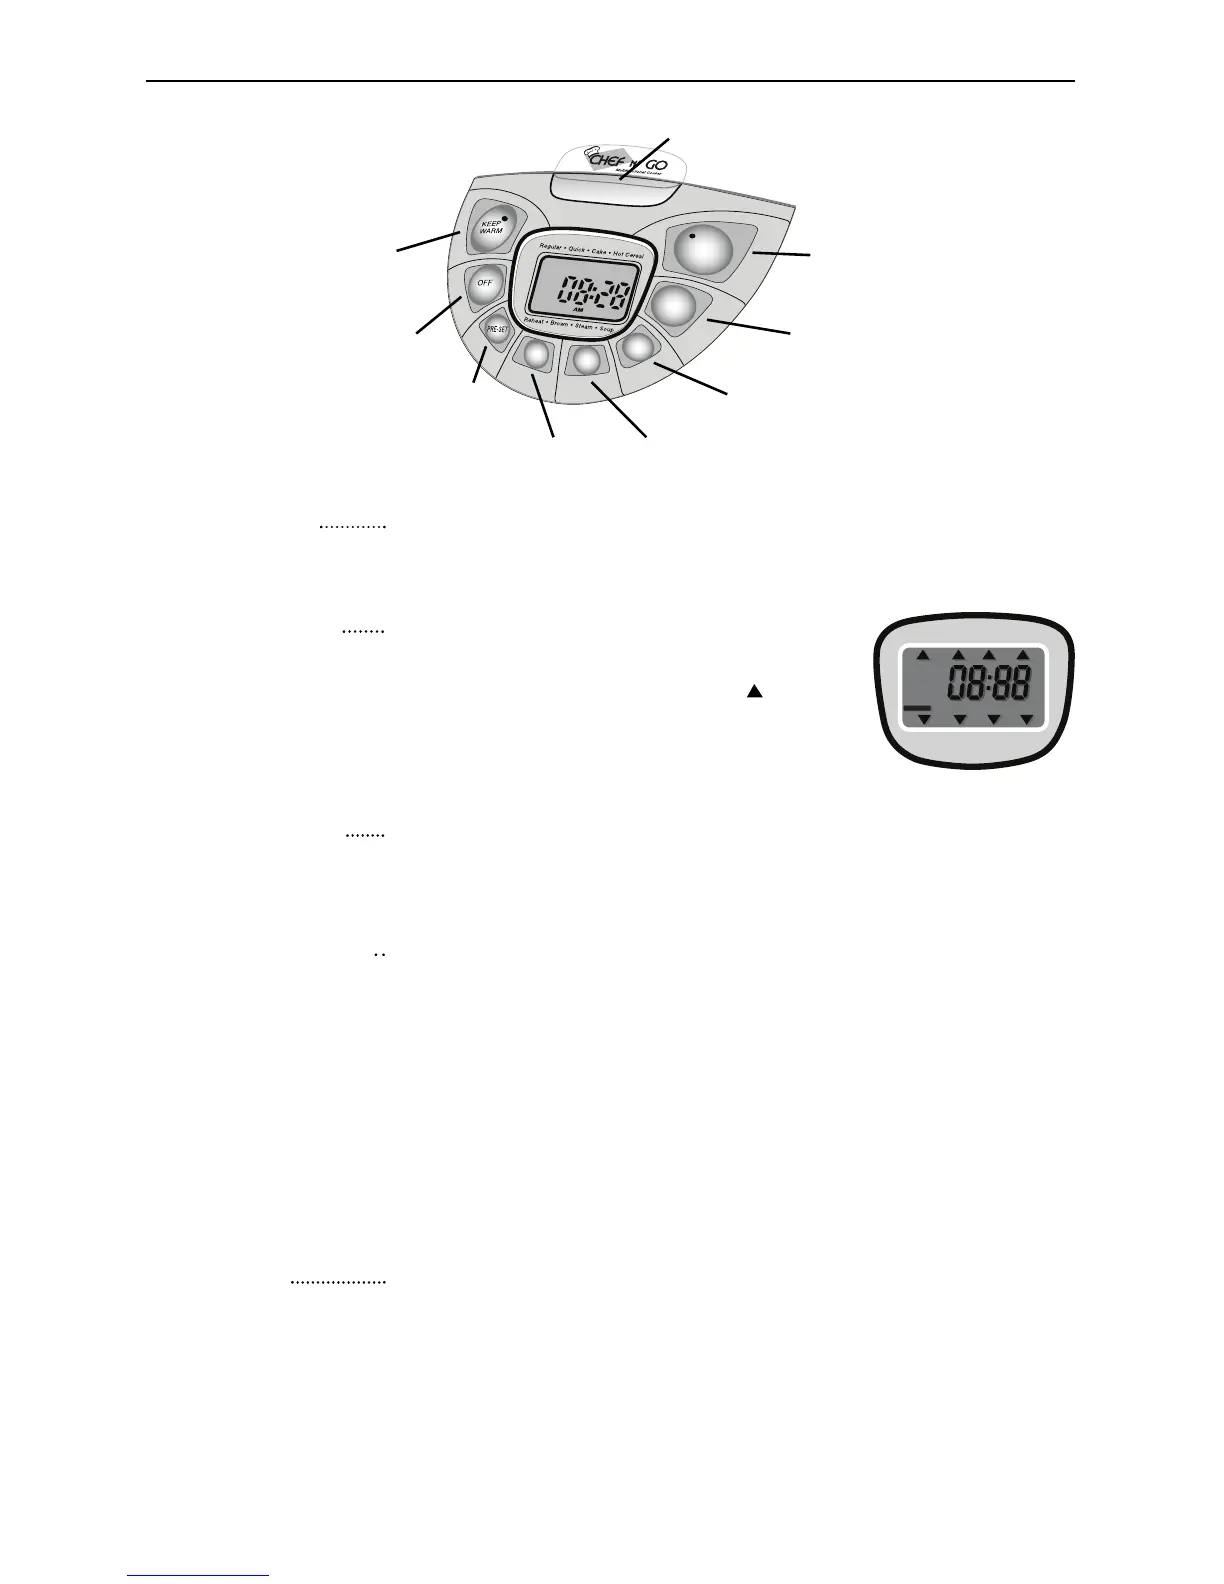
“Keep Warm”
button
OFF
button
COOKING TIMER
button
HOUR and MINUTE
buttons
MENU
button
PRE-SET
button
START
button
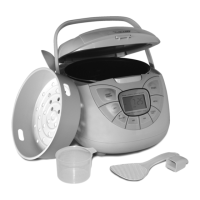
Release latch for cooker lid
(push down to open)
LCD Screen
MENU button
PRE-SET button
START button
When unplugged, the screen will display the current time only.
When plugged in, the screen will display the current time as well
as its menu.
After plugging in the CHEF N” GO, press
the “Menu” button to select the various
“modes”. A triangular indicator “ ” will
point to the cooking modes which include
Regular, Quick, Cake, Hot Cereal, Soup,
Steam, Brown, and Reheat.
After pressing the “Menu” button to select one of the cooking
modes, press the “Start” button. At this point the START
indicator will light up and the cooking mode will begin.
The “Pre-Set” button is used to set the time of day when the
recipe will be finished. The Pre-Set time that is set must
consider the default cooking time of a specific cooking
mode. If the cooking mode is for example, Regular (60 Minutes)
the amount of HRS and MIN you set, must also include the
default hour the mode (Regular) will be cooking automatically.
To set The Pre-Set time, press the “Hour” and “Minute” but-
tons to the desired completion time. When finished, press
desired Cooking Mode with the “Menu” button and then
press the “Start” button. You’re set to go.
COOKING
TIMER button
The cooking timer can be set from 30 minutes to 4 hours.
You use the “Cooking Timer” button to set total cooking time
with regard to your recipe or preference. Note: cooking time
cannot be adjusted in “Regular” and “Quick” cooking
modes.(Refer to Quick Start Guide for Cooking Times and
Temperatures).
5